filmov
tv
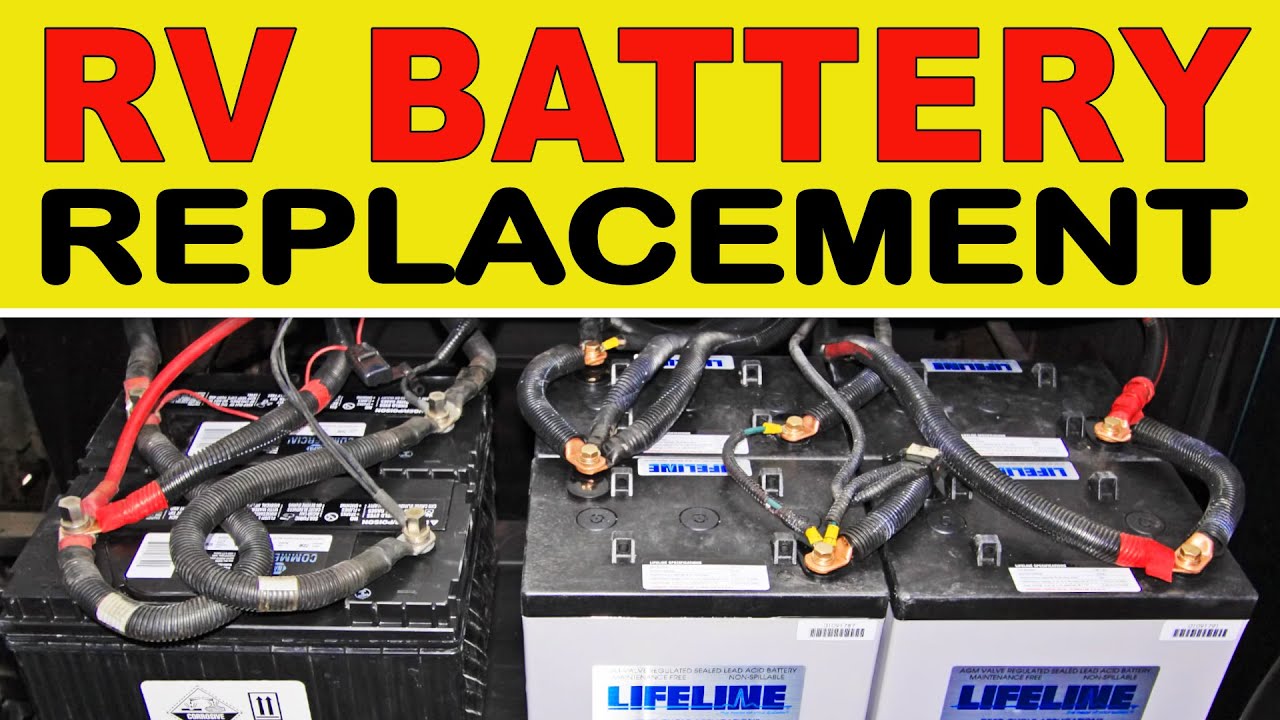
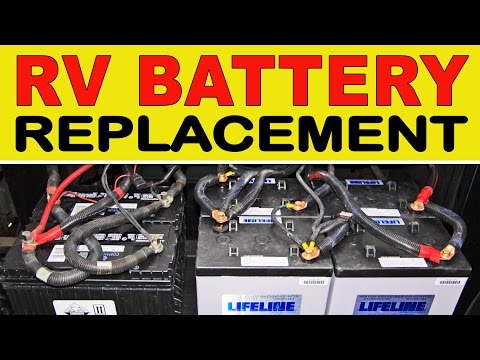
How To Replace Deep Cycle RV 'House' Batteries
Показать описание
RVing in the boondocks is a lot easier when your RV batteries are in good shape. Whether you have 12-volt, 6-volt golf cart batteries, or AGMs, here's how to replace your RV house batteries when the time comes.
For more information, check out the post on our blog:
Our motorhome came with 4 6-volt house batteries, wired in series parallel to equal 2 large 12-volr batteries. They power our onboard lights, water pump, vent fans and other 12-volt equipment, plus our 110-volt household appliances though an inverter, which converts 12-volt DC power into 110-volt AC current.
Regular care and maintenance kept our original batteries in good shape for 6 years. When the time came to replace them, we chose to splurge on a set of Lifeline AGM (Absorbed Glass Mat) batteries These are the same size 6-volt batteries, wired in series-parallel, just like our old flooded lead-acid deep cycle batteries. But they're completely sealed, accept a charge faster and perform better in every way. They're just pretty expensive!
To hear about new videos, giveaways and other great RVing content as soon as it's released, visit our website and subscribe!
The piano music is my own performance of Scott Joplin's Maple Leaf Rag from 1899.
WONDERING WHAT'S THE BEST GEAR TO USE ON YOUR RV?
Here's all of our favorite equipment that we use ourselves and recommend to friends:
Full-Time RVers since April, 2003, we share DIY (do it yourself) RV maintenance, repair, travel, upgrade and operational tips & tricks.
Many RVers are eager to learn more about using, maintaining and caring for their rigs. We hope our experience can help others go DIY, saving time & money, plus the satisfaction of a job well done.
We're handy RVers, not professional technicians. We're happy with the techniques and products we use, but be sure to confirm that all methods and materials you use are compatible with your equipment and abilities. Regardless of what we recommend, consult a professional if you're unsure about working on your RV. Any task you perform or product you purchase based on any information we provide is strictly at your own risk.
Comments welcome! Thanks for watching! Don't forget to subscribe! #RVLIFE #RVDIY #RVLIVING #FULLTIMERV #RVREPAIR #RVMAINTENANCE #RVMODS #RVUPGRADES #RVTRAVEL #DIYRV #RVGEEKS
 0:06:08
How To Replace Deep Cycle RV 'House' Batteries
 0:10:07
How To RENEW CAR & TRUCK Batteries at Home & SAVE BIG MONEY DO THIS ONE https://youtu.be/VYt...
 0:03:47
“methods” for RECOVERING deep cycle lead acid batteries (sometimes it works) completely dry cell…...
 0:09:52
How To MAKE OLD BATTERIES NEW Again!!! 12v 6v Deep Cycle, Car, Truck, Golf Cart, Semi
 0:13:37
Reconditioning a 12 Volt Car Battery: 100% Success
 0:09:00
Does An Electronic De-Sulfator Really Repair A Battery?? See Real Results
 0:07:09
Replace Deep Cycle RV House Batteries - Coach Battery Easy Install
 0:11:13
Restore deep cycle lead acid battery. Revive dead sulphated RV car marine batteries
 0:32:44
How to Replace an iPad 9 Charging Port (The Whole Process)
 0:14:01
Restore a 12v dead lead-acid battery, YES IT WORKS
 0:06:35
Don't Make this Mistake with Deep Cycle Batteries!
 0:09:39
Removal EZGO Golf Cart Batteries and Install Deep Cycle 12V
 0:08:42
Replacing and Installing AGM 12V Deep Cycle Batteries in the RV – How To - RV Upgrades
 0:24:21
How to install a deep cycle battery in your truck or SUV
 0:08:38
How to charge and maintain deep cycle AGM batteries with Craig from KickAss Products
 0:11:23
Brilliant technique of lead acid battery restoration
 0:10:59
Basic maintenance, testing and storage of a deep cycle battery
 0:09:51
Can a 12V LiFePO4 Battery Replace the Lead Acid Battery in a Car?
 0:06:45
How to Convert to Lithium Batteries - Upgrade for RV's and Travel Trailers - Timeusb
 0:20:13
DEEP CYCLE BATTERY COMPARISON - Is Lithium really worth it?
 0:12:54
Replacing Deep Cycle AGM Batteries At Anchor | Sailboat Story 101
 0:10:50
Amazing Restoration Technique of an Old Lead Acid Battery
 0:06:28
How to Fix a Car Battery, Don't Change Your Battery Refurbish it for another 3 Years
 0:31:43
DEEP CYCLE BATTERY HACK?! Fix $400 battery for $20?! (Part 1)
Комментарии