filmov
tv
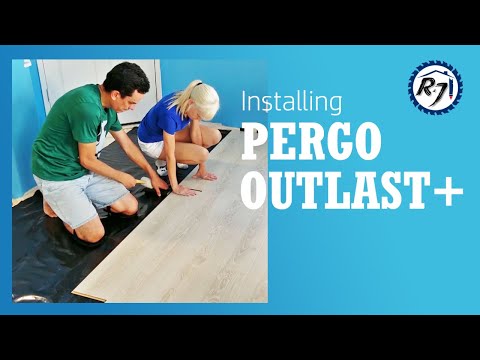
How to Install Pergo Outlast+®
Показать описание
Learn the correct way to easily and securely install Pergo Outlast+ in your home using this helpful step-by-step visual guide.
 0:02:45
How to Install Pergo Outlast+®
 0:18:45
Installing Pergo Outlast ( Time Lapse With Detailed Instructions)
 0:08:08
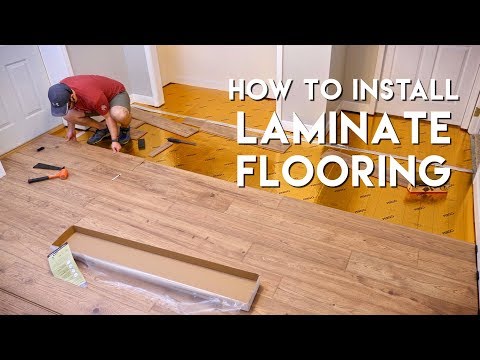
How To Install Pergo Outlast Flooring | DIY Laminate Floor Installation for Beginners!
 0:01:20
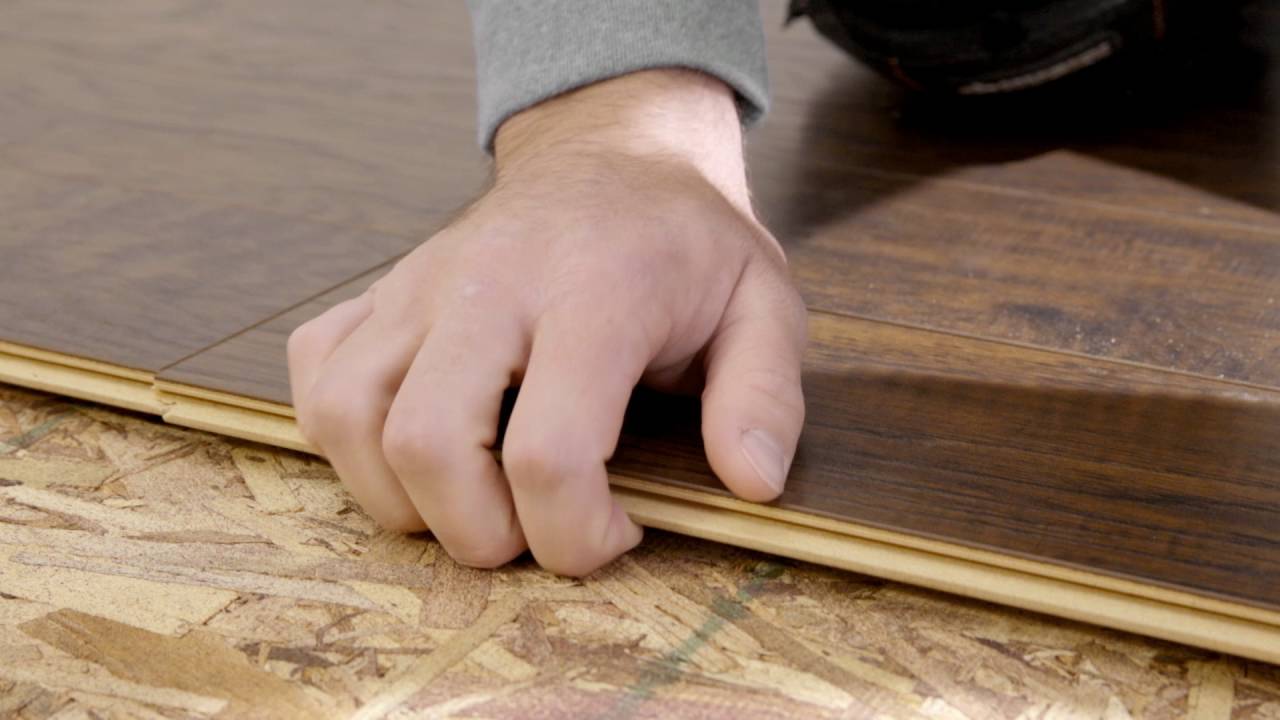
How To Connect Pergo Outlast Laminate Flooring Planks
 0:15:52
How to Install Pergo Laminate Uniclic Flooring
 0:01:24
My Pergo Laminate drop and lock flooring won't 'click' in
 0:24:32
Pergo Outlast Flooring
 0:11:49
DIY Pergo Outlast
 0:00:16
pergo laminate install #hardwood #shorts #flooring #contractor #laminate
 0:03:37
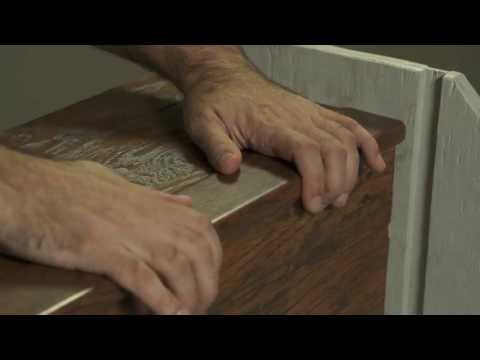
How to Install Pergo Flooring: Chapter 5 - Installing Pergo Click Joint
 0:16:03
PERGO OUTLAST LAMINATE FLOORING REVIEW, INSTALLATION, TESTED WATER, SCRATCHES, PLUS DEFECTIVE BOARDS
 0:13:29
Installing Pergo Outlast In The Bathroom
 0:00:59
pergo floor. I solved flooring problem where it was sliding open. A $1,300 floor I installed.
 0:05:07
Poor Man's DIY: Installing Pergo Outlast+ (Part 2)
 0:00:12
Pergo outlast flooring in real life
 0:29:07
Laminate Floor Installation for Beginners | 9 Clever Tips
 0:00:32
installing laminate is super easy! #flooring #laminateflooring #diy
 0:03:29
Installing Pergo Outlast+ Flooring
 0:00:18
Quick Laminate Flooring Hack
 0:00:41
a better way to install vinyl plank flooring
 0:00:36
Pergo Laminate Flooring Installation #shorts #laminateflooring #shortsvideo #flooring
 0:09:22
Pergo Outlast flooring Prep
 0:01:35
How to Install Pergo Flooring: Chapter 8 - Installing on Stairs
 0:11:54
Installing Laminate Flooring For The First Time // Home Renovation
Комментарии