filmov
tv
julia plots tutorial 1 installation first plots

Показать описание
tutorial 1: installation and first plots
step 1: install julia
step 2: install the plots package
once you have julia installed, open the julia repl (read-eval-print loop) by running `julia` in your terminal or command prompt.
this command will download and install the `plots` package along with its dependencies.
step 3: loading the package
after installation, you can load the `plots` package into your julia environment by typing:
step 4: creating your first plot
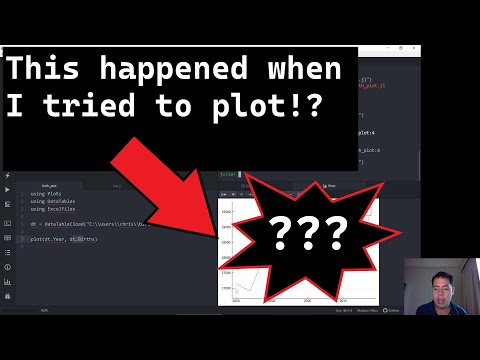
now that you have the `plots` package installed and loaded, let's create our first plot. we'll create a simple line plot of a mathematical function.
here’s some example code that plots the function \( y = \sin(x) \):
explanation of the code:
1. **data generation**:
- `x = 0:0.1:2π`: creates a range of x values from 0 to \( 2π \) with a step of 0.1.
- `y = sin.(x)`: computes the sine of each x value. the dot (`.`) before the function indicates that it should be applied element-wise.
2. **creating the plot**:
- `plot(x, y, ...)`: this function creates a plot with the specified x and y data.
- `label`: adds a label to the line.
- `title`, `xlabel`, `ylabel`: sets the title and axis labels of the plot.
- `legend`: controls the position of the legend on the plot.
3. **displaying the plot**:
- `display(plot)`: this function displays the ...
#JuliaPlots #JuliaTutorial #softwaremodeling
Julia
plots
tutorial
installation
first plots
visualization
data visualization
plotting library
JuliaLang
plotting tutorial
data analysis
graphical representation
Julia package
beginner guide
scientific computing
 0:04:18
 0:10:25
 0:02:58
 0:06:33
 0:06:19
 0:14:36
 0:12:03
 0:08:21
 0:30:46
 0:02:01
 0:02:40
 0:08:56
 0:21:23
 0:13:57
 0:00:33
 0:09:16
 0:08:38
 0:35:14
 0:06:31
 0:03:06
 0:00:15
 0:05:56
 0:03:00
 0:06:54