filmov
tv
How to Use a Digital Camera
Показать описание
Great Amazon Must Haves for Digital Photographers:
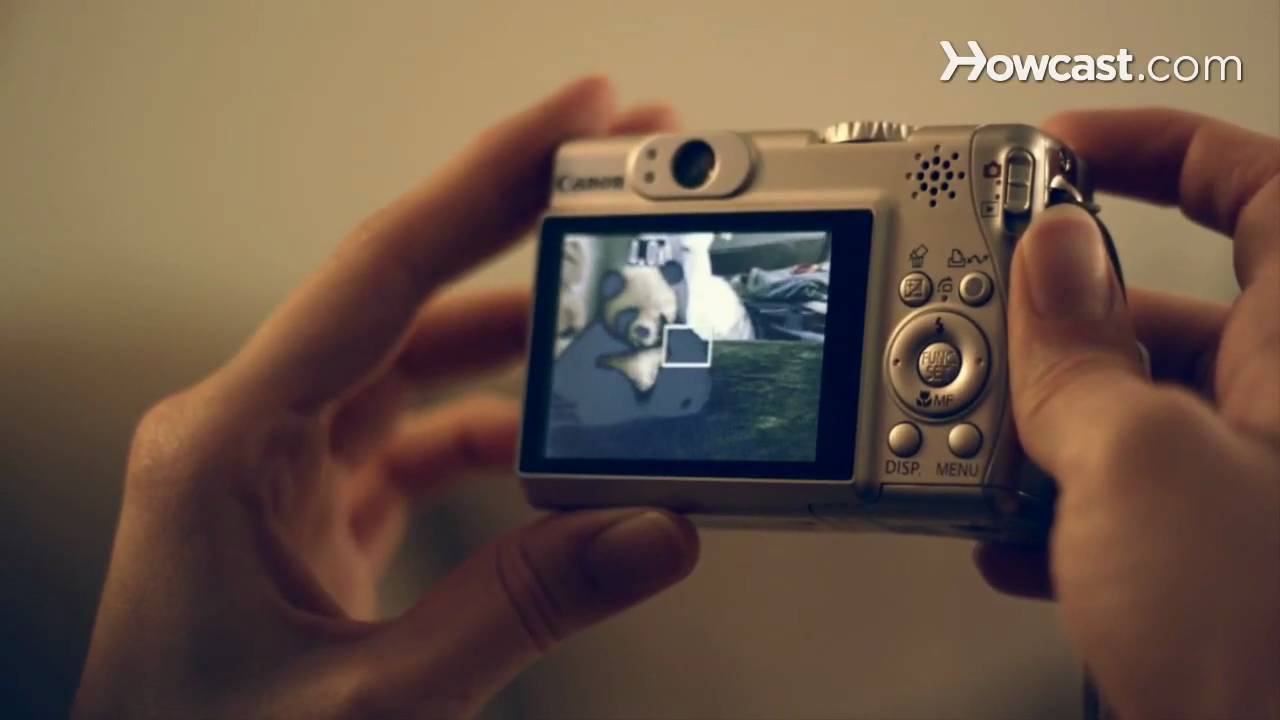
Terms like megapixel and optical zoom can seem perplexing at first, but these simple steps, like a camera flash, can shed light on the situation.
Step 1: Learn about megapixels
Learn about megapixels. A megapixel refers to the resolution of the image a camera takes, or the dots that make up the quality of the image. The larger the number of megapixels, the higher the quality.
Step 2: Adjust quality settings
In the menu, adjust the quality settings of the camera. The higher the setting, the better the picture, and the more space each picture will take up on the storage card.
Step 3: Understand zoom
Understand the difference between optical zoom and digital zoom. With optical zoom, the lens physically moves, and zooming in does not change the picture quality. With digital zoom, the picture is being cropped in, which results in a loss of quality. Change to your desired setting in the menu.
Step 4: Insert the batteries
Charge and insert the batteries for the camera. Look whether your camera takes a unique battery or standard batteries that can be bought at any store.
Step 5: Take a picture
Snap a picture.
Step 6: Store your pictures
Become familiar with your camera's storage device -- cameras store pictures on SD cards, compact flash cards, memory sticks, and XD cards. Each camera takes a specific card.
Tip
Delete pictures that turn out poorly from your card to save space.
Step 7: Play with the settings
Play around with the exposure, flash, and color balance settings on the camera. Most cameras also have a mode menu that has predetermined settings for portrait, landscape, and action pictures.
Step 8: Consult the manual
Consult the instruction manual to learn about all of the features specific to your camera.
Did You Know?
Released in 1994, Apple's QuickTake 100 was one of the first consumer digital cameras on the market, and took pictures with a resolution of 0.3 megapixels.
 0:01:12
How to Read a Digital Multimeter - How to Use a Digital Multimeter
 0:12:21
DT-830B :// How to use a Digital Multimeter to test Voltage,Current and Resistance
 0:16:38
How to use a Digital Multimeter - Best Multimeter for Beginners
 0:00:40
How to use the digital thermometer?
 0:00:19
Interactive Flat Panel 75 Inch Digital Board For Classroom - Smart Board For Teaching - Touch Board
 0:15:07
How to use digital multimeter for beginners step by step
 0:00:55
How to Use TSA Digital ID
 0:09:09
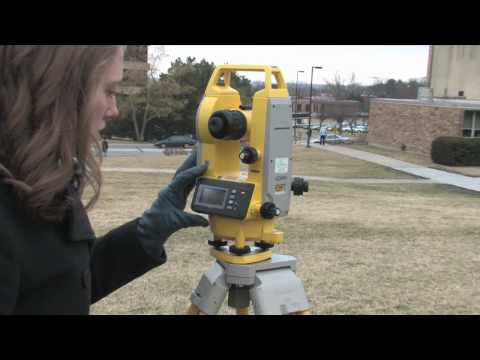
How to Use a Digital Theodolite - Part 1 of 2
 0:00:21
iTank 3 0 The Future of Urban Commuting! #short #shortvideo, #shorts, #trending, #viralvideo
 0:03:50
How To Use Digital Multimeter
 0:00:31
HOW TO use a Commercial Bargains Digital Computing Price Scale ACS-03
 0:01:56
How to use Clearblue Digital Pregnancy Test
 0:06:25
How to Use a Digital Multimeter w/ Fluke 117
 0:03:53
How to Use Digital Calipers to Measure Objects
 0:01:58
Clearblue Digital Ovulation Test - How To Use
 0:16:24
How To Use A Digital Multimeter Around Your Home
 0:01:05
How-To Use Digital Wallet
 0:01:26
How To Use Digital Wallet On Android (How To Set Up Digital Wallet On Android)
 0:02:12
How To Use A Digital Micrometer From Mitutoyo
 0:00:44
HOW TO USE A DIGITAL MICROMETER
 0:13:48
Color Theory for BEGINNERS + How to ACTUALLY use it in Digital Painting
 0:00:13
DIGITAL AIR FRYER: HOW TO START and End IT'S USE Properly. #shorts #airfryer
 0:01:56
How to Use a Digital Camera
 0:01:44
How to use the digital key | Kia How-to
Комментарии