filmov
tv
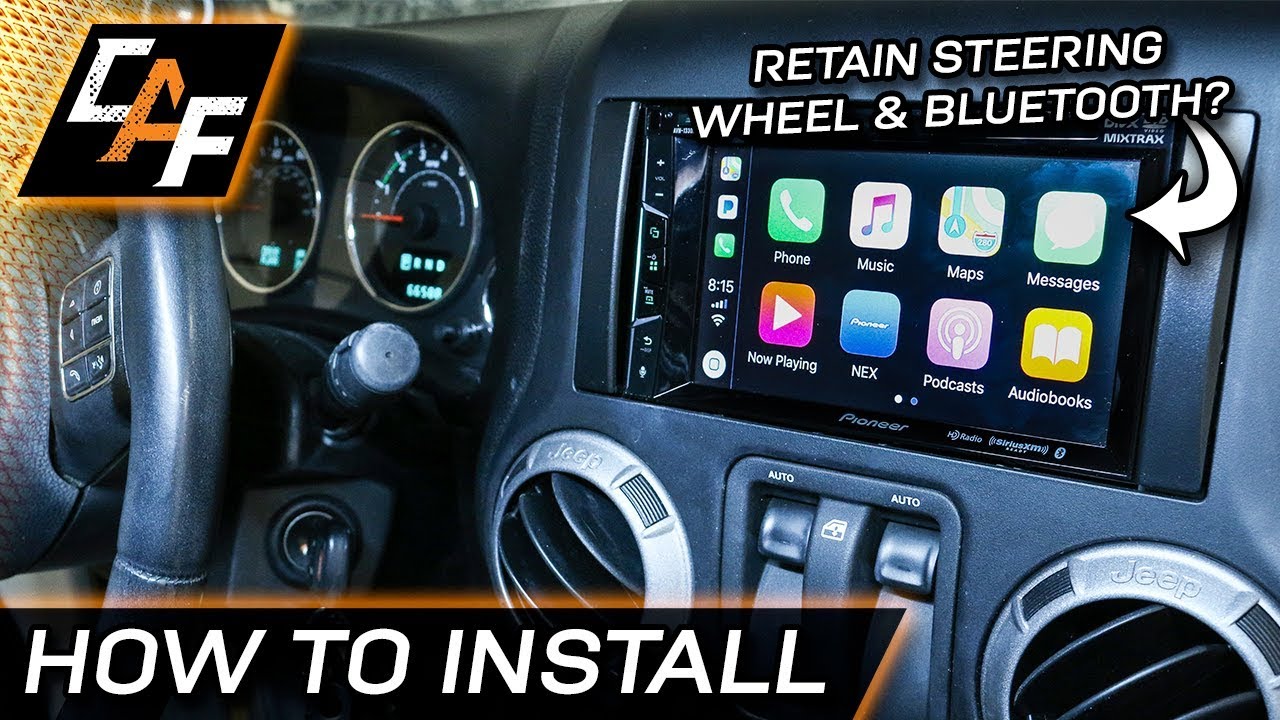
How to Install Aftermarket Radio (Jeep Wrangler 2011-2017)
Показать описание
Installing an aftermarket radio adds more functionality and improves our sound. In this video I show you step by step how to remove a radio, install the new head unit and connect all the wiring. Let's add our Pioneer AVH-1330 NEX double din DVD / CD player that features apply car play (The AVH-2300 has Android Auto). I'll also use a iDatalink Maestro to retain factory features
▼ Tools and Materials:
As an Amazon Associate I earn from qualifying purchases.
🔊 Want more? Check out these links:
🔊🔊🔊 FULL VIDEO SERIES PLAYLISTS:🔊🔊🔊
Here at Car Audio Fabrication I teach you how to Master Car Audio in an effort to Design, Build, and Install your ideal car audio system. Whether you are a hardcore basshead or a HiFi focused audiophile I would love to have you subscribe and join our community!
--SUBSCRIBE--
--SUPPORT—
Early Access to Videos, Secret Videos, Direct Messaging for Questions:
--LET”S CONNECT!—
Instagram: @caraudiofab
Snapchat: @caraudiofab
Music:
Switch It Up - YouTube Audio Library
Dark Lotus Sting - YouTube Audio Library
Licensed under Creative Commons: By Attribution 3.0
Car Audio Fabrication – Master Car Audio – Design, Build, Install
 0:13:34
How To Install a Car Stereo (Single & Double DIN) | Car Audio 101
 0:03:23
How to Install Car Stereo
 0:19:55
How To Install A Radio Without A Wiring Harness Adapter
 0:11:09
Stereo Wiring Harness Explained! How to assemble one yourself!
 0:05:42
How to Install an Aftermarket Car Stereo, Wiring Harness and Dash Kit
 0:17:15
Car Stereo Wiring Harnesses & Interfaces Explained - What Do The Wire Colors Mean?
 0:03:31
How to Wire Aftermarket Radio into Any Car | Wiring Colors Explained
 0:06:52
Car stereo wiring harness explained | How to install
 0:10:00
BA BF Aerpro Fascia Wiring Tips
 0:11:15
Radio Wiring Harness - How to Install like a PRO
 0:13:38
How To INSTALL Aftermarket Car Radio w/ Pioneer Double Din Head Unit | UPGRADE Stock Stereo System
 0:07:34
10.1 Android Touch Screen Car Stereo Install [Wiring and Mounting]
 0:12:55
How To Install Aftermarket Radio In Modern Cars
 0:01:21
How to Change a Car Stereo
 0:18:31
Cheap vs Expensive Car Stereos - TESTED
 0:10:31
Installing an aftermarket car radio
 0:05:26
Car stereo wiring harness |How to install car radio|
 0:14:29
How to Hard Wire an Aftermarket Radio in Any Vehicle
 0:06:06
Wiring harness colours explained for a stereo (The 12Volters)
 0:06:52
How To Install a New Radio In Any Classic Car
 0:19:00
Car Stereo Install MADE SIMPLE!
 0:10:59
How to Wire a Low Cost Double-Din Head Unit with Back-Up Camera: Carzin and More
 0:16:12
Upgrade for better sound + WIRELESS CARPLAY! How to Install Aftermarket Radio
 0:13:07
How To Install an Aftermarket Car Radio with Bluetooth
Комментарии