filmov
tv
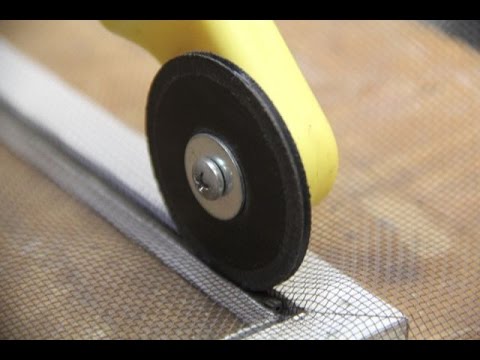
How-To: Re-screening an aluminum window screen.

Показать описание
In this video Rick demonstrates how to re-screen with aluminum mesh using our screen table kit, along with our screen table jig set.
 0:07:17
How-To: Re-screening an aluminum window screen.
 0:03:11
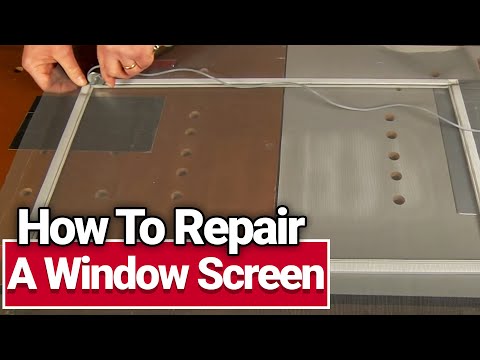
How-to Repair Aluminum Window Screen
 0:07:39
Pro Tip Re screening
 0:04:10
Replacing a Window Screen 5-Steps
 0:03:47
How to rescreen a window screen in 3 minutes
 0:08:05
How To Repair An Andersen Metal Spline Screen
 0:03:29
How To Replace House Window Metal Screening
 0:11:43
Wrinkle-Free Window Screen Replacement | How to Tips | DIY Repair Replace Change Patch Fix Holes
 14:08:42
i've become an NPC inside a VR game one year before the server launch, so i became the final bo...
 0:00:51
How to repair an Anderson metal spline screen
 0:01:23
How to Remove and Install an Aluminum Window Screen
 0:02:25
How to Repair a Window Screen - Ace Hardware
 0:06:42
How to Rescreen a Screen Door - How To Re-screen - How To Screen
 0:01:30
How to Repair or Replace a Window Screen | The Home Depot
 0:05:15
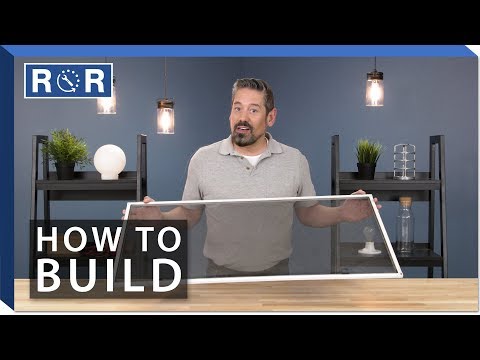
How to Build a Window Screen | Repair and Replace
 0:05:22
How-To: Re-screening a fiberglass window screen.
 0:14:59
Sliding Screen Door Re-Screening
 0:07:47
Replace A Door Screen - Ace Hardware
 0:10:19
The proper way to rescreen a window. How to.
 0:03:47
How to re screen slider patio door, replace screen, install new. Easy Rescreen!
 0:03:36
Re-screening a screen window
 0:04:55
How To Replace Patio Screen
 0:05:33
How to Make an Aluminum Frame Window Screen
 0:05:50
Replace Screen Door Mesh Without Removing Door from Hinges DIY Easy
Комментарии