filmov
tv
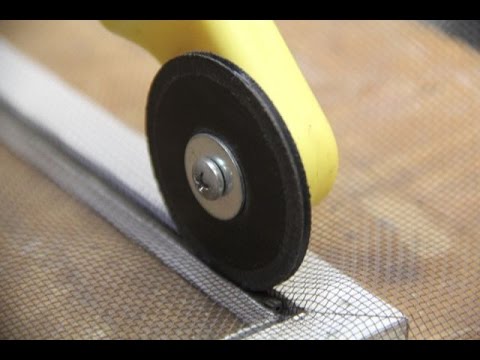
Pro Tip Re screening

Показать описание
Amazon Links:
Pro Tip Re screening
 0:07:17
How-To: Re-screening an aluminum window screen.
 0:03:47
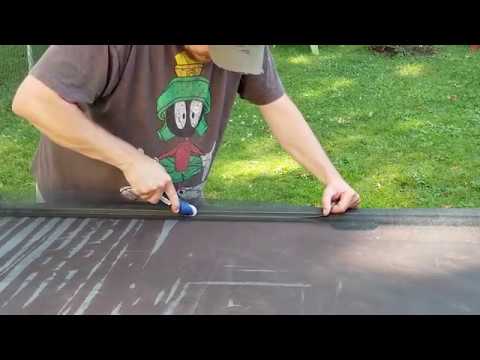
How to rescreen a window screen in 3 minutes
 0:04:10
Replacing a Window Screen 5-Steps
 0:11:43
Wrinkle-Free Window Screen Replacement | How to Tips | DIY Repair Replace Change Patch Fix Holes
 0:06:40
Pro Tips - Repair a Patio Screen Door
 0:05:22
How-To: Re-screening a fiberglass window screen.
 0:06:42
How to Rescreen a Screen Door - How To Re-screen - How To Screen
 0:00:58
Mastering Screen Installation: Pro Tips for Perfect Results Of course #ScreenInstall #diy #howto
 0:12:07
Master Your Candidate Screening Calls: My Pro Tips
 0:00:35
Replacing a big screen solo. #protip
 0:00:19
iPhone Tip for Organizing Your Home Screen
 0:08:26
PenTips vs Paperlike. Which is Better?
 0:00:16
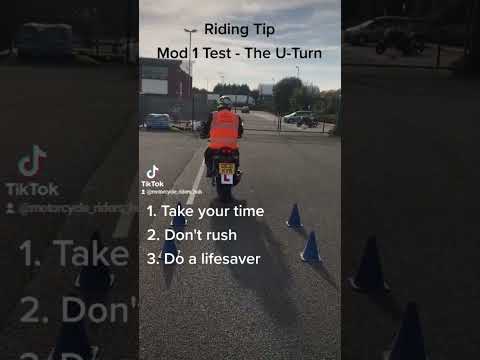
Riding Tip - The U-Turn Module 1 motorcycle test UK
 0:00:05
PC Quick tips - Take Screenshot- 🔴 Record Screen #windows
 0:00:58
Pro Tips for a Perfect Screen Installation #shorts #handyman
 0:00:12
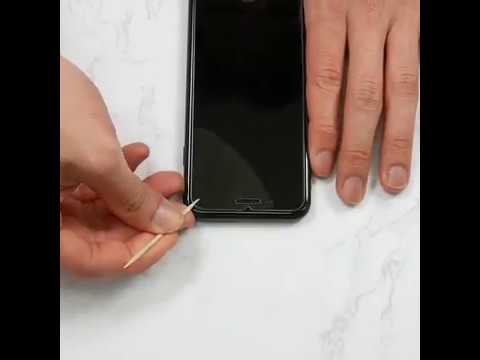
Quick Tip to Easily Remove Glass Screen Protectors!
 0:00:26
IELTS Quick Tips: Computer-Based vs Paper-Based Test
 0:00:59
Duolingo English Test: Quick Tips for Describing a Photo #shorts
 0:11:24
IELTS Speaking Tips You MUST Know Before Your Test
 0:00:32
Removing deep scratches on your screen! Easy fix #iphone #repair #scratches #tips
 0:00:56
Ignition coil testing #diy ##tips #easy #shorts
 0:00:28
Quick Tips for Screening with Temporary Fencing #fences #screening #gardendesign
 0:00:16
Dead Rails VAMPIRE CLASS is the BEST CLASS in Dead Rails Roblox Guide Tutorial Tips #deadrails
Комментарии