filmov
tv
How To Install A Shark Bite Plumbing Fitting (Tutorial)

Показать описание
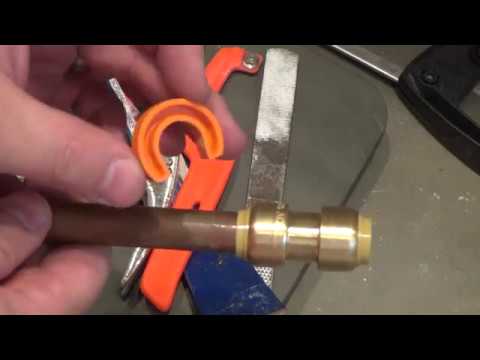
This is a quick tutorial that I made to show you how to install a shark bite plumbing fitting. These fittings are amazing for homeowners that want to do their own plumbing work, or are in an emergency situation. What makes them awesome is that any homeowner can install them! Simply follow the instructions in this video and you will have installed your shark bite in a matter of minutes!
CONNECT WITH ME:
SUBSCRIBE TO MY CHANNEL:
FREE DIY ADVICE EBOOK:
Disclaimer: Some of the links in this description may be affiliate links. All opinions are my own.
CONNECT WITH ME:
SUBSCRIBE TO MY CHANNEL:
FREE DIY ADVICE EBOOK:
Disclaimer: Some of the links in this description may be affiliate links. All opinions are my own.
 0:00:31
Sharkbite Slip Coupling
 0:02:05
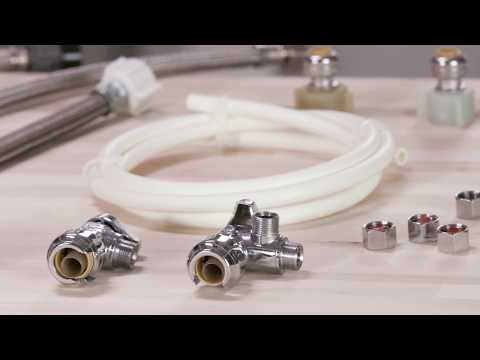
How to Install SharkBite Push-to-Connect Fittings
 0:01:54
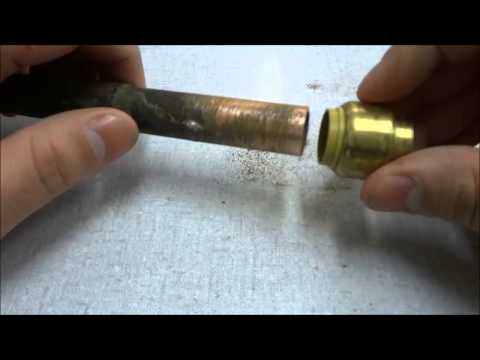
How To Install A Shark Bite Plumbing Fitting (Tutorial)
 0:15:22
Beginners Guide To SHARKBITE Fittings (Watch till end BEFORE Buying!) | GOT2LEARN
 0:09:28
Should You Use Sharkbite Fittings | DIY Plumbing
 0:01:17
How To Install a SharkBite Service Slip Tee
 0:04:16
6 SHARKBITE Mistakes NOT To Make! | GOT2LEARN
 0:02:13
How To Install SharkBite Push-To-Connect Stop Valves
 1:54:40
wireshark training | what is wireshark | how to use wireshark | how to capture network packets
 0:03:43
How To: Install Shark Fin Universal Antenna
 0:08:08
How to Install a Shark Bite Slip Fitting #DIY #SharkBite #plumbing
 0:06:53
Installing A Water Shut Off Valve | Easy Sharkbite Install
 0:06:27
Leaky Stop Valve. Installed Shark Bite Ball Stop Valve. DIY.
 0:06:46
Repair Copper Pipe Leaks with SharkBites (Super EASY)
 0:01:44
How to Install Push-to-Connect Supply Stop Valve for PEX pipe
 0:19:43
How To: BIG Shark Rig from Start to Finish. (Tackle Tuesday #21)
 0:06:37
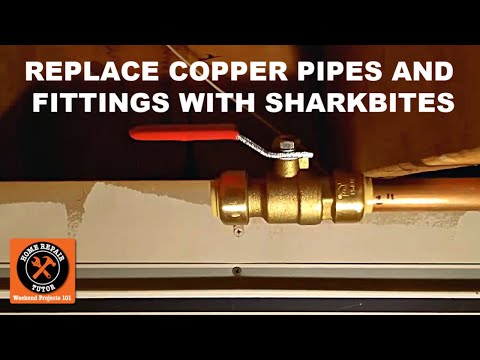
Replacing Copper Pipes and Fittings with SharkBite Push Fit Connectors
 0:06:55
Installation Process of Shark Bite Elbow Half Inch Fitting
 0:05:34
HOW TO: Install a Shark Fin Antenna on any car!
 0:07:56
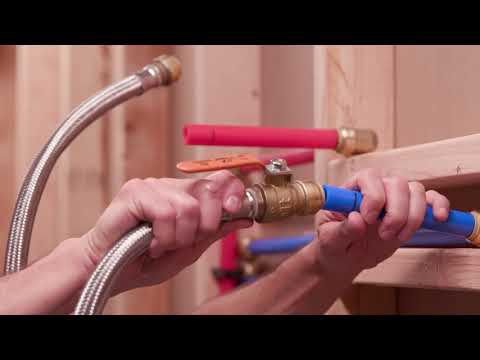
How to Install a Shark Bite Shut Off Valve in a Bathroom (Step-by-Step) -- by Home Repair Tutor
 0:04:39
Shark Fin Universal Antenna Installation for ANY CAR! (EASY)
 0:02:10
How To Install a Water Heater with SharkBite
 0:01:49
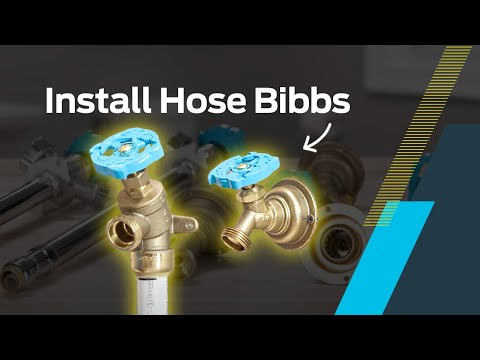
How to Install an Outdoor Hose Bibb
 0:00:51
How To Remove A Shark Bite Plumbing Fitting EASILY with or without tool
Комментарии