filmov
tv
How To Fix Intel i211 Gigabit Network Adapter Not Working Properly [Solution]

Показать описание
How To Fix Intel i211 Gigabit Network Adapter Not Working Properly [Solution]
A network adapter is a hardware component that enables computers to connect to a network, either wirelessly or through an Ethernet cable. It allows users to send and receive data across a network, such as an internet or a local area network (LAN). When the network adapter fails to initialize, users may experience slow or no internet connection, and their computer may not be able to communicate with other devices on the network.
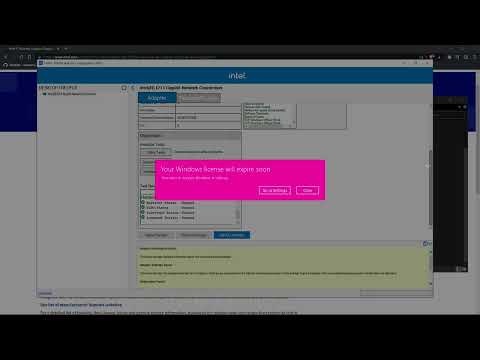
The main cause of the Intel i211 Gigabit Network Connection issues is incompatible drivers. It seems that the newer drivers released for this Ethernet Controller/Adapter have severe compatibility issues with different hardware and software, resulting in network connection problems.
Check the network status in Settings:
1. Open Settings.
2. Network & internet.
3. Check your Ethernet connection status at the top of the screen. Make sure it says Connected underneath the network connection name.
4. If there’s an error, such as one that says Action needed, select Ethernet to view your Ethernet connection settings.
Run network commands:
1. Select Search on the taskbar, type Command prompt. The Command Prompt button will appear. To the right of it, select Run as administrator Yes.
2. At the command prompt, run the following commands in the listed order, and then check to see if that fixes your connection problem: Type netsh winsock reset and select Enter. Type ipconfig /flushdns and select Enter.
Uninstall the Ethernet network adapter driver and restart:
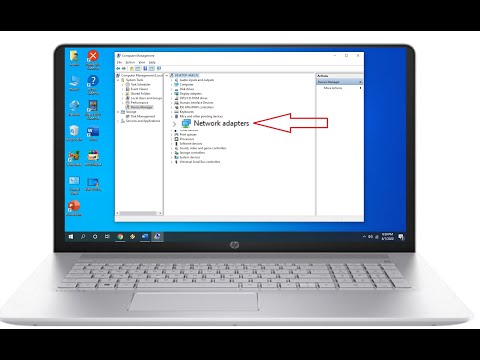
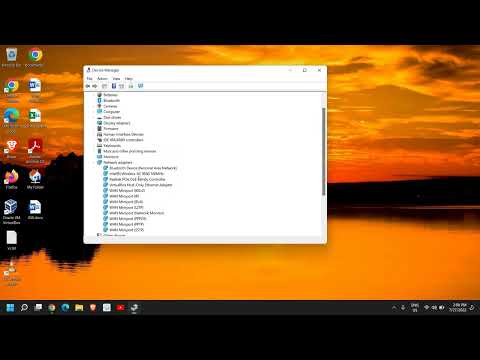
1. Select Search on the taskbar, type Device Manager, and then select Device Manager from the list of results.
2. Expand Network adapters and locate the Ethernet network adapter for your device.
3. Select the network adapter, press and hold (or right-click), and then select Uninstall device the Attempt to remove the driver for this device check box Uninstall.
4. After uninstalling the driver, select the Start button / Power / Restart.
Use Network Reset:
1. Select the Start button, then enter settings. Select Settings / Network & internet / Advanced network settings / Network reset.
2. Open Network & internet status settings
3. On the Network reset screen, select Reset now / Yes to confirm.
4. Wait for your PC to restart and see if that fixes the problem.
Thank you for watching this tutorial! I hope you found the information valuable and that it helps you on your journey. If you have any questions or suggestions, please leave them in the comments below. Don't forget to like and subscribe for more content like this. Stay curious, keep learning, and we'll see you in the next video!
Disclaimer: This channel doesn't promote any illegal contents, all content are provided by this channel is meant for educational purposes only and share my knowledge with everyone that is totally Legal, informational. And followed all the YouTube community guideline rules. The videos are completely for Legal.
#howtofix #tutorial #intel
A network adapter is a hardware component that enables computers to connect to a network, either wirelessly or through an Ethernet cable. It allows users to send and receive data across a network, such as an internet or a local area network (LAN). When the network adapter fails to initialize, users may experience slow or no internet connection, and their computer may not be able to communicate with other devices on the network.
The main cause of the Intel i211 Gigabit Network Connection issues is incompatible drivers. It seems that the newer drivers released for this Ethernet Controller/Adapter have severe compatibility issues with different hardware and software, resulting in network connection problems.
Check the network status in Settings:
1. Open Settings.
2. Network & internet.
3. Check your Ethernet connection status at the top of the screen. Make sure it says Connected underneath the network connection name.
4. If there’s an error, such as one that says Action needed, select Ethernet to view your Ethernet connection settings.
Run network commands:
1. Select Search on the taskbar, type Command prompt. The Command Prompt button will appear. To the right of it, select Run as administrator Yes.
2. At the command prompt, run the following commands in the listed order, and then check to see if that fixes your connection problem: Type netsh winsock reset and select Enter. Type ipconfig /flushdns and select Enter.
Uninstall the Ethernet network adapter driver and restart:
1. Select Search on the taskbar, type Device Manager, and then select Device Manager from the list of results.
2. Expand Network adapters and locate the Ethernet network adapter for your device.
3. Select the network adapter, press and hold (or right-click), and then select Uninstall device the Attempt to remove the driver for this device check box Uninstall.
4. After uninstalling the driver, select the Start button / Power / Restart.
Use Network Reset:
1. Select the Start button, then enter settings. Select Settings / Network & internet / Advanced network settings / Network reset.
2. Open Network & internet status settings
3. On the Network reset screen, select Reset now / Yes to confirm.
4. Wait for your PC to restart and see if that fixes the problem.
Thank you for watching this tutorial! I hope you found the information valuable and that it helps you on your journey. If you have any questions or suggestions, please leave them in the comments below. Don't forget to like and subscribe for more content like this. Stay curious, keep learning, and we'll see you in the next video!
Disclaimer: This channel doesn't promote any illegal contents, all content are provided by this channel is meant for educational purposes only and share my knowledge with everyone that is totally Legal, informational. And followed all the YouTube community guideline rules. The videos are completely for Legal.
#howtofix #tutorial #intel
 0:04:52
How to Fix Intel I211 Network Drivers!
 0:03:58
Fix: Intel i211 Gigabit Network Adaptor Not Working [Solution]
 0:03:18
How To Fix Intel i211 Gigabit Network Adapter Not Working Properly [Solution]
 0:01:51
How to Fix Intel i211 Gigabit Network Adapter Not Working on Windows 11
 0:01:05
How To Fix Intel i211 Gigabit Network Connection Not Working (QUICK GUIDE)
 0:01:16
Fix: Intel i211 Gigabit Network Adaptor Not Working [Solution]
 0:02:07
Installing Intel I211, I217V, I218V and I219V drivers on Windows Server 2019
 0:00:48
How to fix intel 82579lm gigabit network connection | No internet access but connected
 0:00:47
Intel i211 wired network adapter. #shorts #help #network #pc #internet
 0:03:31
How to Fix Ethernet Connection Windows 11
 0:08:09
How To Installing Intel I211, I217V, I218V and I219V Ethernet Driver on Windows Server | Tutorial
 0:04:30
How to Get Back Missing Network Adapter from Device Manager in Windows 10/8/7
 0:00:07
Intel® Ethernet Connection I219-LM IC Chip
 0:01:32
Ethernet Download Speeds Stuck At 100Mbs?
 0:02:54
Teaming i219-LM & i211-AT On Windows 10
 0:02:53
How to Download & Install Ethernet Drivers for Windows 11/10(2022)
 0:08:11
How to fix Intel 82579LM Gigabit Network Connection adapter is experiencing driver-or-hardware
 0:03:11
How to Download & Install Ethernet Driver on Window 10/11 - (2023)
 0:04:11
Fix Connection Issue With Intel 82579V Gigabit Ethernet After Installing Windows 10/11 Update
 0:00:19
re-activate i211 ethernet port MacOS Monterey after sleep broke it
 0:01:49
Fix Ethernet Speed Capped at 100Mbps On Windows 2024 (Updated)
 0:03:09
How to update Ethernet Drivers on Windows 10/11 in 2021 | Realtek and Intel
 0:01:28
Windows Ethernet / LAN Netzwerkproblem beheben | Internet herstellen - kein Internetzugriff
 0:01:22
How to Optimise Ethernet for Gaming - Intel Edition
Комментарии