filmov
tv
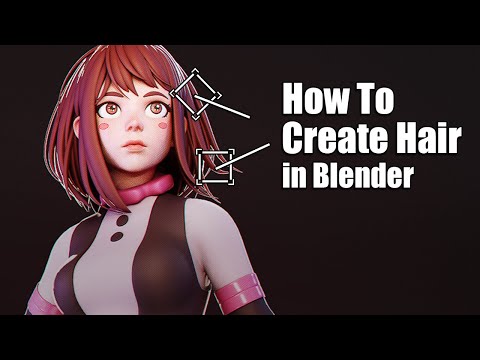
Easiest Way To Create Hair in Blender - 5 Minute Tutorial

Показать описание
A tutorial on how to make hair in Blender 2.8 with curves, a method that is very simple and effective that I have been using for my character sculpts.
▼ Sculpting Uraraka Ochako:
▼ My Gumroad Store (Sculpting and Texturing Course, Recordings, and More Cool Character Stuff!):
▼ Help Support Me On Patreon and Get Rewards In Return!
▼ You can follow me at (Social Media):
▼ Don't be shy, leave a comment below ;)!
▼ Sculpting Uraraka Ochako:
▼ My Gumroad Store (Sculpting and Texturing Course, Recordings, and More Cool Character Stuff!):
▼ Help Support Me On Patreon and Get Rewards In Return!
▼ You can follow me at (Social Media):
▼ Don't be shy, leave a comment below ;)!
 0:06:39
Easiest Way To Create Hair in Blender - 5 Minute Tutorial
 0:01:45
How to create stylized hair in blender 80sec tutorial - quickie tuts #03
 0:06:08
How to create FAST Stylized Hair/Fur in Blender 4.0
 0:01:00
Create Fur/Hair in Blender in 1 Minute!
 0:00:46
How to make hair in blender - so fast and easy
 0:02:37
Easiest Way To Create Braid in Blender - Blender Hair Tutorial
 0:13:30
How to Create Hair, Clean and Simple in Blender (Ultimate Guide)
 0:08:28
Blender 2 8 Quick Hair guide How to Create and Place Character Hair
 0:03:33
Fast and Easy Bun - How To Use A Bun Maker
 0:02:24
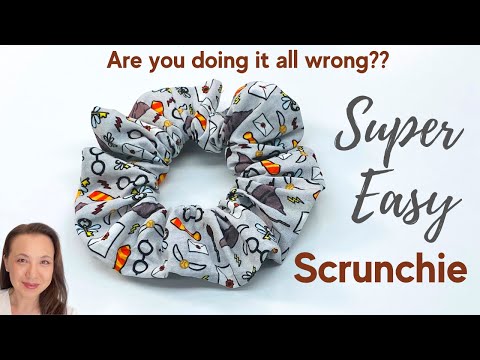
Easiest Way to Make a Hair Scrunchie - EASY DIY sewing project
 0:12:04
How to Create Realistic Hair in Blender 3.5 New Hair System
 0:13:46
Create Stylized Hair - Blender 3
 0:14:40
Easiest way to create Hair in Blender 4.1 (2024)
 0:26:09
Blender tutorial - How to Create Hair
 0:18:57
Blender: How to Make HAIR, Full Workflow | Modelling, Texturing, Normal Editing Hair
 0:10:56
Create Hair Cards in Blender / Hair Textures / Easy Free Tutorial
 0:01:14
Create dynamic Fur/Hair in Blender Tutorial!
 0:15:40
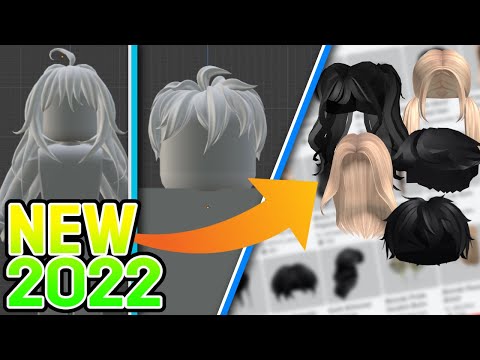
How to make UGC Hair (NEW) {2022} [Tutorial] (ROBLOX)
 0:01:49
DIY crafts - How to Make Simple Easy Bow/ Ribbon Hair Bow Tutorial // DIY beauty and easy
 0:16:24
How to make UGC Hair {Ultimate Guide} (2022) [Tutorial] (ROBLOX)
 0:00:35
Can Eggs Make Your Hair Grow?
 0:00:21
How to make an aloe vera hair mask #aloevera #hairmask
 0:00:24
How to make your hair INSTANTLY longer #naturalhair #hairstyles #hair
 0:00:31
How to Make Natural Hair Soft & Easy to Comb Through with Cristoli Dugla Waves Gel
Комментарии