filmov
tv
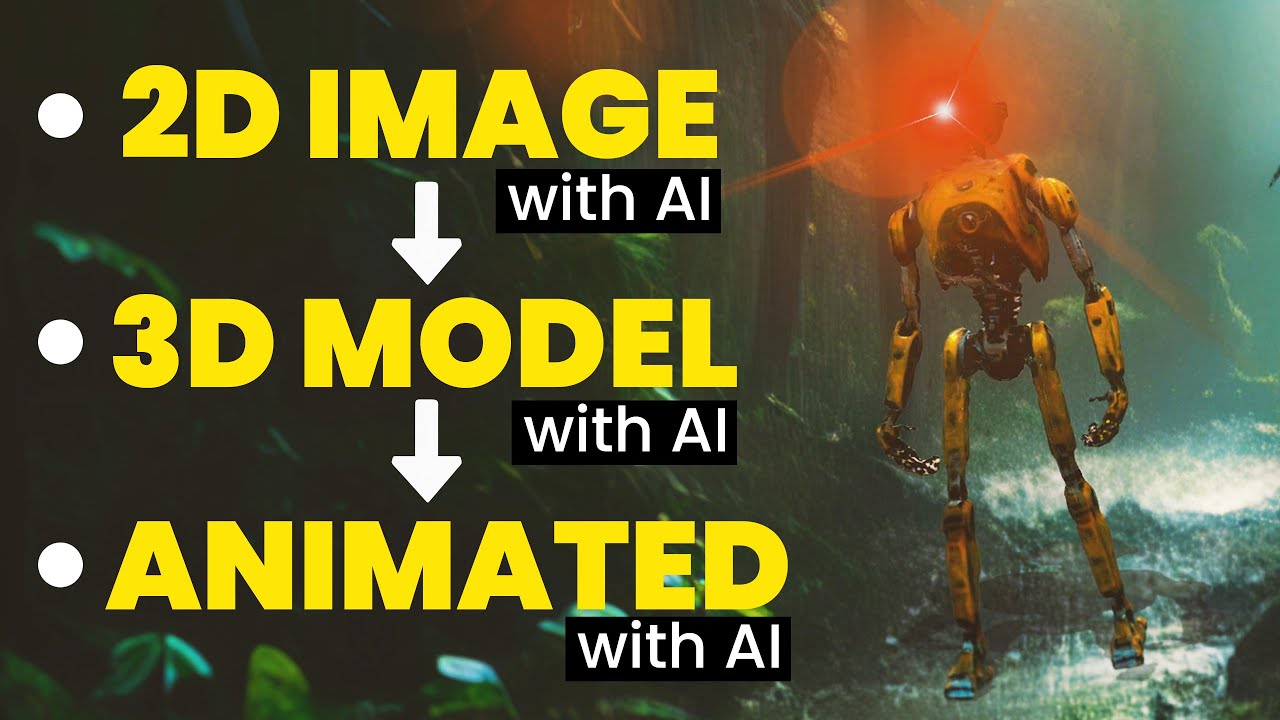
2D Character Image To Full 3D Animation with AI
Показать описание
This video is an in-depth tutorial, where I take you through all the steps to turn a 2D AI character image created in Midjourney into a fully animated 3D character model using AI.
With a mix of AI and traditional composition & motion graphic techniques to set up and add more and more to the scene.
------------------- -------------------- ---------------------
Times
0:00 - Intro
0:56 - Create 2D Image Midjourney
2:38 - 2D to 3D with CSM
4:24 - CSM continued
5:03 - Blender File Conversion
7:06 - Rigging Mixamo
8:15 - Deepmotion
10:47 - Blender Setup
13:56 - After Effects
23:05 - Runway ML
23:04 - Topaz AI
25:03 - Depth Pass Runway ML
25:31 - After Effects
32:30 - Final Result
------------------- -------------------- ---------------------
Discord:
Tools Used in this Tutorial:
- Blender
- Runway ML
- Adobe Creative Suite
- Topaz Labs Video AI: (affiliate link)
------------------- -------------------- ---------------------
After Effects Plugins:
Element 3D:
Optical Flares:
------------------- -------------------- ---------------------
Blender To After Effects Addon Link:
 0:33:04
2D Character Image To Full 3D Animation with AI
 0:02:24
Animate 2D Characters with 360 Degree Movements
 0:01:24
Turn 2D images into Animated 3D Models - Cheat at Blender Tutorial
 0:31:41
Bring 2D AI Characters & Scenes To Life with Budget friendly options.
 0:08:03
Convert a 2D image to a perfect 3D character model - Is it really AI?
 0:05:58
2D Image to 3D Character Model | Create Easy 3d Character Modeling
 0:00:57
Auto Rigging in Moho (2D Rigging toolbox V2.0)
 0:00:43
2D VS 3D portfolio #characterdesign
 0:10:08
HOW TO DRAW 2D CHARACTERS IN PS (10 MINUTE TUTORIAL)
 0:08:07
Free AI for Convert Images to 2D Cartoon, Anime or 3D Animation Style - Image to Image AI Tutorial
 0:03:15
HOW TO TURN 2D IMAGES INTO 3D WORLDS! (Blender Tutorial)
 0:00:39
2D Characters Baseball Game Scene (After Effects Animation)
 0:08:08
Turn 2D Images into 3D Objects with Monster Mash! (Free Web Tool)
 0:00:16
2D Character #character #animation #adobeanimatecc #animations #design #2danimation #hindi #story
 0:06:53
Blender Tutorial - Turn Any 2D Image to 3D Model - Quick & Easy
 0:08:23
The Real Deal of 2D Software: Cartoon Animator 5
 0:22:47
2D IMAGE TO 3D CHARACTER USING A.I PLATFORMS
 0:12:10
What size should your assets be? | HD 2D GAME ART
 0:00:12
✏️ Memories Animation #animation #2D #oldschool #shorts
 0:01:37
Best free 2d animation software with fast bone rigging. Png to Animation in minutes.
 0:00:25
Creating a 2D character from Scratch 🎨
 0:00:43
Character Design | Manoj Dey 2D Character | How to Make 2D Animation | 2D Animation Tutorial
 0:00:39
How to Make Animation | Flash Animation Tutorial in Hindi | 2D Animation | Character Design
 0:00:26
Gorgeous Cartoon Super Bear Animation #animation #framebyframe #animated
Комментарии