filmov
tv
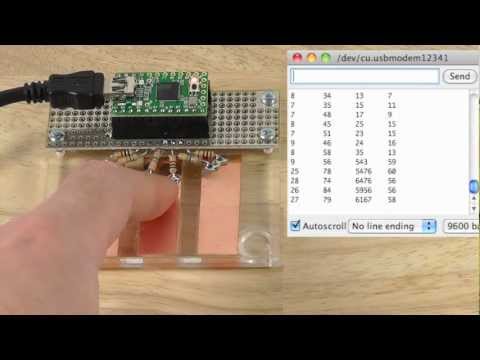
CapacitiveSensor Arduino Library, Demo on Teensy 2.0

Показать описание
Please note, the name of this library was changed due to trademark complaint from Cypress Semiconductor. Please disregard any mention of the former name.
 0:01:29
CapacitiveSensor Arduino Library, Demo on Teensy 2.0
 0:17:26
Simple Complete Step by Step Arduino Capacitive Sensor Tutorial
 0:01:49
nRF52 Capacitive Sensor low level library Demo
 0:00:16
BUILDING a Capacitive Sensor with ARDUINO
 0:00:40
CapacitiveSensor with arduino
 0:01:59
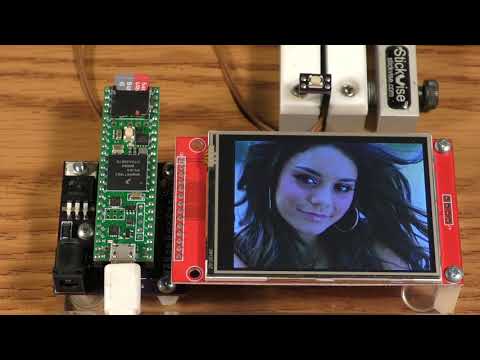
JPEG Library Demo
 0:01:15
Arduino: How to use capacitive touch keypad without using CapacitiveSensor.h Library?
 0:08:51
Arduino Capacitive Touch Sensing!
 0:00:15
Conductive ink + arduino + CapacitiveSensor Library
 0:00:11
Day 3 - Arduino Capacitive Sensor (sound output)
 0:00:07
My very simple capacitive sensor
 0:00:41
Arduino using Capsense Library with a Plant
 0:00:56
CapSense w. Arduino - Capacitive Sensing
 0:08:18
DIY Piano | Transform Your Arduino into a Piano with Capacitive Sensing | Touch-Controlled Piano
 0:02:07
Capacitive Sensor (analog) - recognized thru different materials
 0:00:11
Day 3 - Arduino Capacitive Sensor (sound & servo output)
 0:00:22
Arduino capacitive sensor
 0:01:08
ARDUINO - Capacitive Sensor
 0:00:16
Capacitive Sensor prototype with Arduino Microcontroller
 0:00:25
Capacitive sensing: charge transfer method
 0:00:57
Capacitive Buttons
 0:00:09
Testing Arduino library-based capacitive touch sensor with LCARS prop
 0:00:13
ESP32 Capacitive Touch Sensor Pins with Arduino IDE - XIAO ESP32-S3
 0:01:29
Arduino Capacitive Sensor In LESS THAN 2 MINUTES !!!!!!!!
Комментарии