filmov
tv
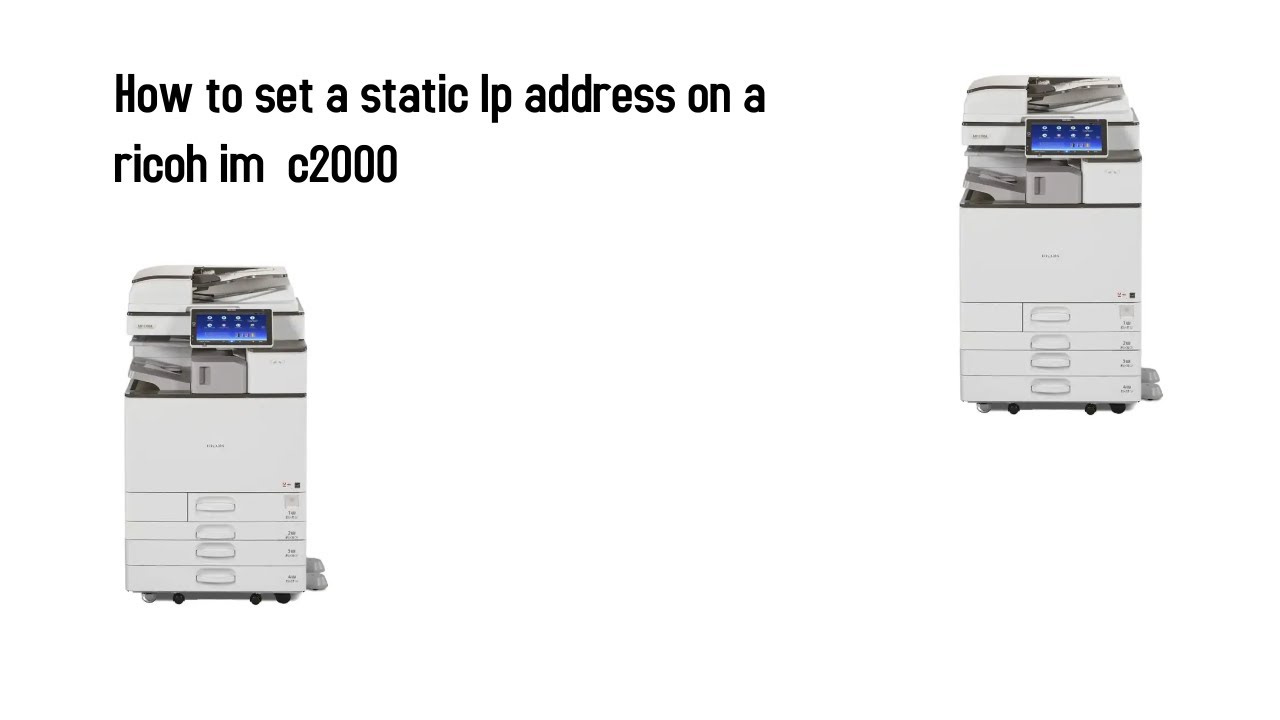
How to set a static Ip address on a ricoh im c2000
Показать описание
How to set a static Ip address on a ricoh im c2000
To set a static IP address on a Ricoh IM C2000 printer, you can follow these steps:
Obtain the IP address information: Before setting a static IP, gather the necessary information such as the desired IP address, subnet mask, default gateway, and DNS server addresses. Consult your network administrator or refer to your network settings for this information.
Access the printer's web interface: Open a web browser on a computer connected to the same network as the Ricoh IM C2000 printer. Enter the printer's IP address in the address bar of the browser and press Enter. This should open the printer's web interface.
Login to the web interface: If prompted, enter the administrator login credentials for the Ricoh IM C2000 printer. By default, the username is "admin" and the password is blank. However, if you have changed the default login details, use the updated credentials.
Navigate to the network settings: Within the printer's web interface, find the network settings section or tab. The exact location may vary depending on the firmware version of your Ricoh printer.
Configure the static IP address: In the network settings, look for the option to set a static IP address. Enter the desired IP address, subnet mask, default gateway, and DNS server addresses in the appropriate fields. Ensure that the values match your network configuration.
Apply the settings: After entering the static IP address and related information, save the settings by clicking on the "Apply" or "Save" button within the printer's web interface. The printer will apply the new settings and restart.
Verify the static IP address: Once the printer restarts, ensure that it is assigned the static IP address you configured. You can check this by printing a network configuration page from the printer or by checking the printer's network settings in its web interface.
By setting a static IP address on the Ricoh IM C2000 printer, it will consistently use the specified IP on your network. It's important to choose an IP address that does not conflict with any other devices on the network and to update any necessary settings on connected computers or devices to reflect the new static IP address.
Fully featured, this intelligent 20 ppm A3 all in one printer is equipped with an ARDF and can print, copy and scan in colour. Its super-sized 10.1 inch Smart Operation Panel features an intuitive touch and swipe interface which simplifies operation. To save time, it lights up on approach, allowing users to pre-select applications and settings. And, because the all in one printer incorporates Ricoh’s Always Current Technology™, it is easy to download new features.
COMMISSION REGULATION (EU) 2019/2020. The light source of this product is not intended for applications other than image printing.
 0:04:39
 0:06:09
 0:00:43
 0:02:38
 0:25:59
 0:01:41
 0:10:03
 0:03:50
 0:56:35
 0:02:25
 0:18:03
 0:11:41
 0:10:46
 0:04:54
 0:03:10
 0:05:12
 0:01:22
 0:01:33
 0:07:08
 0:02:50
 0:01:34
 0:05:15
 0:02:14
 0:05:41