filmov
tv
How to add push notifications in WordPress (for free)

Показать описание
Onesignal:
Chapters:
Intro : 0:00
Creating Onesignal account: 0:29
Configuring Onesignal: 01:07
Installing the plugin: 01:58
Connecting Onesignal to the site: 02:29
Testing notifications: 04:18
Sending custom messages as notifications: 05:17
Thanks for watching! : 06:32
Hi guys,
In today’s video, we are going to see how to add push notifications in WordPress for free.
If you’re new to this channel, make sure to subscribe and hit the bell icon.
So that you won’t miss any interesting updates from us.
Create an account by entering email, password, and name
Once you receive the confirmation email, open it and click confirm your account
You will be taken to the configuration page
We can also use one signal to send notifications to IOS, Android, and many others.
But for now, we are going to choose web push, that is for web browsers
Three methods can be used to configure it.
Select Wordpress since we are using it
Enter the site name and the URL.
Make sure to add the URL with https://
Finally, Click save
So now we have the App ID, and API key.
Go to the WordPress dashboard of your site
Hover your mouse over the plugins and click add new
Search for one signal
Install the plugin and activate it
Once activated, click onesignal
Now, click configuration
Now, go back to the one signal and copy the app ID and API key
Paste them in the respective field
If you’re using an HTTPS connection, make sure to turn it on
Now, go back to the one signal and click finish
So now, we are going to enable push notifications for safari.
Unlike other browsers, We have to do it separately for safari.
Click Apple Safari
Enter the name and the URL of the site with https://
After entering the details, click next
Choose WordPress and click next
Copy the safari web id, and get back to the site.
Now paste it there.
Scroll down and enter the name of the site
We can configure the notification bell and the text here
Scroll all the way to the down and click save
So now, let’s test it
When people visit the site, they will be prompted with a message asking them to allow the notifications.
If they click allow, they will be added to our subscription list
Now, let’s post an article and see if it works
One signal will appear while creating a blog.
You can also turn this off to prevent notifications for a particular blog.
As soon as we publish it, onesignal sends the notification with the featured image.
When people click it, they will be taken to the blog.
Now, let’s send custom messages as notifications
Log in to the account if asked
Now, click our site and click + new push
Enter the title, and the message
If you want, you can also upload an image
Finally, enter the URL
Make sure to add it with https:// format.
Click platform settings and enable or disable notification for specific browsers, if you want.
You can also schedule the message by enabling the option.
Scroll down, and click confirm
Finally, click send message.
When people click it, they will be taken to the URL we entered before.
That’s it, guys!
If you have any doubts, feel free to ask me in the comments down below.
Don’t forget to like, share, and subscribe and make sure to hit the bell icon, so that you never miss an update.
That’s it, guys!
Thanks for watching!
#onesignal #wordpress #pushnotification
 0:06:11
How to add push notifications to website
 0:11:38
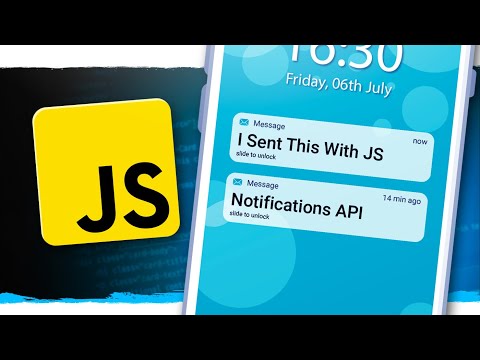
How To Send Push Notifications With JavaScript
 0:00:27
Push Notifications are NOT what you think
 0:00:21
iOS Safari Web Push Notifications Demo #coding #magicbell #pushnotifications
 0:13:21
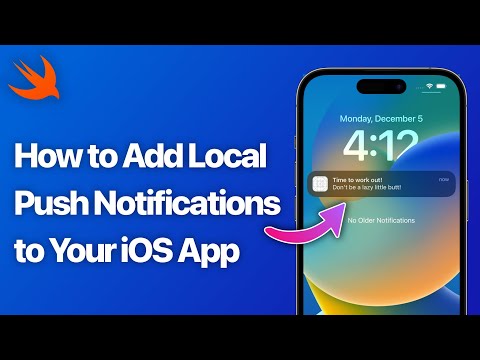
Swift: Push Notifications Tutorial (2024) – iOS Development
 0:17:27
How To Add Web Push Notifications To Your WordPress Website
 0:58:11
How to add Push Notifications to a Next.js App w/ Firebase Cloud Messaging! (Tutorial for Beginners)
 0:00:59
How Push Notifications Actually Work (behind the scenes)
 0:17:51
How to Add Push Notifications using Firebase | In ReactJs | To Boost User Engagement
 0:12:44
How To Add Push Notifications For A Blogger Website
 0:07:29
How to Add Push Notifications to Your WordPress Blog
 0:03:04
Firebase Push Notifications in Android Studio | Beginner's Guide
 0:19:28
Setup Push Notifications in your Expo App
 0:25:52
The Push Notifications Guide for Ionic & Capacitor
 0:01:38
How to Add Push Notifications to WordPress
 0:11:32
WWDC23: Meet Push Notifications Console | Apple
 0:01:55
How to Setup Xcode for Push Notifications on ByteBrew in 2 Minutes! | ByteBrew
 0:10:14
React Native Local Push Notifications Tutorial
 0:03:01
How To Add Push Notification In Wordpress [Easily]
 0:11:39
How to Add Push Notifications in WordPress Website
 1:06:31
How to Implement Firebase Push Notifications on Android (FCM + Backend)
 0:18:14
how to add push notifications to website To Your WordPress Website (WP Notification Bell)
 0:08:43
How to Add Local Push Notifications to Your iOS App with Swift
 0:17:24
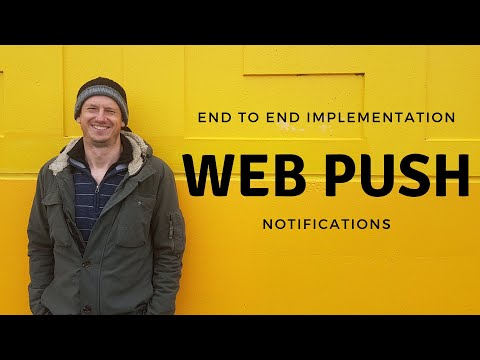
Web Push Notifications - End to End implementation
Комментарии