filmov
tv
DIY How To Build a Floating Shed Foundation

Показать описание
Need Answers or Advice for your DIY Project?
BECOME A DIY MEMBER NOW! Click 👇🏼
► Get FULL access to me and my team for Q and A’s in the DIY Crew Forum
► Participate in LIVE streams for live consulting and Member support!
🔨 PRODUCTS IN THIS VIDEO 🔨
Shop Jeff’s favorite tools and great products and help support our next project!
► For up to date discounts visit our website:
Power your handyman or home service business with Jobber👇🏼
🔨 SHOP JEFF'S FAVOURITE TOOLS 🔨
CHAPTERS:
0:00 - Shed Building Basics
1:10 - Deck Frame Squaring Tips
3:10 - Ridge Beam & Joist Planning
5:50 - Protecting Wood with Cut-N-Seal
8:10 - Camo Blocks Installation Prep
14:00 - How to Mark Off for Floor Joists
17:15 - How to Level a Floating Deck
18:59 - Point Load Transfer Techniques
22:19 - Deck Joist Installation Guide
26:37 - Shed Stabilization Blocks
31:10 - Shed Floor Assembly
34:03 - Joist Hanger Nailing Process
WHAT TO WATCH NEXT:
#justdoityourself #lovingit #perfecteverytime
If you found this video useful and entertaining please subscribe to our channel 💪
SUBSCRIBE TO OUR SPANISH CHANNEL 👇🏼
FOLLOW US ON SOCIAL MEDIA
Disclaimer:
Videos produced by Home RenoVision DIY are provided for informational and entertainment purposes only. All material provided within this website is for informational, educational, & entertainment purposes only. Some of these projects, materials, and techniques may not be appropriate for all ages or skill levels. The DIY instructions used here are used to simply breakdown projects to their simplest steps. Please use a clear mind and use all safety precautions while following the tutorials provided by this site. Home RenoVision DIY does not make any claims of the safety of the projects, techniques, or resources listed on this site and will not take responsibility of what you do with the information provided by this site. Viewers must be aware by doing projects on their homes they are doing it at their own risk and HRV cannot be held liable if they cause any damage to their homes. With different codes around the world and constantly changing standards, regulations and rules, it is the sole responsibility of the viewer to educate themselves on their local requirements before undertaking any sort of project. That being said Home RenoVision DIY cannot claim liability with all applicable laws, rules, codes and regulations for a project. Be safe, have fun renovating and ALWAYS stay informed with your local building code.
HomeRenoVision DIY may earn an affiliate commission if you purchase something through recommended links. #commissionsearned
 0:08:07
DIY - How To Build Beautiful Villa And Swimming Pools With ASMR Magnetic Balls
 0:27:33
Building a DIY submarine
 0:16:37
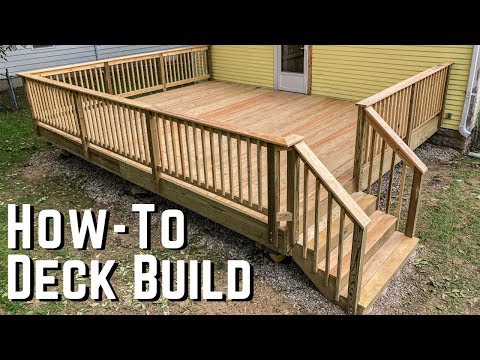
How To Build A Deck // DIY Home Improvement
 0:10:01
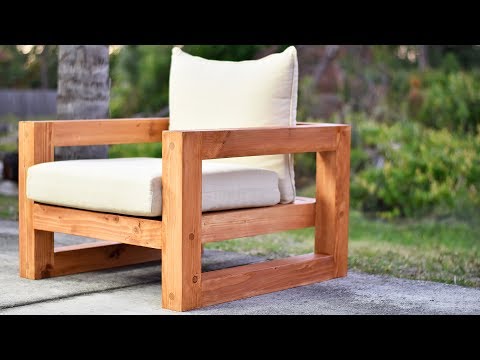
DIY Modern Outdoor Chair
 0:16:25
How to make A Workbench | DIY WOODWORKING
 0:19:59
One Man Roof Build: Rafters | DIY Off-Grid House Build
 0:08:21
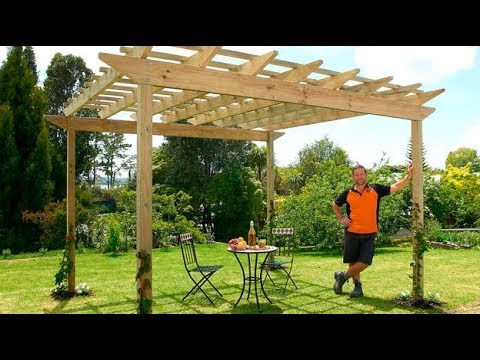
How to Build a Pergola | Mitre 10 Easy As DIY
 0:08:27
How To Build A DIY Pergola | Build Or Buy - Is It Worth It?
 0:00:58
How to build a CHICKEN SWING #diy #chickens #swing
 0:05:15
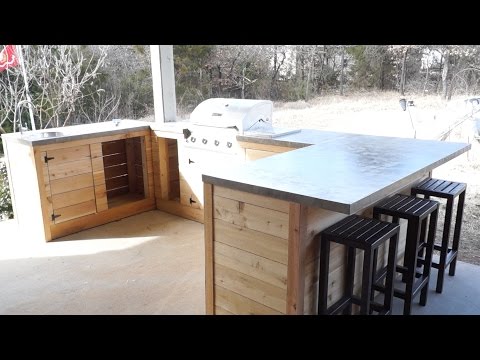
DIY Modern Outdoor Kitchen and Bar | Modern Builds | EP. 21
 0:09:36
How To Build a Modern Plywood Media Console // DIY
 0:05:22
How to Build a Floating Mantel | Fireplace Wooden Mantel DIY
 0:13:09
DIY CLOSET // MODERN Wardrobe with a drawer
 0:06:23
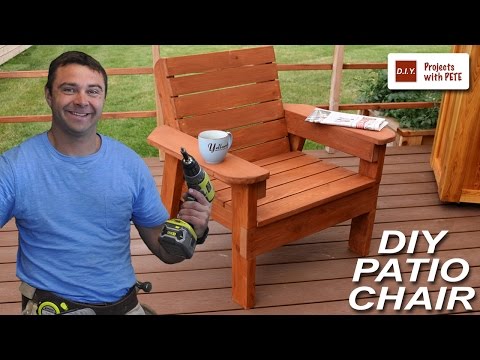
How to Build a Patio Chair - DIY Outdoor Chair Build
 0:13:48
EASY MODERN PERGOLA DIY | Build a Pergola UK | Lean-to Attached Pergola | Shade Shannon
 0:16:10
DIY 2x4 Workbench for Under $100 | Modern Builds | Woodworking
 0:08:13
DIY Modern Indoor/Outdoor Sofa Made From 2x4's
 0:10:45
How To Build A Workbench For Your Garage | Easy 2x4 DIY!
 0:23:48
DIY SCHOOL BUS TINY HOUSE CONVERSION EP. 1 | MODERN BUILDS
 0:04:11
How to Build a Concrete Wall | DIY Projects
 0:31:58
99 - DIY Shed - Complete Instructions - Best Tutorial There Is!
 0:04:57
DIY Modern Outdoor Bench | Modern Builds | EP. 30
 0:18:50
Learn How To Build a Deck with Wood | DIY Projects
 0:06:58
How To Build a HIGH QUALITY Dining Table with LIMITED TOOLS // #DIY // #Woodworking
Комментарии