filmov
tv
City Tiles Are Better Than Battlemats - And I'll Show You Why!

Показать описание
Thank you so much to anyone who goes to check these guys out and helps support the channel :)
City Tiles are one of those things that makes me really excited to make terrain for D&D. The realistic look you can achieve with these kinds of tiles, as opposed to flat, shiny printed battlemats is part of what really sold me on making my own terrain!
Battlemats are ok as a starter, but they never inspired me, and always felt (to me!) like it was boiling a cool D&D scene down to a very basic level 😕 They just didn't have enough texture, height and detail.
Making my own means I can control how big the tiles are, where they come apart, what accessories I can add and where as well as how easy it is to add details like dirt, puddles and so on.
This is the sort of thing where its actually harder to do it with a product you buy, because they were designed with a specific system in mind, and if you don't like that system or only want one part of it....tough. You get the same as everyone else.
Or you take back control and make your own 😁
Everything I use should be linked on the equipment list above, so it's also a library of where to find stuff…
🔔 Subscribe and click the bell for more D&D terrain!
👍 If you found this helpful, help me out and like the video up there!
BUILDS FEATURED IN THIS VIDEO:
BUILDINGS
LANDSCAPE
SCATTER AND ACCESSORIES
OTHER USEFUL STUFF:
Timestamps:
00:00 Intro/Making the tile
04:12 Adding the top textures
11:00 More on how they work
12:46 Adding Details
15:14 Painting
16:30 Final weathering and details
Follow the channel to make sure you catch new videos as they're released:
#Rparchive #ArchiveLandscapes #Archivemodularterrain
 0:19:28
City Tiles Are Better Than Battlemats - And I'll Show You Why!
 0:06:13
Faster AND Easier than using a 3D Printer = Better City Tiles!
 0:15:56
I Almost Gave Up Making These CITY TILES For D&D
 0:01:30
CITY TILE PALACE MUNDAKKAYAM
 0:09:38
Anong Tiles ang Dapat mo Bilhin??
 0:05:10
Advantages at Disadvantages ng Iba't-ibang uri ng Tiles.
 0:25:33
Street Terrain Tiles for Table Top RPGs such as Dungeons and Dragons
 6:44:31
🔴 All Video Tiles Hop MEGAMIX Inside Out 2 vs McQuuen vs Poppy Play Time vs Sonic | Tiles Hop LIVE...
 0:05:03
Cities vs Towns in Civilization 7 (Loud Edition)
 0:08:31
PRESYO NG TILES 60CM X 120CM AT 80CM X 80CM SA CITI HARDWARE
 0:10:51
Citihardware 60x60 / 40x40 Tiles Pricelist 2023
 0:21:10
TILES , MAGKANO ANG MGA PRESYO NGAYON ? Tile Prices , Design , and Dimension Floor Tiles Wall Tiles
 0:00:11
500×500×25cm WPC deck tiles
 0:08:47
My 3 Biggest Regrets After 6 Years of Solar
 0:00:22
Cities Skylines Remastered 25 Tiles!! #ps5 #citiesskylines #citiesskylinesremastered
 0:06:21
I-Team: Hidden cameras reveal dark side of solar power
 0:14:27
(Civ 6) Why You Should NEVER Improve Tiles In Civilization 6 || Tips For Civilization 6 / Civ 6
 0:04:43
Master the Cities Skylines 81 Tiles Mod | Cities Skylines Beginners Guide
 0:00:18
Italian Marble Look Vitrified Tiles Design #shorts
 0:22:19
Better than LEGO: Medieval Forge House + lights reviewed | 'FunWhole' brand #NOTsponsored
 0:15:50
floor tiles price in pakistan , floor tiles design in pakistan | granite tiles |
 0:00:39
How to save money when buying tiles in Civ 6 - PotatoMcWhiskey
 3:59:00
Dehli Community Cricket League Season #3 | Match 19 | THE CITY TILES vs SURRATI PERFUMES
 0:06:36
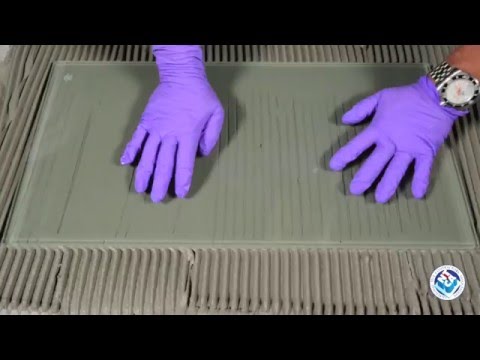
Trowel and Error - How to Set Tile the Right Way
Комментарии