filmov
tv
Multi Function Trim Router Jig $10 || DIY TRIM Router Jig

Показать описание
!!You can Download Plans from here:
This is a simple, easy to use trim router jig that can be used for a variety of projects around the house! With this jig, you'll be able to easily trim a variety of materials, like wood, plastic, and glass.
This trim router jig is a great way to save money and achieve precise results in your projects. It's easy to use and can be assembled in minutes, so get your hands on this jig and start trimming today!
Multi Function Trim Router Jig for 10$! 6-IN-1 TRIM Router Jig - freehand routing, inlays, edge-banding, mortises, dados, circles & more!
#jig, #router, #polkilo
 0:09:53
Multi Function Trim Router Jig $10 || DIY TRIM Router Jig
 0:19:56
How to Use the 6-in-1 Universal Trim Router Jig
 0:08:20
I designed what I wished for...
 0:06:08
Amazing DIY and Crafts Multi Function Trim Router Jig
 0:00:58
Multi Function Trim Router Jig #shorts #diy #trending #amazing
 0:25:25
6-IN-1 TRIM Router Jig - freehand routing, inlays, edge-banding, mortises, dados, circles & mor...
 0:01:00
Most Advenced Trim Router Jig
 0:01:40
Rockler Trim Router Circle Jig Review | Consulting Woodworker
 0:07:45
Why Didn't I Think of this Before? Essential Tool for Woodwork - Super Deluxe Model
 0:16:48
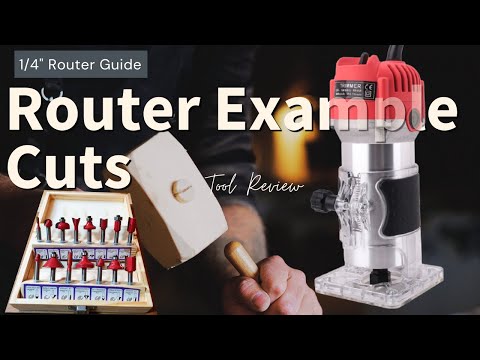
Trimmer Router & 15 Router Bits Cutter. FULLY DETAILED Example Cuts
 0:11:39
My First Manufactured Product || How to cut Circles?
 0:25:27
Benchtop Router Table for the 6-in-1 Trim Router Jig
 0:08:02
Application of 3 Attachment jigs / makita trimmer / woodworking
 0:18:08
How I Brought my Dream to Life || From Idea to Kickstarter
 0:00:23
Unboxing-PIONEER trim router jig
 0:02:12
Stabilmax Trim Router Base
 0:13:57
How to Make a DIY Multi-Use Wood Router Base Plate
 0:13:04
How to use a Router | Woodworking Guide for Beginners
 0:01:01
Trend Varijig Adjustable Frame & Guide
 0:29:24
10 Simple Trim Router Jigs / Diy woodworking
 0:03:03
DIY Router Multi-Sled DOES IT ALL!
 0:11:49
Multi Purpose Router Jig | Router Circle Cutting Jig
 0:34:46
Making a 10 in 1 Workbench
 0:13:03
Top Features of The Multi-Function Router Base | PART 1 | Woodpeckers Deep Dive
Комментарии