filmov
tv
Brake Caliper Slider Pin Grease - How Much is Too Much ?

Показать описание
What happens if you put too much grease on your brake caliper slider pins ?. In this video I grease the slider pins with different amounts of grease on the pins to see how each amount affects the operation of the pins. The caliper bracket I used for this demonstration used two identical pins with concave tips and three flat strips ground onto the shaft of each pin. This was only a basic bench test with one particular type of brake caliper pin and bracket and does not necessarily replicate what the brake caliper will do when operating under load in actual braking conditions. There are many different caliper pin designs and some of them also have rubber bushings installed on the shafts, so the results could be very different to the pins used in the video. I would recommend always using the correct amount of suitable, rubber-friendly caliper grease and avoid getting any grease on the tips of the slider pins or, if you do, wipe it off before reinstalling the pin.
This job can be carried out with the bracket still bolted to the vehicle, but I used a new caliper on the bench for clearer demonstration. NOTE: If you are lubricating pins that have been in use on your vehicle, you will need to clean out the old grease from the bores and clean the slider pins before applying new grease and re-installing them.
It is important to lubricate your brake caliper slide pins as failure to do so may cause them to stick or even completely seize up which could cause uneven wear of your brake pads. The car may appear to drive normally, but the pads will only be pushed onto the disc from the piston side. This will give reduced braking ability on one wheel, and wear out the pad on the piston side much faster. The pads could also stay stuck against the rotor which will build up heat in the brakes and wear your pads down even quicker. Thanks for watching. Please comment, like and subscribe !.
~~~~ Part Links ~~~~
As an Amazon Associate I earn from qualifying purchases.
All of my uploaded material is protected under copyright law. None of my videos may be re-uploaded, reproduced or transmitted, in part or in full, in any form or by any means, without the written permission of the copyright holder.
Read important information below:
Disclaimer:
My videos are a guide to making repairs and also to provide helpful information.
Do not attempt to make any repairs unless you’re sure you know what you’re doing. For more detailed information, if something is not clear to you, or you don't understand something, have the repair carried out by a qualified mechanic or at your local car dealer. Any repair you carry out on your car you do at your own risk.
Under no circumstances will Screwsnutsandbolts be responsible or liable in any way for any content, including but not limited to, any errors or omissions in the content, or for any loss or damage of any kind incurred as a result of any content communicated in this video, whether by Screwsnutsandbolts or a third party. In no event shall Screwsnutsandbolts be liable for any special, indirect or consequential damages or any damages whatsoever resulting from loss of use, data or profits arising out of or in connection with the availability, use or performance of any information communicated in this video. Due to factors beyond the control of Screwsnutsandbolts, it cannot guarantee against improper use or unauthorized modifications of this information. Screwsnutsandbolts assumes no liability for property damage or injury incurred as a result of any of the information contained in this video. Use this information at your own risk. Screwsnutsandbolts recommends safe practices when performing any do it yourself repairs and or with tools seen or implied in this video. Due to factors beyond the control of Screwsnutsandbolts, no information contained in this video shall create any expressed or implied warranty or guarantee of any particular result. Any injury, damage, or loss that may result from improper use of these tools, equipment, or from the information contained in this video is the sole responsibility of the user and not Screwsnutsandbolts.
 0:00:43
Brake Grease? Use The Right Caliper Slide Pin Lubricant!
 0:08:09
Brake Caliper Slider Pin Grease - Which is Best ?
 0:00:49
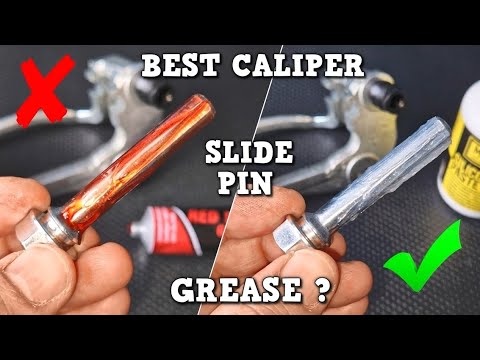
Best Brake Caliper Slider Pin Grease ? #best #brake #caliper #slide #pin #grease
 0:01:00
How to Grease Your Brake Caliper Slider Pins #slider pins #caliper grease #brake caliper grease
 0:01:15
How Properly to Lubricate a Caliper - Ultra Disc Break Caliper Lube | Permatex
 0:08:58
Brake Caliper Slider Pin Grease - How Much is Too Much ?
 0:02:57
PSA Stop Using Permatex Extreme Lube on Slide Pins
 0:02:33
Dont make this mistake when you grease you caliper sliding pins | typical mechanic TIP
 0:04:57
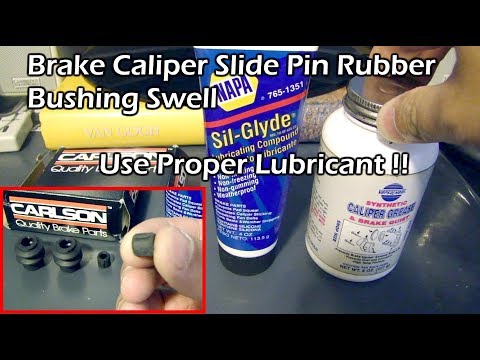
Brake Caliper Slide Pin - Proper Lubricant to Prevent Rubber Swelling - Sil-Glyde
 0:03:20
Volvo caliper slide pins grease review
 0:12:38
Brake Caliper Slide Pin Grease
 0:03:27
ProSlip PIN - The Only Caliper Pin Lubricant engineered just for sliding caliper pins.
 0:02:19
HOW TO GREASE CALIPER SLIDE PINS #mechanic #automobile #tools #automotive #diy #car #ytshort #fix
 0:03:51
Best Caliper Greases Review 2025 [Top 3 Pick]
 0:07:25
Top 10 Brake system GREASING Points, How to grease the brake system
 0:00:13
Use Correct Lube For Brake Slider Pins
 0:10:17
How to Replace Brake Caliper Pins and Boots
 0:01:01
How to clean and #grease your #brakecaliper #slide-pin #PontiacG6GT
 0:08:17
Best Grease for Brake In 2025 - Top 10 Grease for Brakes Review
 0:02:35
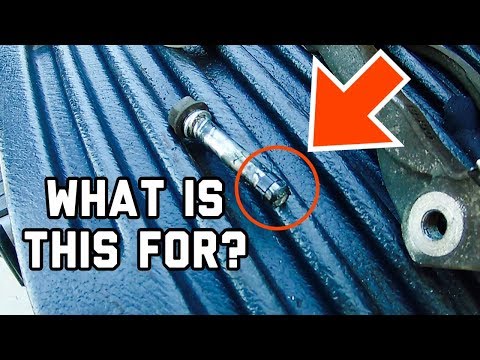
What is that piece of rubber 'tube' on the lower brake caliper pin? | Honda | Toyota | Lex...
 0:05:21
Brake Caliper Slide Pin Rubber Bushing - Top or Bottom ?
 0:01:00
How to properly grease your brake caliper guide pins #honda #automobile #diy #howto #ucanfixit
 0:00:17
How to: Greasing caliper slide pins?
 0:02:38
THE 5 BEST CALIPER GREASES || YOU CAN BUY ON AMAZON
Комментарии