filmov
tv
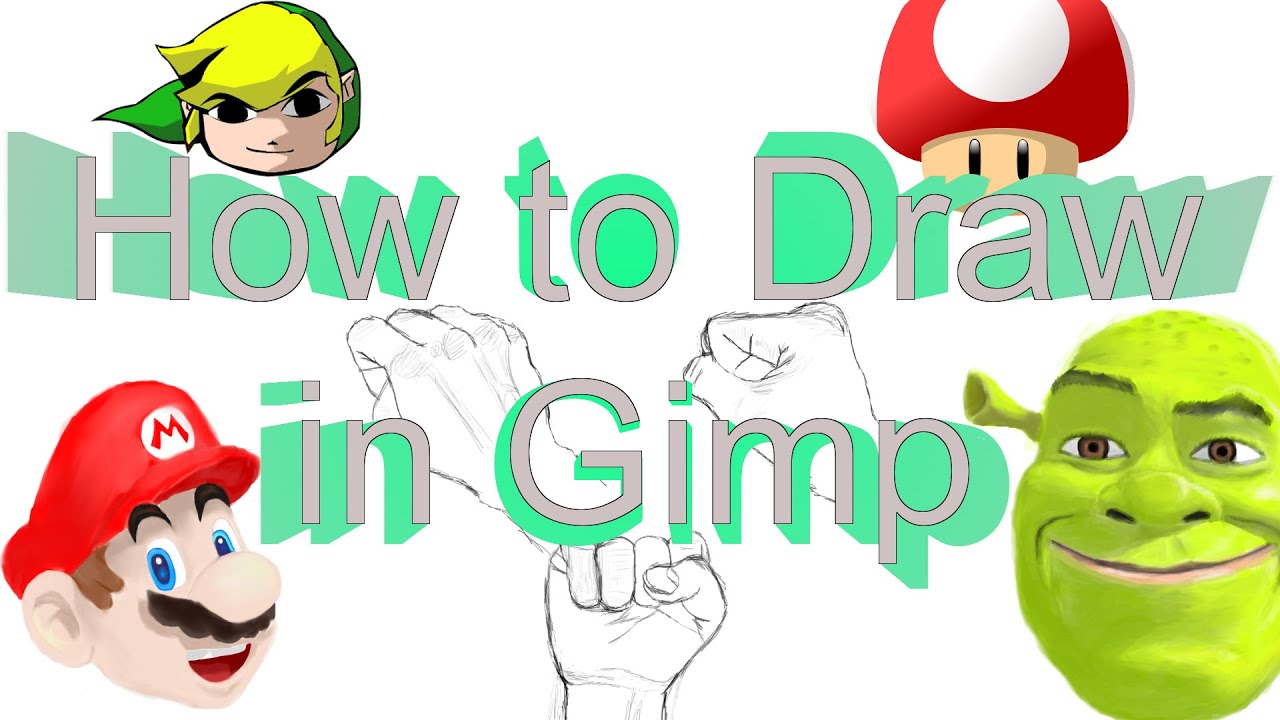
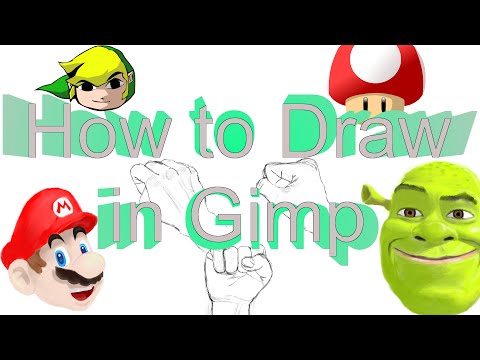
How to use Gimp like an Artist (How to draw in Gimp)
Показать описание
open up gimp and create a new file. make the file size at least 1000 by 1000. I’m making it 1080 by 1920 pixels. Also we need to go into advanced options. And change the X resolution and the Y resolution. Change it to about 300. Fill the image with white.
The sketch method. make sure your tablet is connected to your computer. Then click the gimp tab and click Input devices. Click the icon that looks like a paintbrush. Mine says ‘Quartz Pen’. Go to mode: and change where it says ‘disabled’ and make it say ‘screen’ then click save. Now you can use your tablet with gimp. To test this out double click the paintbrush tool. Then where it says ‘dynamics’ change the dynamic to Pressure Opacity. Then draw lightly around your screen. Then try and apply pressure to your pen when drawing. If it got darker when you applied pressure then your tablet was successfully paired to Gimp.
The paintbrush tool simply acts as a paintbrush by drawing wherever you draw. The paintbrush tool uses your foreground color as your ink. With the paintbrush tool we can change the brush shape by clicking this and choosing a few brushes. We can also change the size of the brush here. We will not change the Aspect Ratio and the Angle those must stay at 0. We can also apply dynamics. Basically these change how the brush works or draws depending on which one you select. For our purposes we will change the brush size between 3.0 and 5.0, We will be using 3 brushes. Those brushes are: Hardness 050, Hardness 100, and Pencil Scratch. You can use these brushes interchangeably, which one you use regularly is simply personal preference. We will also change the dynamics. Click on the dynamics button, then click on the bottom right hand corner and click this dynamics button. Now over here we will create a new custom dynamic. To do that click this paper icon. Name this. Pressure Opacity & Size. Then click these two boxes where it says Pressure Opacity and Pressure Size. Then close these two tabs. Now go back to dynamics and click Pressure Opacity & Size.Now it’s very comfortable to sketch pictures like this. I’m going to sketch a line-art. If you mess up you can simply use the eraser tool or click the undo button a few times. Now that our sketch has its basic shape we want to finalize it. To do that click this icon here and make a new layer. Make the layer transparent and click okay. Go and double click the ink tool. Make sure the opacity is 100, then click smooth stroke. Leave the quality at 20 and the weight at 50. Then go over to size and make it between 1.0 and 2.0. I’m making it 1.0. Then rename the transparent layer you just made by right clicking it and clicking edit layer attributes. Rename it to Lineart. Now trace over your sketch. For all the curvy parts use one smooth continuous stroke. Take your time. For all of the hard edges such as this. Make individual strokes that meet up on angles like so. If you can’t see your ink because the sketch is too dark below. Then simply change the color of the sketch, by using the fill tool and filling your sketched lines with a light-blue or red. Once you’re done. Make another layer by clicking here, except this time make it a white layer. Then drag that layer under the lineart layer. Now I know the lineart looks a little dumb; but now we’re going to make it a lot better. To do that rename the white layer to Coloring and shading. Then select the paintbrush tool. Make the size roughly 20, turn the dynamics off, and select the Hardness 050 brush. Then select your base colors. Mine will be red and blue, and start coloring in your picture. Don’t worry about shading or being accurate yet. Once you’ve added your base colors. You can start shading. To shade simply determine where the light is coming from. For us we’ll make it from the left. Then double click the doge and burn tool. Keep the brush at hardness 050, and the size at 20. Make sure dynamics are off. Keep the opacity at 100, and make the exposure 100 as well. Then Select dodge. Dodge makes the colors you go over brighter. To make certain colors brighter using dodge click shadows or highlights. Shadows make darker colors like blue brighter. Highlights make lighter colors like red brighter. (you should only use highlights for shiny objects like metals or liquids for realistic affect) Since we covered our image with base tones there’s no need to select the mid-tone option. Now we’ll select the burn option. The burn option makes whatever area we want; darker or in other words gives it shadow. We’ll toggle between highlights and shadows while using the burn tool.
 0:36:42
🎨 How to use GIMP - Beginner Tutorial
 0:08:35
GIMP in Less Than 10 Minutes: Beginners Guide
 0:13:20
How to Use Gimp (Free Photoshop Alternative): Beginner’s Guide Tutorial
 0:21:54
How to use Gimp like an Artist (How to draw in Gimp)
 0:25:30
How to Edit Your Images in GIMP, Like a Pro
 0:11:00
Make GIMP Work And Look Like Photoshop
 0:00:56
Use This Gimp Tip to Remove Picture Backgrounds Quickly
 0:22:40
LEARN GIMP IN 20 MINUTES - Tutorial for Beginners 2022
 0:01:39
How to make Battle Units [Tutorial]
 0:14:13
Photoshop vs GIMP: A Complete Comparison
 0:12:12
Use GIMP's AI Technology To Remove Backgrounds Easily
 0:01:39
Make GIMP Look like Photoshop
 0:11:16
BEST FREE Photo Editing Software for PC
 0:03:55
Make Your Photos Look Better - GIMP 2.8 Tutorial
 0:10:45
GIMP vs Krita Which is Better
 0:09:15
9 Best GIMP Plugins and Add-ons RIGHT NOW
 0:07:18
GIMP - Make GIMP Function and Look More Like Photoshop By Installing PhotoGIMP Plugin
 0:08:44
#1 Photoshop alternative is NOT GIMP
 2:12:18
Learn How To Use GIMP 2 10 For Beginners
 0:05:30
I Converted GIMP to Photoshop
 0:07:53
How to use Gimp as a new digital artist!
 0:13:48
How to Use GIMP (Beginners Guide)
 0:07:00
HOW TO GLOW - PHOTOMANIPULATION GIMP TUTORIAL
 0:09:11
How To Retouch Blemishes Like a Pro In GIMP
Комментарии