filmov
tv
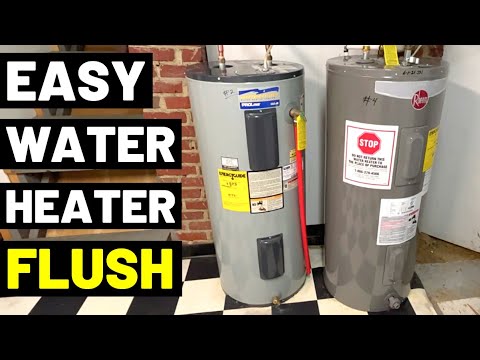
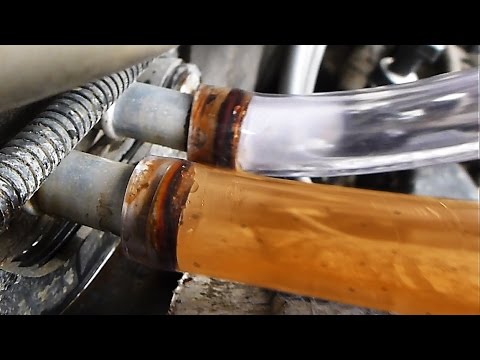
EASY WAY to FLUSH your HOT WATER HEATER TANK

Показать описание
Don't let you HOT WATER tank fail FAIL early and ensure you are getting the MOST HOT WATER possible while saving money if you know the EASY way to flush out the inside without special tools or expensive chemicals.
This video, description & comments may contain affiliate links, which means that if you click on one of the product links, I’ll receive a small commission. This helps support the channel & allows me to continue to make videos like this. Thank you for the support!
Check me out on Instagram for great photos and more project updates
Disclaimer:
Due to factors beyond the control of Silver Cymbal, I cannot guarantee against improper use or unauthorized modifications of this information. Silver Cymbal assumes no liability for property damage or injury incurred as a result of any of the information contained in this video. Use this information at your own risk. Silver Cymbal recommends safe practices when working on machines and or with tools seen or implied in this video. Due to factors beyond the control of Silver Cymbal, no information contained in this video shall create any expressed or implied warranty or guarantee of any particular result. Any injury, damage, or loss that may result from improper use of these tools, equipment, or from the information contained in this video is the sole responsibility of the user and not Silver Cymbal.
 0:06:50
How to Quick Flush Your Cars Cooling System
 0:22:07
How to SUPER FLUSH your Cars Cooling System
 0:02:57
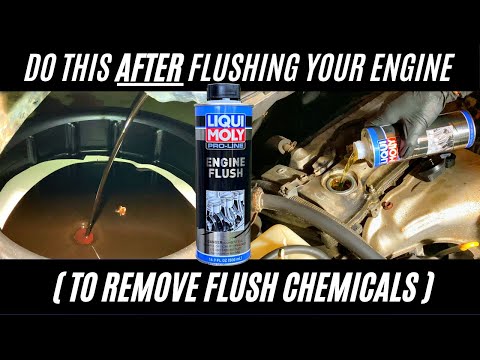
The Correct Way to Flush Your Engine - Leaves No Residue
 0:03:22
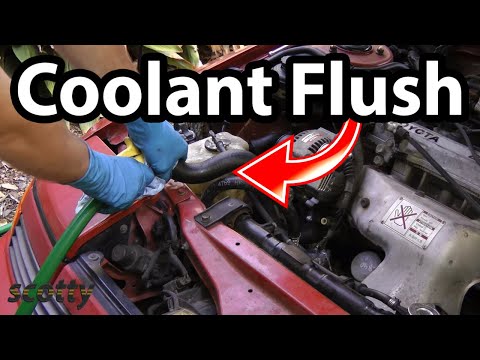
How to Flush a Coolant System in Your Car (the Easy Way)
 0:02:09
Correct Way to FLUSH WATER HEATER! 2-Minute Tutorial
 0:03:35
EASY WAY to FLUSH your HOT WATER HEATER TANK
 0:04:36
Unbelievable Trick to Make Your Toilet Flush Like Never Before!
 0:02:07
How to Flush a Radiator
 0:00:43
NuFlush Toto Adjustable Fill Valve | Universal Fit for Optimal Toilet Performance
 0:21:25
How to Flush Your Coolant! (at home, without any fancy tools) featuring various Toyotas!
 0:10:40
How and Why to Flush Your Heating - Easy DIY
 0:11:16
2 EASY WAYS To Flush/Drain WATER HEATERS! (Pro Plumber Tips For Flushing Your Water Heater GAS/ELEC)
 0:01:05
Here's What I Think About an Engine Oil Flush in 1 Minute
 0:02:00
How to Perform an Engine Flush
 0:06:14
How To Do a Complete Radiator Flush on your Car's Cooling System -Jonny DIY
 0:08:03
A NEW & FUN Way to Flush a Water Heater
 0:06:51
How to Flush Your Power Steering Fluid
 0:07:12
How to Properly Flush Radiator Coolant
 0:06:33
Liqui Moly Sludge Remover vs Liqui Moly Engine Flush (Which is Best?)
 0:03:33
AutoDIY: How to flush Car Radiator - AutoBuzz.my
 0:05:41
How To Flush - The three best ways!
 0:03:37
Secret way to BOOST your TOILET FLUSH FOR FREE - STOP CLOGS
 0:06:30
How to Flush a Heater Core (Fast)
 0:06:47
Should You Flush Your Engine?
Комментарии