filmov
tv
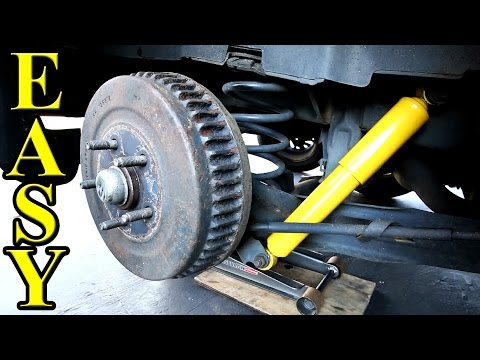
Rear Shock Absorber Replacement - Toyota Yaris

Показать описание
How to remove and replace the rear shock absorber in a 1999 to 2005 Toyota Yaris. When refitting the nuts to the upper end of the strut, install the lower nut and tighten it until the piston rod protrudes about 15mm to 18mm through the nut and then, while holding the lower nut in place, tighten the upper nut against the lower nut to 25 Nm (18 foot pounds). The lower strut mounting nut should be torqued to 49 Nm (36 foot pounds).
~~~~ Part Links ~~~~
As an Amazon Associate I earn from qualifying purchases.
Thanks for watching. Please comment, like and subscribe !.
All of my uploaded material is protected under copyright law. None of my videos may be re-uploaded, reproduced or transmitted, in part or in full, in any form or by any means, without the written permission of the copyright holder.
Read important information below:
Disclaimer
Due to factors beyond the control of Screwsnutsandbolts, it cannot guarantee against unauthorized modifications of this information, or improper use of this information. Screwsnutsandbolts assumes no liability for property damage or injury incurred as a result of any of the information contained in this video. Screwsnutsandbolts recommends safe practices when working with power tools, automotive lifts, lifting tools, jack stands, electrical equipment, blunt instruments, chemicals, lubricants, or any other tools or equipment seen or implied in this video. Due to factors beyond the control of Screwsnutsandbolts, no information contained in this video shall create any express or implied warranty or guarantee of any particular result. Any injury, damage or loss that may result from improper use of these tools, equipment, or the information contained in this video is the sole responsibility of the user and not Screwsnutsandbolts.
 0:08:45
Rear Shock Absorber Replacement - MK 7 VW Golf & MANY OTHERS
 0:10:56
Rear Shock Absorber Replacement - Toyota Yaris
 0:06:27
How to Replace Shock Absorbers on your car FAST and Easy
 0:04:46
How to Replace Rear Shock Absorber 2006-10 Honda Civic
 0:04:09
How To: Replace Rear Shock Absorbers
 0:03:45
How to Replace Rear Shocks Tacoma 2005-2023 (Bilstein 5100)
 0:09:31
How to Install Rear Shock Absorber 2006-10 Volkswagen Jetta
 0:04:25
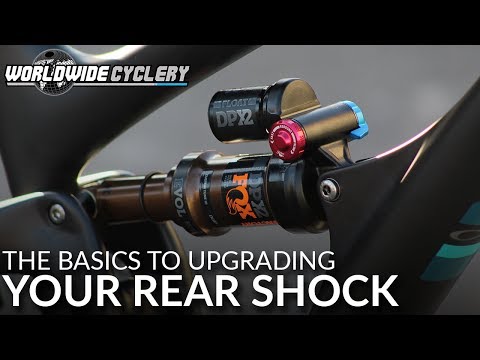
Upgrading Your Rear Shock - What's Needed | Mountain Bike Rear Suspension
 0:24:40
Rebuilding Toyota MR2 SW20 OEM Shocks
 0:11:16
How to Replace Rear Shock Absorbers 2017-2024 GMC Acadia
 0:06:01
How to change rear shock absorber on VW GOLF 6 (5K1) [TUTORIAL AUTODOC]
 0:14:22
2006-2014 Toyota Yaris Rear Shock Absorbers Replacement
 0:05:07
Hyundai Accent Rear SHOCK ABSORBER Replacement
 0:05:34
How to change rear shock absorbers on VW / AUDI / SKODA TUTORIAL | AUTODOC
 0:08:43
BEST BILSTEIN 5100 REAR SHOCK & SPRING UPGRADE EVER!!
 0:07:32
How to Replace Rear Shock 2003-2008 Toyota Corolla
 0:04:45
How To Replace Rear Shocks 2012-2020 Ford Focus
 0:11:43
HOW TO REPLACE REAR SHOCKS STRUTS ON HYUNDAI ELANTRA
 0:10:06
How to Replace Struts in your Car or Truck
 0:11:43
1995 Honda Goldwing Trike Rear Shock Absorber Replacement
 0:01:06
How to Replace Rear Shock Absorber
 0:42:38
BMW E91 Rear Shock Absorbers Replacement 318 Touring
 0:09:30
How To Change Rear Shocks on Your Motorcycle at RevZilla.com
 0:03:01
how to change fiat rear spring bracket| fiat rear shock absorber strut bracket replacement
Комментарии