filmov
tv
How to Repair a Tongue-and-Groove Wood Floor | This Old House
Показать описание
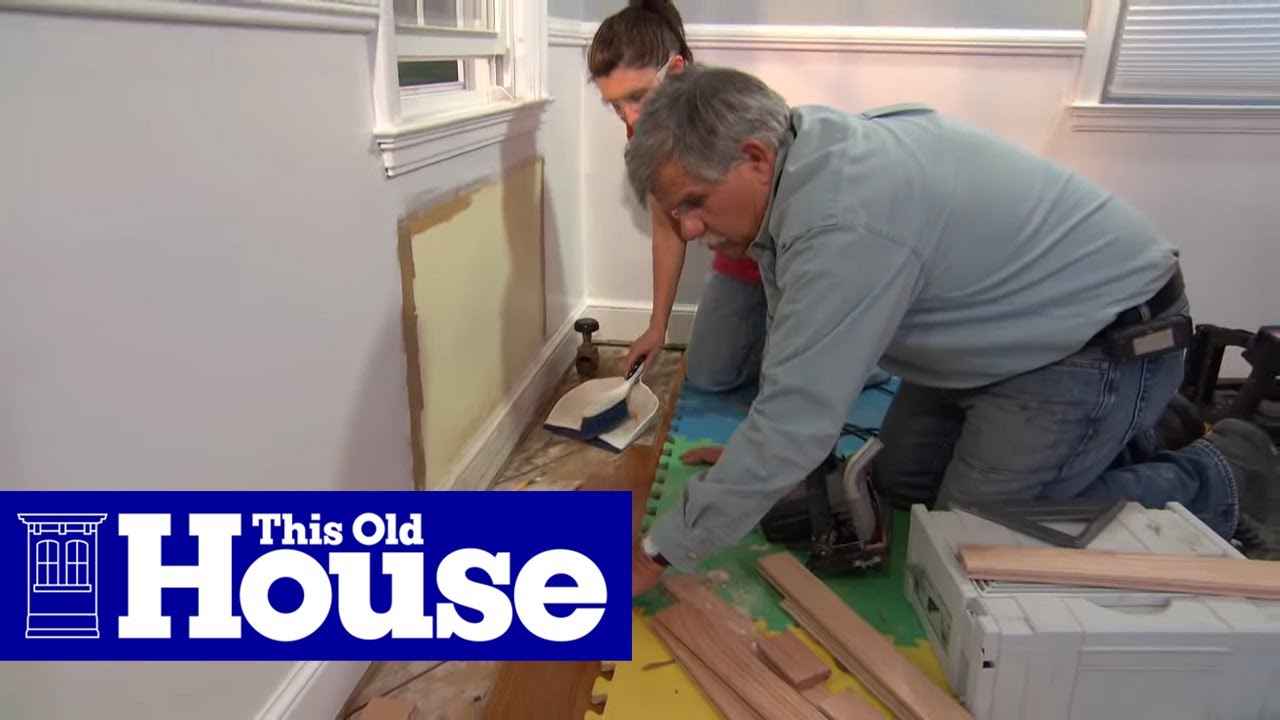
Cutting in a perfect-fit patch with This Old House general contractor Tom Silva. (See below for a shopping list and tools.)
Tom helped a pair of homeowners repair part of an oak floor damaged by a leaking steam radiator. With the radiator removed, Tom removed several damaged pieces of flooring using a hammer, chisel, and prybar. Next, he cut several new pieces of strip flooring to fit and installed them using glue and nails. Finally, Tom added a coat of amber-colored shellac to help make the new flooring look like the old flooring surrounding it.
Tools for Repairing a Tongue-and-Groove Wood Floor:
- 1-inch-wide wood chisel
- flat pry bar
- circular saw
- caulk gun
- jigsaw
- table saw
- finish nailer
- random-orbit sander
- 3-inch putty knife
- dust pan and broom or vacuum
Shopping List for Repairing a Tongue-and-Groove Wood Floor:
- wood flooring
- construction adhesive
- 2-inch finishing nails
- 20-grit abrasive sanding disks
- wood filler
- shellac
- oil-based wood stain
- polyurethane varnish
- 4-inch-wide foam brush
- 100-grit sandpaper
Red oak strip flooring is available at many lumber yards and home centers.
About Ask This Old House TV:
Homeowners have a virtual truckload of questions for us on smaller projects, and we're ready to answer. Ask This Old House solves the steady stream of home improvement problems faced by our viewers—and we make house calls! Ask This Old House features some familiar faces from This Old House, including Kevin O'Connor, general contractor Tom Silva, plumbing and heating expert Richard Trethewey, and landscape contractor Roger Cook.
Looking for more step by step guidance on how to complete projects around the house? Join This Old House Insider to stream over 1,000 episodes commercial-free.
Plus, download our app for streaming full episodes to your connected TV, phone or tablet:
Follow This Old House and Ask This Old House:
How to Repair a Tongue-and-Groove Wood Floor | This Old House
 0:04:54
How to Repair a Tongue-and-Groove Wood Floor | This Old House
 0:07:25
How to Repair a Tongue and Groove Deck
 0:01:40
Tongue & Groove Hidden Fixing ~ 2-Minute Tip
 0:01:09
How to fix a broken tongue and groove panel on a wooden garden shed
 0:21:21
How To Replace Damaged Tongue And Groove Siding - Do It Yourself Home Repair Tips
 0:01:30
How To Replace Damaged Shiplap Tongue and Groove Boards
 0:08:48
Repairing Tongue & Groove Porch Flooring
 0:04:12
How to replace ONE piece of Hardwood
 0:13:25
How to Replace a Vinyl Plank With a Tongue and Groove Locking System
 0:04:01
How Do I Fix Tongue & Groove Flooring?
 0:03:28
Tongue and Groove Wood Floor Repair
 0:10:35
Tom Stroup Tongue and Groove Repair and Replacement
 0:08:56
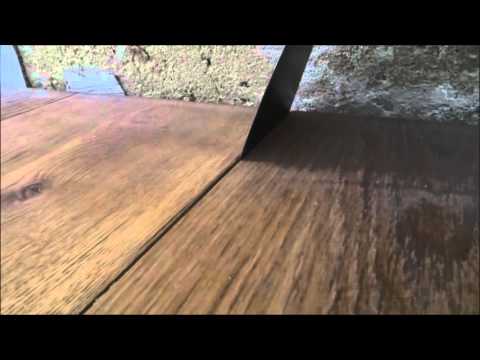
fixing gap in tongue and groove flooring
 0:02:08
How to replace a tongue and groove ceiling board without taking out the other rows.
 0:03:51
Removing Nailed Down Tongue & Groove Floorboards
 0:08:36
Tongue and Groove Wood Siding Painting and Maintenance Prevention Advice
 0:00:12
This will Work, RIGHT??!? -- I HATE Tongue and Groove Repair!!
 0:02:18
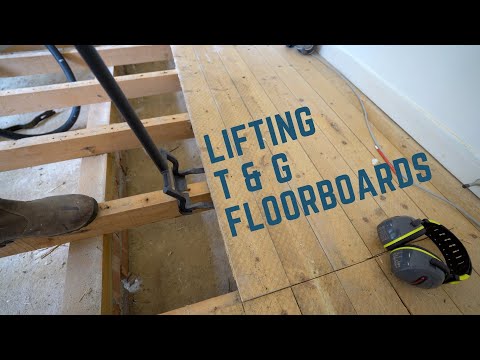
Lifting tongue and groove floorboards without breaking them
 0:02:05
How to Remove Tongue and Groove Flooring without Causing Any Damage
 0:03:55
Tongue & groove siding replacement of only the rotted boards without doing the whole wall
 0:08:15
How to Remove Tongue and Groove Boards
 0:10:07
How To Install Tongue and Groove Flooring | Ask This Old House
 0:14:39
How to Replace Hardwood Floor Boards in a Tongue and Groove Floor
 0:14:57
How To Install Tongue and Groove Wood Planks Siding
Комментарии