filmov
tv
How To Make A Simple Switch To Automatically Turn On Shop Vac

Показать описание
Today I’m going to be showing you how I built a shop vac auto switch. When I do woodworking in my garage I connect a shop vac to my tools to help suck up all the saw dust created when I make cuts. This requires me to remember to turn on the shop vac switch anytime I want to make a cut. There is a device called an auto switch to help solve this problem, and I plan to make one from scratch using an arduino microcontroller, a current sensor, and a relay module.
If you're a maker and want to learn how to use Fusion 360 I would highly recommend checking out this online course made by Bob Clagett and the I Like To Make Stuff team.
FAQ:
How do you power the Arduino?
I'm sorry for the confusion. My original plan was to use a 5V power supply module connected to mains, but it didn't arrive in time to include in this video. So in the meantime I used a phone charger with USB cable to power the Arduino.
parts
1x 14 AWG Extension Cord
1x 3D Printed Enclosure
Heat Shrink Tubing
If you want to support byte sized you can donate here:
Or use my Amazon affiliate link when purchasing items on Amazon!
Thanks for watching this video. I started byte sized to share the cool projects that I'm working on and to inspire people like you to make something that you're passionate about. If that's something you're in to, be sure to subscribe and YouTube will start recommending more videos like this one.
 0:00:45
How to Make Simple Syrup | Patrón Tequila
 0:01:25
How to Make Simple Syrup | Black Tie Kitchen
 0:02:12
How To Make Simple Pencil Welding Machine At Home With Blade | Diy 12V Welding Machine
 0:03:39
How To Make Simple Pencil Welding Machine At Home With Blade | practical invention
 0:06:47
How To Make a Simple Bow
 0:04:02
How To Make Simple Pencil Welding Machine At Home for soldering | practical invention
 0:02:07
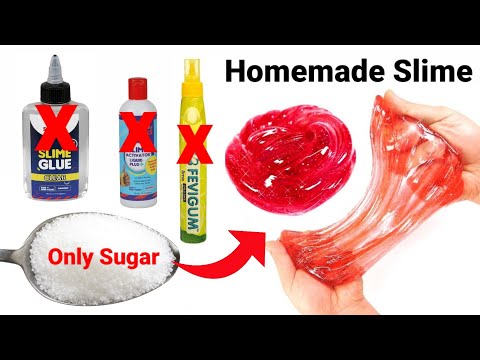
No Borax No Glue Slime/How to make Slime at home/DIY Fluffy Slime/Flour Slime/Slime making #slime
 0:03:18
How to make a simple flying toy |
 0:00:11
how to make simple easy beautiful rangoli drawing
 0:06:31
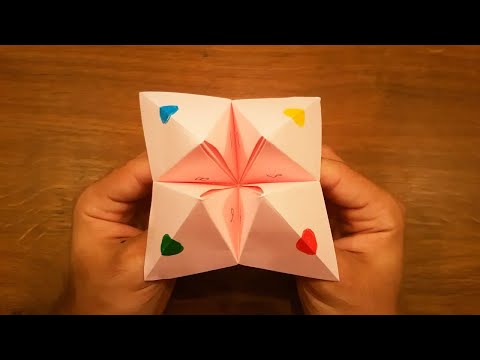
How To Make a Paper Fortune Teller - EASY Origami
 0:02:39
How to make a simple Match box Republic day toy | best way of flag hoisting at home
 0:06:58
How to Make a Simple Door Alarm
 0:01:19
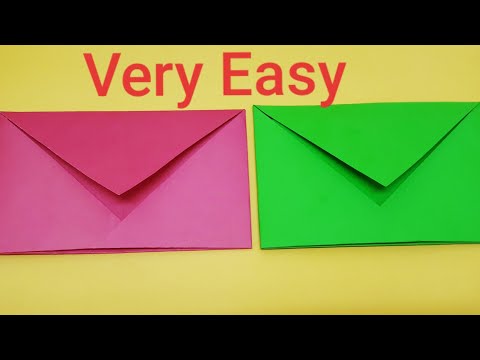
How to make paper Envelope -No glue or tape, very easy DIY
 0:04:22
How to make a Simple ATM machine | Card board easy atm machine | Mini working Atm
 0:08:15
EASY Paper Airplane that Flies REALLY Far — Over 100 feet! — How to make Ballista — Folding Tutorial...
 0:03:44
How To Make Simple Smoke Machine At Home With Motor | Diy Mini Smoke Machine For Rc Car
 0:03:18
How to Make Paper Envelope | Simple and Easy Paper Envelope | Envelope Making Ideas
 0:01:45
How to make a simple electric motor
 0:03:06
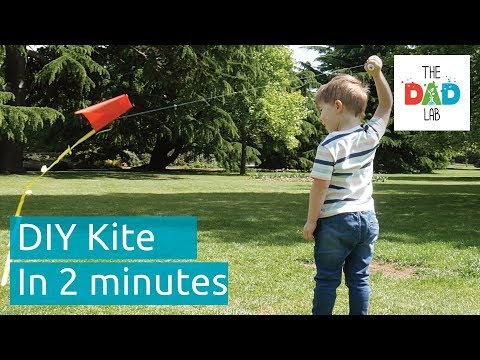
How To Make A Simple Kite | AD
 0:01:52
How to Make Simple Syrup | Cocktail Recipes
 0:04:07
How to Make Simple Robotic Arm from Cardboard!
 0:10:00
How to make a simple amplifier at home
 0:02:22
How to Make Simple French Toast | Allrecipes
 0:00:59
How to Make a Simple Bow
Комментарии