filmov
tv
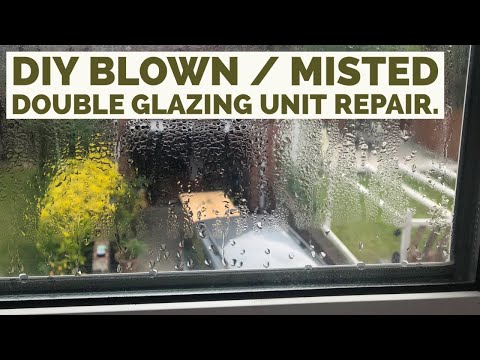
Double Glazing Unit Condensation / Blown DIY Repair.

Показать описание
#doubleglazing #doubleglazingrepair #diydoubleglazingrepair
Double Glazing Unit Condensation / Blown DIY Repair.
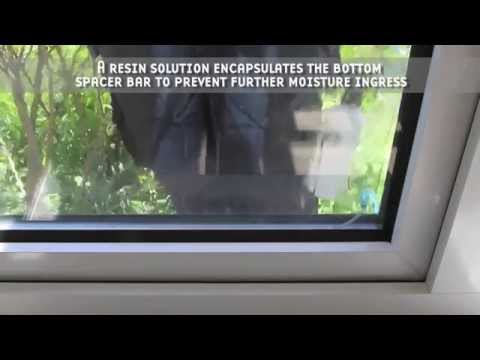
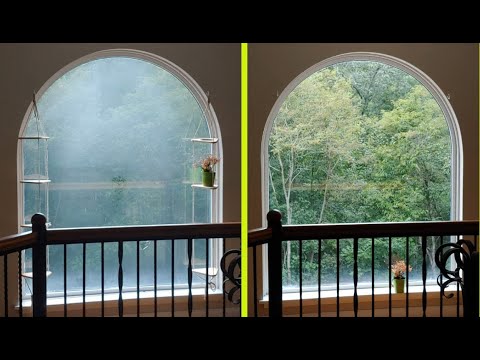
In this video I repair a failed Double Glazing unit that is suffering from severe internal condensation and damp. The unit was misted in the lower portion due to the water ingress. The glazing was taken apart thoroughly cleaned and resealed this took some time (circa 4 Hours).
Thanks for watching why not Subscribe to learn of more repair possibilities do work safely, video for illustration purposes.
Timestamps :-
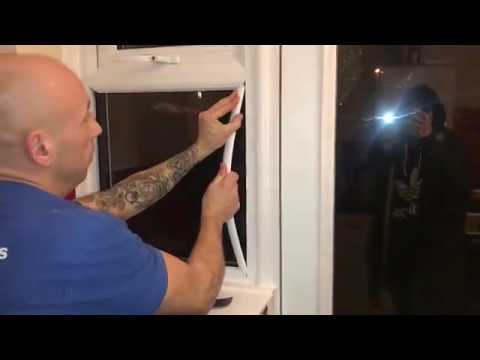
00:01 Removal of the failed Double Glazing Unit.
02:45 Full extent of the moisture problem and deconstruction of the double glazing unit.
04:23 Removing the excess sealant from the internal aluminium frame.
04:50 Deconstruction of the internal aluminium framework and desiccant extraction and drying out.
06:00 Cleaning the Glazing panes to the best of my ability.
07:17 Refilling the internal aluminium framework with the dried desiccant.
08:10 Cleaning the framework and reassembly tips n tricks.
09:32 Sealing the Double Glazing unit back together.
10:48 Refitting the glazing.
Double Glazing Unit Condensation / Blown DIY Repair.
In this video I repair a failed Double Glazing unit that is suffering from severe internal condensation and damp. The unit was misted in the lower portion due to the water ingress. The glazing was taken apart thoroughly cleaned and resealed this took some time (circa 4 Hours).
Thanks for watching why not Subscribe to learn of more repair possibilities do work safely, video for illustration purposes.
Timestamps :-
00:01 Removal of the failed Double Glazing Unit.
02:45 Full extent of the moisture problem and deconstruction of the double glazing unit.
04:23 Removing the excess sealant from the internal aluminium frame.
04:50 Deconstruction of the internal aluminium framework and desiccant extraction and drying out.
06:00 Cleaning the Glazing panes to the best of my ability.
07:17 Refilling the internal aluminium framework with the dried desiccant.
08:10 Cleaning the framework and reassembly tips n tricks.
09:32 Sealing the Double Glazing unit back together.
10:48 Refitting the glazing.
 0:01:50
Repair Condensation in Double Glazing Windows
 0:11:35
Double Glazing Unit Condensation / Blown DIY Repair.
 0:01:25
Stop Condensation in Double Glazing Windows | MyBuilder
 0:07:16
Foggy Double Pane Window Fix!
 0:07:57
Double glazing repair - condensation
 0:01:38
Condensation removal from double glazed windows
 0:02:25
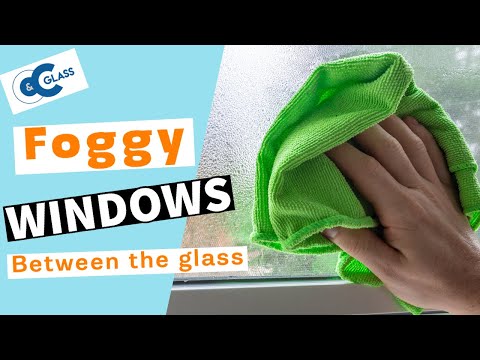
Window Condensation Part 3 : Between the panes of glass
 0:18:19
DIY Misted / Blown Double Glazing Repair Large Window.
 0:04:19
Double Glazed Windows Manufacturing Process | Do it Your Self!! #diy
 0:00:36
Foggy Windows: What You Need to Know | Window Replacement | Cloudy Then Clear
 0:02:09
Repairing Condensation in Double Glazing | Property Type Examples | Crystal Clear Window Works
 0:02:15
How to fix or clear condensation from a blown failed double glazing window unit with a Clearviewkit
 0:15:44
Foggy Window Fix Tutorial
 0:04:36
Why do i have moisture on the inside of my house windows - and what you can do
 0:02:00
Condensation on the outside of your double glazing.
 0:02:29
how to measure broken double glazing unit without removing 📏🆘
 0:04:35
DIY - replace UPVC double glazed unit
 0:14:08
Cleaning a Foggy/Hazy Window Insulated Glass Unit (IGU) from the Inside, Without Replacing the Glass
 0:00:11
Repairing Misted Double Glazing | 4 Step Process
 0:03:17
How to Clear trapped Condensation in a failed blown double glazing window unit Hack kit
 0:21:33
Double Glazing Fix: Seals, Glass, Leaks & Replacing - Conservatory Renovation
 0:00:06
Xpert Double Glazing Glass Measuring Tool - Sealed Glass Unit Thickness Gauge #youtubeshorts #tools
 0:05:01
How to Remove Glass from a Double Glazed Window
 0:03:43
How to replace glass in a double glazed uPVC window
Комментарии