filmov
tv
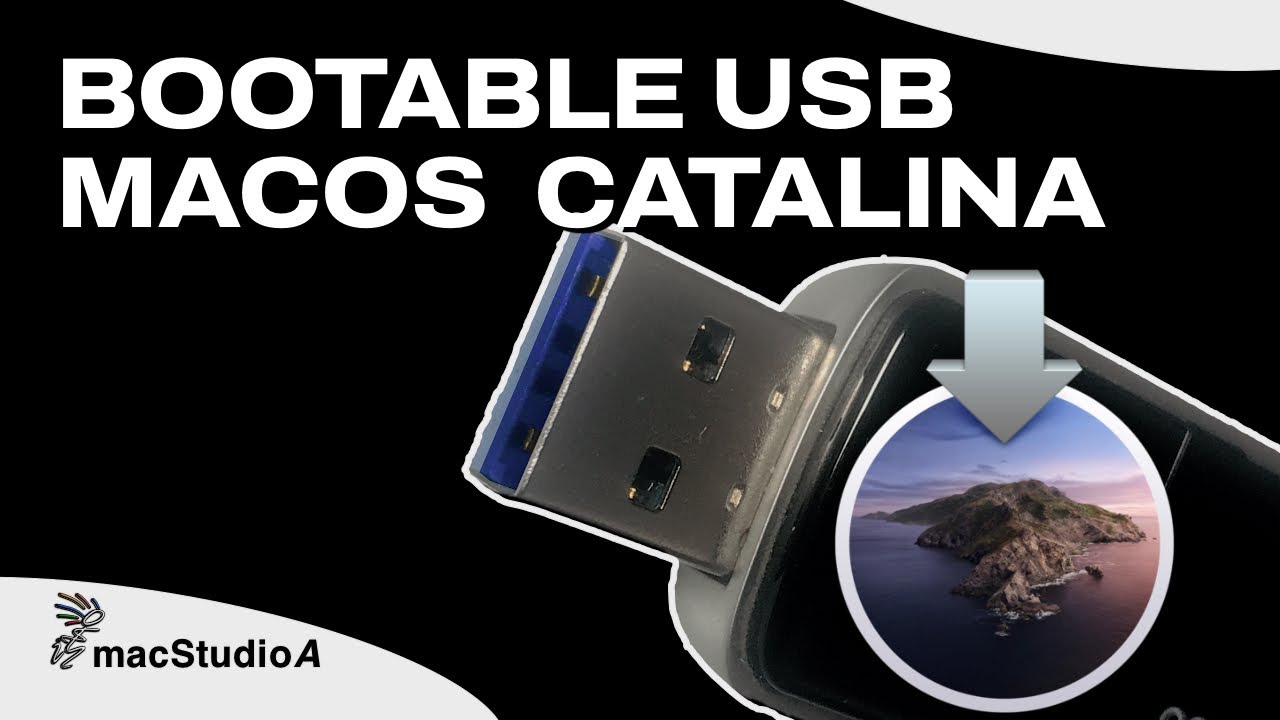
Create a Bootable Installer for macOS Catalina
Показать описание
Mac Studio A: How to create Catalina Boot Disk. The Easy Way on How To Create Bootable USB macOS Catalina Installer. For Official Release macOS USB Boot Disk Installer. Create Catalina Bootable USB Installer the Easy Way.
One Line Terminal Command for macOS 10.15 Catalina OFFICIAL RELEASE:
(just copy and paster the one line Terminal Command Below in a Text Document and replace where it shows NameOfUSBDisk with the name of your USB flash drive name
)
No need to use Disk Utility to format or prepare your Bootable USB Catalina USB boot disk. The One Line Terminal Command Does that for you Automatically.
🎬 Table of Contents:
-----------------------------------
00:00 - Intro
00:07 - IMPORTANT - Time Machine Backup
00:20 - STEP-1
00:26 - STEP-2
00:33 - STEP-3
00:40 - STEP-4
00:45 - STEP-5
01:15 - FINAL-STEPS
Don't Forget to click that Bell Icon to be notified of the next episode.
Already SUBSCRIBED...Thank You So So Much.
How To Get Old Versions of macOS Direct from Apple:
Procedure For Doing A Clean macOS/ OS X Install on Your Mac:
Follow me on:
#macstudioa #sergesiou
*Buy on Amazon*
My Main Gear
*(affiliate links):
My Storage Devices
*(affiliate links):
Recommended Gear
*(affiliate links):
TRANSCRIPT:
In this episode, How To Create a macOS Catalina USB Boot Disk.
Before proceeding with the prep work, make sure you’ve done a backup of your Macintosh Disk, using for example Time Machine.
With that important message out of the way, Straight to the Demo.
Soooooooo, Let’s Get Started.
First, let’s Begin With The Prep Work:
1. You’re logged in with an Admin account on your Mac and running one of the following macOS.
2. You have at least an 16 GB blank USB 2.0 or 3.0 Disk.
3. Have a copy of macOS Catalina, and that’s located in the Applications folder.
4. Open TextEdit and Make document as plain text.
5. Copy and paste the following one line Terminal command, which I’ve included in the description, in the text document:
Now, with all the prep work taken care of, let’s begin creating the USB Boot Disk.
Insert your USB Disk in an available USB socket and note the name.
In my case, it's “USB1”.
From the text document created earlier, replace “NameOfUSBDisk” with the name of your USB Disk.
Final Steps:
Open Terminal and copy and paste the one line Terminal command from the text document, and press return.
You’ll then be asked to enter your Admin Password, and after pressing return, the creation of macOS Catalina USB Boot Disk Installer will begin.
I’ll just time-lapse it from here.
In My Case: Using a USB 3.0 disk, it only took just over 3-1/2 minutes to complete.
For a USB 2.0 disk, it took just over 30 minutes to complete.
Thanks for watching...
Thumbs-up if you liked this episode...
SUBSCRIBE to the channel, if you haven't already done so...
And please don't forget to hit that BELL button, to be notified of the next upcoming episode.
 0:05:43
How to create a macOS Ventura bootable USB installer
 0:03:25
How to Create a Bootable USB Install Drive | MacOS High Sierra
 0:13:00
How To Create a Bootable Installer for macOS - A Copy of macOS on Your USB Drive
 0:01:54
How to create a bootable USB Drive
 0:03:39
How to Create a Windows 10 Bootable USB Drive (Tutorial)
 0:12:07
How to Install macOS from a thumb drive. (Create and use a bootable drive - easy!)
 0:07:39
How to create a bootable macOS Monterey USB Install drive
 0:04:29
How to Create a Rufus Bootable USB for Windows 10 in 5 Minutes!
 0:04:57
Windows 11 Insider Preview Build 27695 Canary Channel
 0:06:37
How to create a bootable macOS Catalina USB Install drive
 0:05:56
How To Create a macOS Sonoma USB Boot Disk in 5 Minutes EASY!
 0:04:57
Create a macOS Bootable USB on Windows PC [from DMG File]
 0:09:43
Create a Bootable Installer for macOS Ventura on USB: Step-by-Step Tutorial and Guide
 0:03:12
How to create a bootable macOS High Sierra USB Install drive
 0:09:11
Creating a Windows bootable USB on a Mac! (Windows 10 or Windows 11)
 0:05:31
Create a Bootable Installer for macOS -Install macOS from USB | macOS Sonoma/Ventura/Montery/Big Sur
 0:04:24
How to create a bootable USB pendrive for MacOS | Loxyo Tech
 0:16:52
Create a Bootable USB Drive with Multiple macOS Installers ! Monterey, Big Sur, Catalina, etc.
 0:08:49
How to Create a macOS Ventura Bootable USB Installer Drive in 4 Simple Steps!
 0:00:50
How to Create Bootable MacOS USB on Mac
 0:01:59
Create a Bootable Installer for macOS Big Sur
 0:15:52
Step by Step Creating a Windows 11 Bootable Installer
 0:11:46
How to create a bootable macOS Big Sur USB Install drive
 0:01:25
How to create a Windows 11 bootable USB drive and install Windows 11
Комментарии