filmov
tv
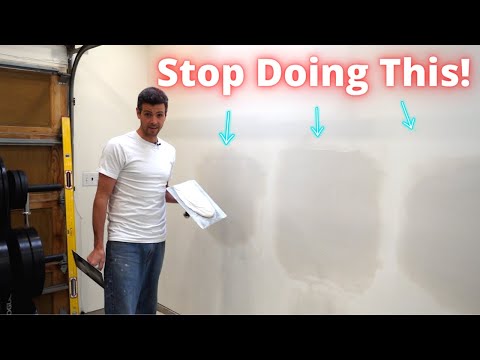
Say Goodbye to Sanding Drywall Mud Forever

Показать описание
This DIY drywall mudding tutorial is all about how to apply drywall mud without having to sand from start to finish. This innovative drywall mud additive from Muddskip is a game changer when it comes time to applying mud to your drywall. Bring Your Own Tools (#BYOTools 214).
Apparel List:
Material List:
Tool List (Amazon Links):
CHAPTERS:
0:00 - Intro
1:00 - What is Muddskip?
3:09 - How To apply Drywall Mud
8:55 - Do You Need To Sand Drywall Mud?
11:38 - Drywall Fire Test
12:45 - Drywall Sealer and Paint
14:11 - Finish shots
Apparel List:
Material List:
Tool List (Amazon Links):
CHAPTERS:
0:00 - Intro
1:00 - What is Muddskip?
3:09 - How To apply Drywall Mud
8:55 - Do You Need To Sand Drywall Mud?
11:38 - Drywall Fire Test
12:45 - Drywall Sealer and Paint
14:11 - Finish shots
 0:14:49
Say Goodbye to Sanding Drywall Mud Forever
 0:01:00
Say Goodbye To Sanding Drywall Mud! #drywall #construction #shorts
 0:04:41
When do the PROS sand drywall? You're Probably OVER SANDING
 0:02:34
How To Wet Sand Drywall (Less Dust = Good Stuff)
 0:07:24
Drywall sanding made easy
 0:10:29
How to Mud Drywall THE WRONG WAY!!!!
 0:00:26
This Vacuum Trick Makes Drywall Sanding Easy!
 0:21:03
Taking over a homeowners drywall job!
 0:04:07
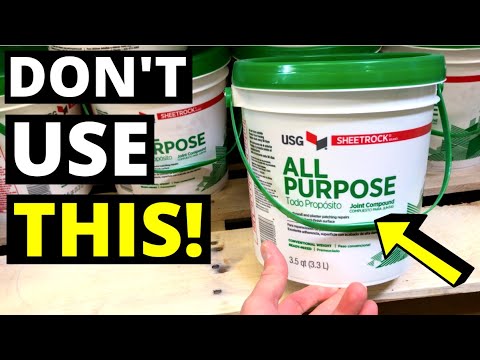
DON'T USE DRYWALL BUCKET MUD!! Use this instead...(Quick Setting Joint Compound / 'Hot Mud...
 0:08:21
Say Goodbye to Rising Damp - A Simple Solution!
 0:24:50
😳Should you Add Dish Soap to Drywall Mud????😱
 0:00:11
Say Goodbye to Manual Sanding with the YEEFERM Sander!
 0:00:18
The Truth About Sanding Drywall! #shorts #handyman #contractor
 0:00:26
Optimal Light Positioning for Drywall Sanding! #shorts #sanding #diy
 0:08:01
The BEST Drywall Sanding Tool For INSIDE CORNERS! So much faster!!!
 0:00:20
STOP Hanging Drywall Wrong! You're Making This Common Mistake #short #shortsviral #diy
 0:05:26
Drywall Sanding Tools You Need
 0:08:03
How to Clean Up Drywall Dust * After the Renovation *
 0:02:37
Say Goodbye to Popcorn Texture: The Dewalt Cordless Sander Has the Solution
 0:05:27
Drywall Sanding Tools You Need
 0:00:15
DIY Drywall Sander!
 0:07:57
Bye Bye Baseboards! F Reveal Bead by Trim-Tex
 0:01:00
Quick Fix: Patching Drywall Holes in Seconds! | DIY with Kevin #diy
 0:00:29
Step into the next generation of drtwall finishing!
Комментарии