filmov
tv
How To Modify Third Party Shells to Fit OEM GameCube Pieces

Показать описание
 0:07:45
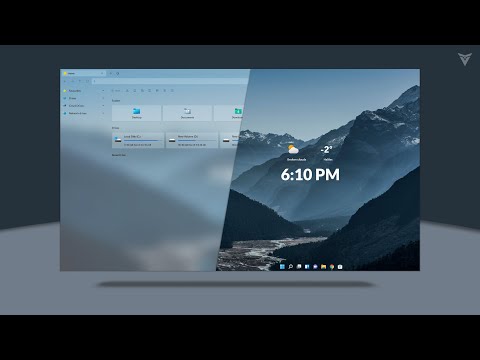
How to Customize Windows Without Rainmeter and Third Party Skin Packs
 0:12:14
This YouTube Change Broke 3rd Party Clients
 0:04:52
How 3rd party cookies track you online
 0:10:07
How To Transform Your Android Home Screen! (No Third-Party Launcher)
 0:06:03
How to Make a 3rd Party Disappear | Specific Person Manifesting | Neville Goddard
 0:07:06
Make Any Application As System App|How to Make Third Party app as system app| Beginner's Guide|...
 0:11:08
🔂How to Flash BIOS With Third-Party Firmware, or Modify BIOS 👨🏿💻
 0:05:47
Ubiquiti UniFi Protect - ONVIF (Third-Party Cameras)
 0:08:36
Why I Don't Like Booking Third Party
 0:01:10
How to Remove Third-Party App Access from Google in Android
 0:02:08
How to Stop All Third Party Apps on Android Phone?
 0:09:14
Audit your site for third-party cookies
 0:05:13
How to add 3rd party instruments to Kontakt
 0:04:30
Roku Hidden Menu That Allows You To Install 3rd Party Applications | Yes, you can Jailbreak Roku
 0:01:42
How to Apply Third-Party Icon Pack on Samsung Galaxy One UI (2023)
 0:02:46
iPhone 14/14 Pro: How To Change Notification Sounds For Third Party Apps
 0:09:13
Third Party Insurance Claim Process | Third Party Insurance Malayalam | Tags Bikez Thrissur
 0:04:12
How to Change iPhone Notification Sound (THIRD-PARTY APPS!)
 0:02:57
They feel so lost w/o you🥂 - third party removal (free request)
 0:14:49
Malta Third Party Processing Time, Processing by Third Party Identity Malta Working Permit for TCN
 0:12:56
Fixed Full screen Gesture Not working with Third party Launcher in MIUI 13
 0:21:18
Mod Organizer #7 - Third Party Programs & SkyRe ReProccer
 0:12:02
Google TV App Not Available Fix & 3rd Party Launcher Setup
 0:08:51
Change Third-Party Software Update Catalog Sync Schedule to Daily in SCCM
Комментарии