filmov
tv
How to Build a Wood Slat Wall - Step by Step | The Lake House Project Ep 20

Показать описание
Tools:
This week we build a DIY wood slat wall! This video is focused on the detailed breakdown of the project and includes step by step instructions so you can build it yourself! This project was a ton of fun and one of my favorite projects to date! It is not as daunting as it looks, and with some patience, anyone can tackle this DIY project. The wall is built with oak slats that we ripped down on the table saw and I used MDF sheets as a backerboard for the black paint. I hope you enjoy the video!
This week we build a DIY wood slat wall! This video is focused on the detailed breakdown of the project and includes step by step instructions so you can build it yourself! This project was a ton of fun and one of my favorite projects to date! It is not as daunting as it looks, and with some patience, anyone can tackle this DIY project. The wall is built with oak slats that we ripped down on the table saw and I used MDF sheets as a backerboard for the black paint. I hope you enjoy the video!
 0:18:39
Building Amazing DIY Wood Cabin Step by Step | Tiny Home | @WoodWorkerenginbircan
 0:10:24
How to make a basic box. And why you need to know how | Woodworking BASICS | Power Tools
 0:12:00
How to build a wood skyscraper
 0:10:44
How to Build a Cheap DIY Wooden House Step by Step | by @Borsch_TV
 0:12:10
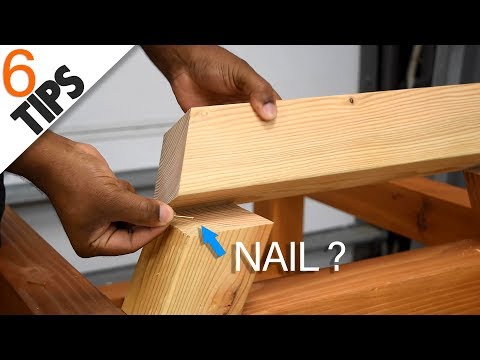
6 Woodworking tips & tricks for beginners
 0:09:19
How to make a very simple wooden frame
 0:21:06
5 Min vs. 50 Min vs. 5 Hour - Box Build
 0:20:50
Man Builds Amazing Wood House Only Using Hand Tools! | Start to Finish by @Kampkolik
 0:12:29
I TESTED 'Turning A FREE Pallet Into A $600 Table'
 0:13:20
15 woodworking basics you should know
 0:07:04
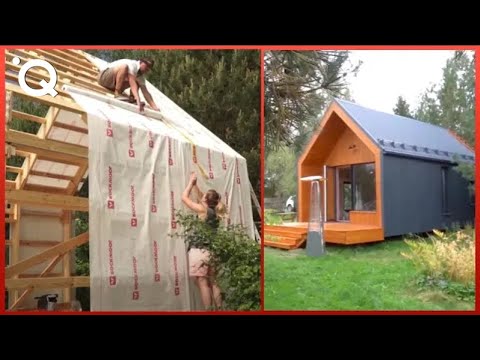
The German house in 4 days. From start to finish
 0:00:35
Wooden Gazebo Build - 2.5m
 0:06:15
How To Build a Wooden Platform
 0:23:34
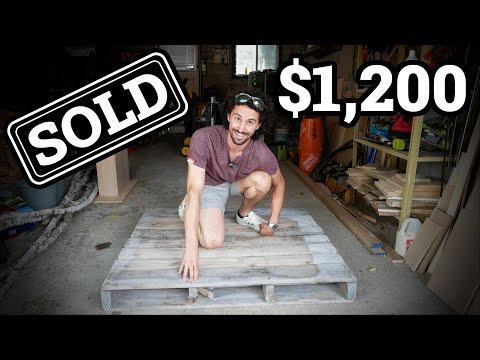
Turning a Free Pallet into a $1,200 Desk
 0:22:08
Construction of a wooden frame house far from the city / TIMELAPSE
 0:18:40
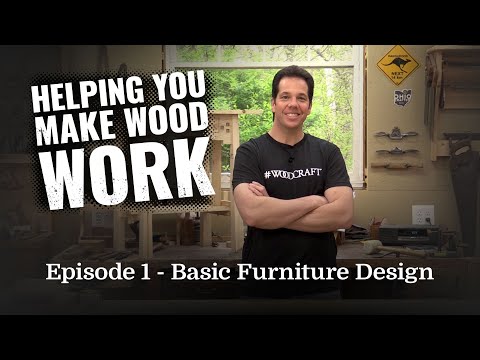
Helping You Make Wood Work : Episode 1 - Basic Furniture Design
 0:19:53
Building a Sturdy Workbench with Cheap Wood
 0:23:44
How to Build a Wood Fence
 0:11:46
Pallet CABIN from START to FINISH in 10 minutes
 0:32:57
Building a Wooden House / Off Grid Log Cabin / Tniy House
 0:18:50
Learn How To Build a Deck with Wood | DIY Projects
 0:10:23
How To Build A Wood Shed
 0:06:29
How to build a simple wood planter box
 0:29:29
6 Amazing Woodworking Projects From Old Pallets Most Worth Watching - Cheap Furniture From Pallets
Комментарии