filmov
tv
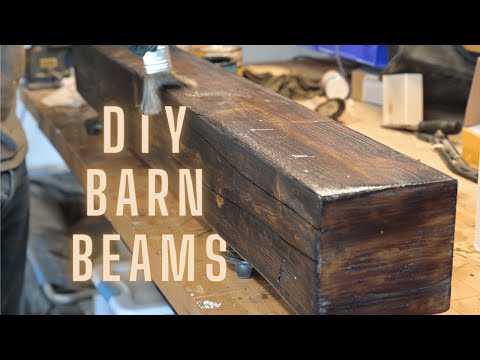
Building Faux Beams Like A Pro: Essential Tips And Techniques

Показать описание
Learn how to build faux beams and elevate the aesthetic appeal of your home with this comprehensive DIY tutorial! Our step-by-step guide covers everything from selecting materials to mastering techniques for a professional finish. Discover how to achieve the look of expensive wood beams on a budget and transform your space with ease.
#DIYHomeDecor #FauxBeams #BudgetFriendlyDIY #WoodworkingTips #HomeImprovement
Chat with me on Instagram:
@TheReformationWoodshop
Track info:
—————————————————————————-
Creative Commons - Attribution-ShareAlike 3.0
Unported - CC BY-SA 3.0
Music promoted by Audio Library
——————————————————————————-
#DIYHomeDecor #FauxBeams #BudgetFriendlyDIY #WoodworkingTips #HomeImprovement
Chat with me on Instagram:
@TheReformationWoodshop
Track info:
—————————————————————————-
Creative Commons - Attribution-ShareAlike 3.0
Unported - CC BY-SA 3.0
Music promoted by Audio Library
——————————————————————————-
 0:06:41
Building Faux Beams Like A Pro: Essential Tips And Techniques
 0:00:53
FAUX beam openings are KILLER #gotitcoach #woodworking #beams
 0:00:58
DIY faux wood beams made out of foam #tutorial #foamcraft
 0:01:00
DIY Faux Wood Beam Tutorial in 60 seconds #shorts
 0:11:17
How to DIY- Farmhouse Faux Log Beam
 0:33:56
PERFECT CEILING BEAMS from BAD MATERIAL??? How To Deal With Bad Material...
 0:00:30
How to Make Easy and Affordable DIY Faux Wood Beams
 0:11:49
Foam to Faux Ceiling Beams: DIY
 0:00:31
DIY Faux Wood Ceiling Beams #diy #homeimprovement #fauxbeams
 0:04:13
How to Build and Install Faux Ceiling Beams | How To Anything
 0:00:36
DIY Faux Beams
 0:01:29
$11 faux wooden beam…what?!?! This one was 8’ long and I still have enough material to make✌️more!...
 0:00:21
My Faux Ceiling Beams Have Arrived and Guess What?! THEY'RE FOAM!! 🤩
 0:00:36
DIY FAUX BEAMS! How to build and install them! #DIY #fauxbeam #beam #howto #build
 0:17:38
DIY Distressed Faux Beams Ceiling Transformation
 0:00:31
How to build FAUX beams #shorts #diyprojects #carpentry
 0:00:57
Super EASY faux wood beams #gotitcoach #woodworking #beams
 0:00:47
✨DIY WOOD BEAMS✨ (oops I meant cardboard)
 0:03:24
How to Build a Faux Barn Wood Beam
 0:00:31
DIY Faux Beams #carpenter #holidayswithshorts #build
 0:08:16
DIY Rustic Barn Wood Beams - distress wood fast - Mantel Build
 0:00:12
The faux beam flat arch is in #oneroomchallenge #woodworking #livingroom #cathedralceiling #shorts
 0:00:15
Beginner-Friendly Faux Beams
 0:15:25
DIY Solid Walnut Beam Wrap
Комментарии