filmov
tv
How To Map A Network or Shared Drive in Windows 11

Показать описание
How To Map A Network or Shared Drive in Windows 11
In this tutorial, explains how to map a network drive in Windows 11, so you can easily access shared files from another computer on your network. We'll also look at what the other computer must do to enable the share and what to watch for if you're having issues mapping a network drive.
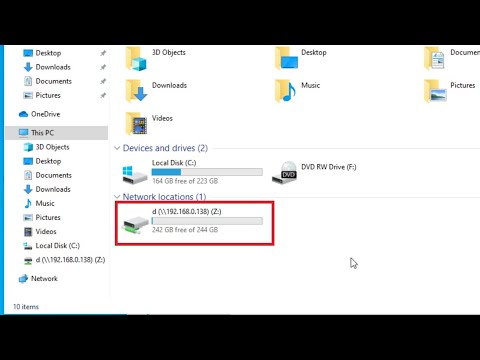
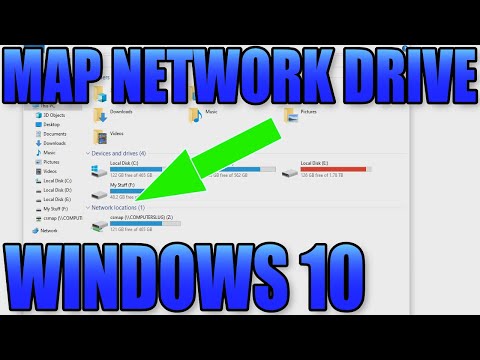
Mapping a network drive provides a drive letter, similar to a local partition some applications need that drive letter to function. The purpose of network mapping can provide network administrators key, performance insight such as device status, physical connections and traffics metrics.
Map a network drive in Windows:
1. Open File Explorer. If you don't have a shortcut to File Explorer in your taskbar, right-click the Start button and select File Explorer.
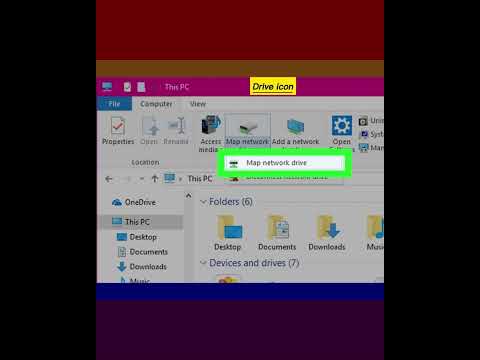
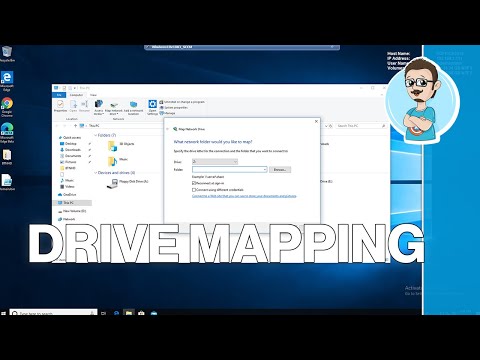
2. In a File Explorer window, click the ellipses button (three dots) in the toolbar, then select Map Network Drive in the menu that appears.
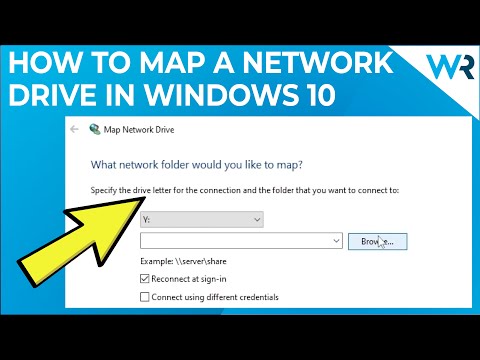
3. In the Map Network Drive window, click the Drive drop-down menu and select a drive letter that you will assign to the network drive. It can be any letter in the list, depending on your personal preference.
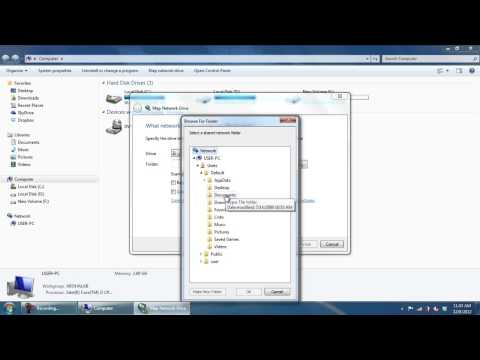
4. In the Folder field, enter the network device and share name. If you don't remember it, click Browse to see available devices on your local network.
5. If you want Windows to always reconnect to this drive every time you sign in, check the box beside Reconnect at sign-in. And if you want to connect with credentials (username and password) other than the ones linked to your current Windows account, check Connect Using Different Credentials.
6. Select Finish.
Issues Addressed In This Tutorial:
how to map to a shared network drive
windows how to map a network drive
how to map to a network drive on windows 10
how can i map a network drive in windows 11
how to map c drive as network drive
how to map c drive of another computer
windows how to map a drive
microsoft how to map a network drive
how to map a network or shared drive in windows
how to map a shared network drive in windows 10
how to map a shared drive in windows 10
how to map a network drive - windows 11
Thank you for watching this tutorial! I hope you found the information valuable and that it helps you on your journey. If you have any questions or suggestions, please leave them in the comments below. Don't forget to like and subscribe for more content like this. Stay curious, keep learning, and we'll see you in the next video!
Disclaimer: This channel doesn't promote any illegal contents, all content are provided by this channel is meant for educational purposes only and share my knowledge with everyone that is totally Legal, informational. And followed all the YouTube community guideline rules. The videos are completely for Legal.
Join this channel to get access to perks:
#windows11 #howto #tutorial
In this tutorial, explains how to map a network drive in Windows 11, so you can easily access shared files from another computer on your network. We'll also look at what the other computer must do to enable the share and what to watch for if you're having issues mapping a network drive.
Mapping a network drive provides a drive letter, similar to a local partition some applications need that drive letter to function. The purpose of network mapping can provide network administrators key, performance insight such as device status, physical connections and traffics metrics.
Map a network drive in Windows:
1. Open File Explorer. If you don't have a shortcut to File Explorer in your taskbar, right-click the Start button and select File Explorer.
2. In a File Explorer window, click the ellipses button (three dots) in the toolbar, then select Map Network Drive in the menu that appears.
3. In the Map Network Drive window, click the Drive drop-down menu and select a drive letter that you will assign to the network drive. It can be any letter in the list, depending on your personal preference.
4. In the Folder field, enter the network device and share name. If you don't remember it, click Browse to see available devices on your local network.
5. If you want Windows to always reconnect to this drive every time you sign in, check the box beside Reconnect at sign-in. And if you want to connect with credentials (username and password) other than the ones linked to your current Windows account, check Connect Using Different Credentials.
6. Select Finish.
Issues Addressed In This Tutorial:
how to map to a shared network drive
windows how to map a network drive
how to map to a network drive on windows 10
how can i map a network drive in windows 11
how to map c drive as network drive
how to map c drive of another computer
windows how to map a drive
microsoft how to map a network drive
how to map a network or shared drive in windows
how to map a shared network drive in windows 10
how to map a shared drive in windows 10
how to map a network drive - windows 11
Thank you for watching this tutorial! I hope you found the information valuable and that it helps you on your journey. If you have any questions or suggestions, please leave them in the comments below. Don't forget to like and subscribe for more content like this. Stay curious, keep learning, and we'll see you in the next video!
Disclaimer: This channel doesn't promote any illegal contents, all content are provided by this channel is meant for educational purposes only and share my knowledge with everyone that is totally Legal, informational. And followed all the YouTube community guideline rules. The videos are completely for Legal.
Join this channel to get access to perks:
#windows11 #howto #tutorial
 0:01:11
 0:02:10
 0:01:24
 0:02:38
 0:03:25
 0:01:42
 0:00:56
 0:02:06
 0:24:51
 0:02:16
 0:03:32
 0:03:49
 0:03:19
 0:02:30
 0:00:48
 0:02:51
 0:01:26
 0:00:16
 0:03:31
 0:00:33
 0:01:38
 0:05:31
 0:01:14
 0:01:13