filmov
tv
Pro Tip for Importing Images into Onshape

Показать описание
In this Onshape quick tip, TooTallToby shares a pro move for any Onshape users who want to use photos of their physical parts to help with the process of reverse engineering 3D models!
FOLLOW US
#CAD #Onshape #CAM
FOLLOW US
#CAD #Onshape #CAM
 0:04:43
Pro Tip for Importing Images into Onshape
 0:00:31
Learn Concepts | Quick Tip #9: Importing Images
 0:23:34
Lightroom Quick Tips - Episode 132: Importing Images
 0:07:54
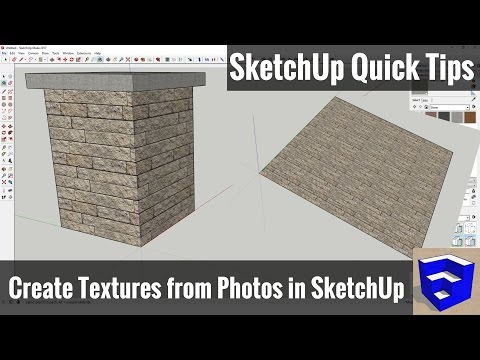
Importing Images as Textures in Your SketchUp Model - SketchUp Quick Tips
 0:12:02
Top 4 Importing Tips for Adobe Lightroom Classic
 0:07:30
Lightroom Quick Tips - Episode 49: Importing Images From Apple Photos
 0:01:10
Tech Tip: How to Start a Sketch with an Imported Image
 0:05:54
Importing and Using IMAGES in SketchUp Free!
 1:50:58
Create a MetaHuman Digital Twin from Mesh or Photo | Unreal Tech Tips
 0:00:46
Design Tool Quick Tip - Importing Images
 0:08:30
Capture One Pro Tutorials | Importing and Organising your photos
 0:06:27
009 Photoscan Importing Images
 0:07:52
FileMaker Coaches' Corner-Tip 15-Importing Images From a Folder-FileMaker Training-FileMaker Ex...
 0:03:58
Importing Images in Photoshop - Photoshop for Beginners
 0:02:36
Dynamically importing images | React
 0:05:37
Opening and Importing Photos in PaintShop Pro
 0:06:26
Tips: Importing from Apple Photos to Lightroom
 0:09:10
Tips for Importing an Animated GIF in Final Cut Pro X with & without Plugins 2019
 0:09:57
Images in iMovie - Importing Photos and Image Settings
 0:01:03
How to resize imported image in SketchUp ?
 0:07:58
Autodesk Maya - Importing Image Planes
 0:10:19
Quick Tip! : Importing and Exporting height maps in UE4
 0:03:49
Mastering CorelDRAW: Tips and Tricks for Importing and Exporting Images
 0:01:28
How to Stop Lightroom From Switching Folders After Importing Images | Adobe Lightroom
Комментарии