filmov
tv
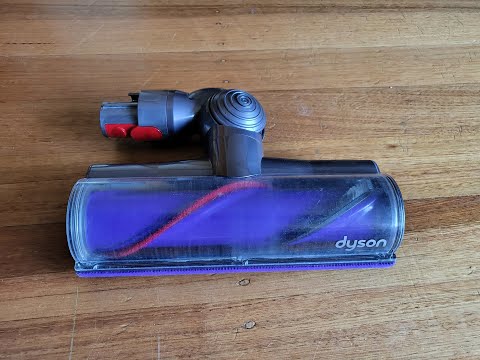
OPEN ME UP! Dyson V11, V10, V8 and V7 Fluffy Head Disassembly and Clean

Показать описание
How to disassemble and clean Dyson V11, V10 V8 and V7 fluffy head
 0:56:46
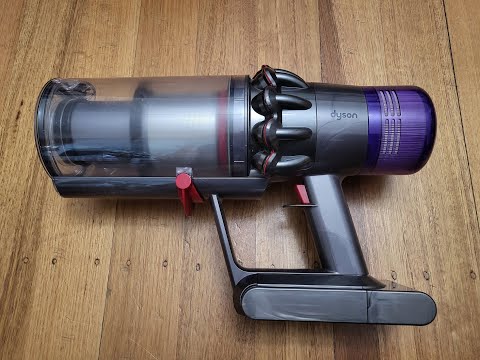
OPEN ME UP! Dyson V11 Complete Disassemble and Clean Updated 19.7.22
 1:05:19
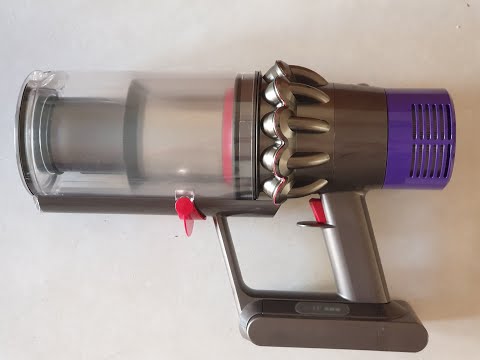
OPEN ME UP! Dyson V10 and V11 Complete Disassemble and Clean Updated
 0:30:06
OPEN ME UP! Dyson V11 and V10 COMPLEX Disassembly and Clean
 0:17:24
OPEN ME UP! Dyson V11, V10, V8 and V7 Fluffy Head Disassembly and Clean
 0:21:09
OPEN ME UP! Dyson V11, V10, V8 and V7 Direct Drive Head Disassembly and Clean Updated 19.7.22
 0:42:41
OPEN ME UP! Dyson V11 and V10 High Torque Head Disassembly and Clean
 0:25:38
OPEN ME UP! Dyson V11 and V10 High Torque Head Disassembly and Clean Updated 19.7.22
 0:19:59
OPEN ME UP! Dyson V11, V10, V8 and V7 Direct Drive Head Disassembly and Clean
 0:15:00
Dyson V11 Complete Cordfree Vacuum w/ Floor Dok & 5 Tools on QVC
 0:15:08
OPEN ME UP! Dyson V11 and V10 SIMPLE Disassembly and Clean
 1:06:43
OPEN ME UP DYSON V11 DISASSEMBLY AND CLEAN UPDATE 01/08/2023
 0:49:09
OPEN ME UP! Dyson V11 Outsize Complete Disassemble and Clean
 0:02:40
OPEN ME UP! Dyson V10 and V11 Removing the connector. Easy and bad way
 0:26:41
OPEN ME UP! Dyson V10 and V11 Removing the connector. Complex and better way
 1:03:35
OPEN ME UP! Dyson V10 Complete Disassemble and Clean Updated 19.7.22
 0:01:35
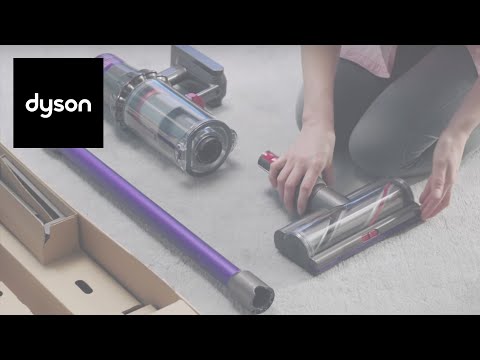
How to set up and use your Dyson V11™ cordless vacuum
 0:23:39
Vacuum repair man shows how to take apart and reassemble Dyson V11 for cleaning
 0:29:39
OPEN ME UP! Dyson Outsize Torque Drive Disassemble and Clean
 0:10:46
OPEN ME UP! DYSON GEN5, V15 OUTSIZE V11 FILTERHOW TO DISASSEMBLE AND CLEAN
 0:00:36
Dyson bin stuck and cannot open
 0:04:45
Vacuum repair man fixes common Dyson V11, V12, V15 cordless problem
 0:01:37
How to check for blockages on your Dyson V11™ Outsize cordless vacuum with High Torque cleaner head...
 0:43:32
OPEN ME UP! Dyson V15 Detect Complete Disassemble and Clean
 0:00:20
Dyson V11 Outsize trigger hack
Комментарии