filmov
tv
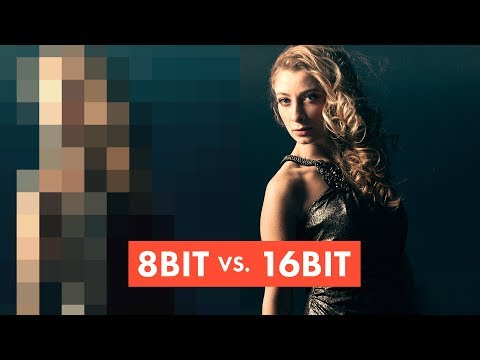
8bit vs 16bit - Why most PROs get Bit Depth WRONG?

Показать описание
Bit Depth SIMPLIFIED In-Depth and 2 Biggest MYTHS Debunked in this Photoshop Tutorial. Witness Theory vs Reality of Bit Depth to see what almost Everyone fails to Understand. The only video you will ever need to watch about Bit Depth...
► Skip to ANY section ⏰ TIME STAMPS:
0:10 Introducing Bit Depth/Color Depth/Pixel Depth
0:26 Concept of Bit Depth
0:47 Bit Depth definition Visually explained
1:18 Understanding Bits per Channel(BPC) in Photoshop
1:54 What exactly are 'Bits'?
2:31 Why 8 bits have maximum value of 255
3:06 Different Bit Depth have different tone/RGB values
3:38 Photoshop Bit Depth comparison 1bit B&W/8bit grayscale/8bit RGB/16bit RGB
5:17 1st Reason for no visible Difference between 8bit & 16bit RGB
6:16 2nd Reason for no visible Difference between 8bit & 16bit RGB
7:25 Spot the Color difference challenge in Photoshop + Human Visibility explained
8:11 Why Photoshop shows 255 value for both 8 & 16 bits
8:28 Which is Better for retouching - 8bit or16 bit
8:59 Myth 1 debunked (To fully understand, watch the full video)
10:06 Myth 2 debunked (To fully understand, watch the full video)
------
📸 Start Retouching 10x FASTER with Post Pro Photoshop Panel:
-----
#photoshop #bitdepth #16bits
 0:05:43
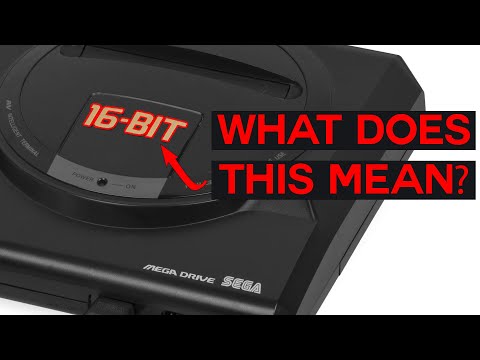
WHAT IS 8-BIT? | What are 8-bit graphics, anyway?
 0:06:33
A Shocking Reason to Work in 16-Bit! - Photoshop Tips
 0:10:50
8bit vs 16bit - Why most PROs get Bit Depth WRONG?
 0:02:32
Canon Two Minute Tips: 8 BIT VS 16 BIT
 0:06:19
Understanding the differences between 8bit, 16bit, 32bit, and 64bit -- Arrow Tech Trivia
 0:13:53
Photo editing and printing. When does 16 bit or 8 bit still matter? How much worse is 8 bit printing
 0:12:09
VISUAL BREAKDOWN: 8-bit vs 16-bit images
 0:25:45
8-bits is What?
 0:03:54
Sonic the Hedgehog 2 (1992) 8bit vs 16bit vs 32bit vs 64bit (is there a big difference?)
 0:00:30
24bit vs 16bit vs 8bit vs 4bit audio poređenje
 0:03:59
Sonic the Hedgehog (1991) 4Bit vs 8Bit vs 16Bit vs HD vs 3D (Which One is Better?)
 0:09:30
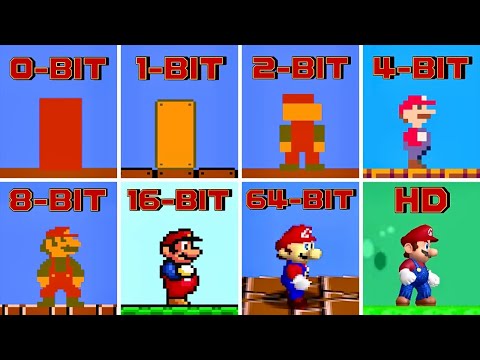
Super Mario Bros. 0-BIT vs 1-BIT vs 2-BIT vs 4-BIT vs 8-BIT vs 16-BIT vs 64-BIT vs HD
 0:01:57
What's the difference between 16-Bit vs 8-bit?
 0:00:37
1 Bit 2 Bit 4 Bit 8 Bit 16 BIT 32 Bit 128 Bit 256 Bit 512 Bit 1024 Bit 2048 Bit 4096 Bit 8192 Bit #2
 0:00:37
1 Bit 2 Bit 4 Bit 8 Bit 16 BIT 32 Bit 128 Bit 256 Bit 512 Bit 1024 Bit 2048 Bit (GOLDEN APPLE BITS)
 0:05:01
Sonic The Hedgehog 1-BIT vs 4-BIT vs 8-BIT vs 16-BIT vs HD
 0:00:37
Difference Between 8 bit & 16 bit
 0:08:45
King Bowser 0-BIT vs 1-BIT vs 2-BIT vs 4-BIT vs 8-BIT vs 16-BIT vs 32-BIT vs 64-BIT vs 3D vs HD
 0:02:22
What is the difference between 8-bit and 16-bit control for LED strip lights?
 0:01:01
What is 8bit vs 16bit Channels in lighting fixtures.
 0:00:37
8bit vs 16bit in 2022
 0:01:35
8 bit MCU vs 16 bit MCU || Part 43 - Interview Questions & Tips for Embedded Developer
 0:09:01
Sonic The Hedgehog 2 || 4-BIT vs 8-BIT vs 16-BIT vs 32-BIT vs HD vs 2.5D vs 3D
 0:08:32
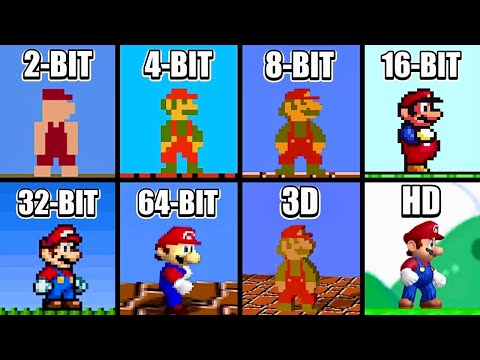
Super Mario Bros. 2-BIT vs 4-BIT vs 8-BIT vs 16-BIT vs 32-BIT vs 64-BIT vs 3D vs HD
Комментарии