filmov
tv
Sharp TV Repair - How to Replace RUNTKA448WJQZ Power Supply/Backlight Inverter Boards - LCD Repair

Показать описание
Sharp LCD TV Repair Backlight Board Replacement Tutorial
FOLLOW US:
...............................................................................................
The Power Supply / Backlight Inverter Board shown in this video is a replacement for the following LCD TV models:
LCD TV Model Numbers:
• SHARP LC-32D44U
• SHARP LC-32SB21U
• SHARP LC-32SB220U
• SHARP LC-32SB23U
• SHARP LC-32SB24U
• SHARP LC-C3234U
Top Common Sharp LCD TV problems for bad Power Supply / Backlight Inverter Boards:
• No Power (Dead TV), Red or No Standby Lights
• Bad Capacitors, Blown Caps
• Power Surges
• Low Voltage Readings
• No Backlight
• Has Audio But No Video
• Dim Video (Back Light)
• TV Turns On, Backlight Inverter Immediately Turns Off
• Buzzing Sound From Backlight Inverter Transformers
• Smoke / Burnt Components On Backlight Inverter
...............................................................................................
TV Repair Made Easy™
...............................................................................................
Disclaimer:
WARNING! Please make sure that your TV is unplugged, and that you are protected from static electricity. There are various ways to eliminate static electricity, but the most common way is to use a grounding wrist strap. Take photos and notes often to help remember the location and orientation of the parts and wires. And feel free to pause and backtrack through this tutorial as much as needed.
Materials Needed:
To be best prepared to replace the Power Supply / Backlight Inverter Board inside of your TV, you will need the following materials:
• A pair of latex gloves.
• A pair of needle-nose pliers.
• Both a flat-head and phillips screwdriver.
• And a cup to hold all screws, clips, and any other small items. So let's get to it shall we?
Instructions:
• Locate your TVs identification label and take note of the brand name, model number, serial number, and model code if present.
• Unscrew and remove the back cover.
• The LIPS Board contains the Power Supply Unit and Backlight Inverters.
• For this TV, the LIPS Board is located on the right side of the chassis.
• Carefully unplug all wires by hand.
• Unlock the wire connectors by squeezing the tab or tabs and gently remove the wires. Be sure to keep a firm grip with both hands.
• Unscrew and remove your bad Power Supply / Backlight Inverter Board from the chassis.
• The part number for this item can be found printed on the board..
• Click on the search results to view important product specifications. Verify that your original board matches all requirements noted in the product description prior to purchase.
• Insert all screws to secure your ShopJimmy New Power Supply / Backlight Inverter Board to the chassis.
• Reconnect all wires.
• Return the back cover to its original position and secure all screws.
• This ShopJimmy replacement Power Supply / Backlight Inverter Board does not require any manual configurations in order to function. Simply plug in and power on and your TV will function as if new.
 0:02:59
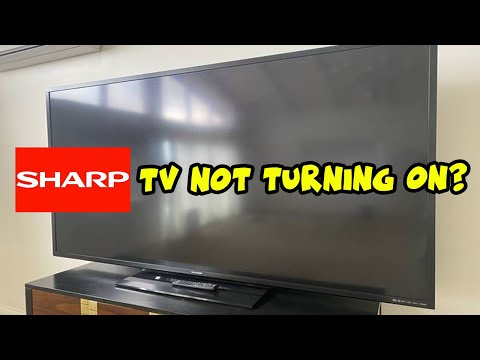
How to Fix Your Sharp TV That Won't Turn On - Black Screen Problem
 0:00:15
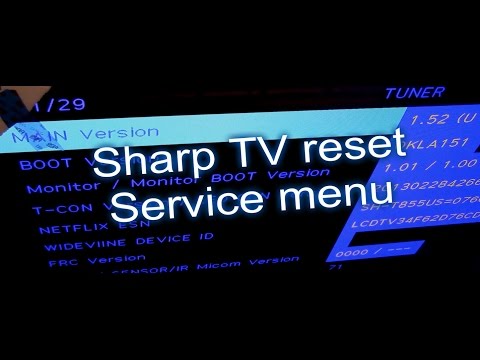
(short) reset lamp error sharp 32
 0:07:25
How to repair sharp LC-60LE650M 60” tv no power #how #diy
 0:05:00
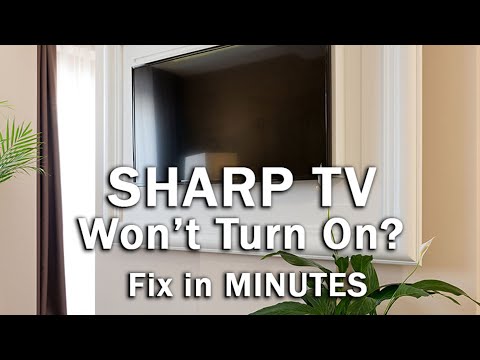
How to Fix Your Sharp TV That Won't Turn On - (EASY Fixes)
 0:22:30
Sharp CRT Tv no power, Paano Ayusin, step by step #tutorial repair ❤️
 0:01:34
How to Factory Reset Sharp TV to Restore to Factory Settings
 0:04:19
RESET LED LCD SHARP TV FLASHING LIGHT NOT TURNING ON
 0:15:07
Sharp CRT TV model 21JN8 repair
 0:00:19
Solusi TV sharp,#perbaikantv #servistv #repair #electronic #memperbaikitv #caramemperbaikitv #sound
 0:02:31
3 ways to reset TVs, Sharp TV fix review
 0:28:24
SHARP TV no power mainboard repair step by step to learn
 0:03:17
Sharp TV: How to Fix Vertical Lines on the Screen
 0:02:31
Fixed a $10,000 Sharp TV With 1 Component LC-90LE745U
 0:02:09
Sharp TV No Picture but Sound - Fix it Now
 0:03:07
How to repair Sharp LED TV LC-32LE375X - Won't turn On 'standby power only'
 0:02:50
Factory Reset Sharp Aquos LCD TV - 70'
 0:11:14
DIYseries #1 : Baikpulih TV LED Backligth Tak Menyala (Sharp)
 0:10:56
menu service,LC-32LE265M problem backlight code,Sharp blinking indicator repair tutorial/repair tv
 0:05:59
SHARP LC-32S7E-BK LCD TV repair POWER
 0:04:55
Fix Sharp TV Front Logo Light Blinking Fast Then Slow & Wont Turn On AQUOS Smart LC 4T PN Screen...
 0:07:02
Sharp LC 50LB371C TV Backlight Repair (DIY home repair!)
 0:01:36
How to Fix Sharp TV Wont Turn On Power Light Blinks || Quick Solve in 2 minutes
 0:01:42
How To Fix a Sharp TV that Won’t Turn On
![[Hard Reset] SHARP](https://i.ytimg.com/vi/wLwqC4uuv0E/hqdefault.jpg) 0:07:14
0:07:14
[Hard Reset] SHARP AQUOS TV to Factory Settings || Hard Reset a SHARP Smart TV
Комментарии