filmov
tv
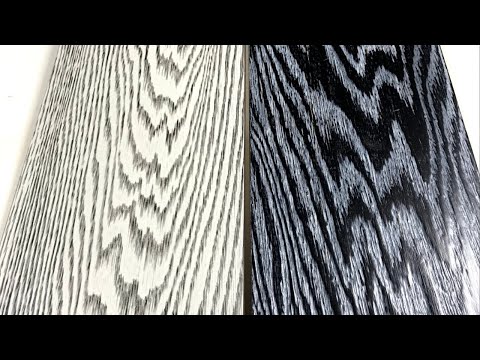
Secret to a new trendy wood finishing technique

Показать описание
#woodfinishes #cerusedfinish #cerusing
Watch as Wes shows you how to achieve this unique glazing application.
The paint is the same as my video with the 3 cabinet finishes I posted. It is a tinted primer sealer from M.L. Campbell. I used a white/black oil based glaze and final step is a clear top coat of lacquer.
Finish Video:
#woodfinishing #glazingtechniques #spraytechniques
 0:06:22
Secret to a new trendy wood finishing technique
 0:06:50
Secret to a new trendy wood finishing technique. Two tone wood finish.
 0:00:16
Ariana Grande's CUTE Victoria Secret Performance in 2014 💕🐶 || Scp: Sweetenerscenes #arianagra...
 0:05:35
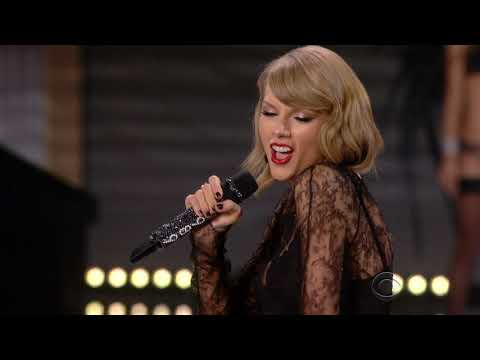
Taylor Swift - Style - The Victoria Secret Fashion Show 2014
 0:00:12
Do you know this secret 🤣🤫❤️ @_miss_tais_
 0:03:50
Bruno Mars - Chunky (from the Victoria’s Secret 2016 Fashion Show) (Official Live Performance)
 0:00:13
H&M vs Zara… which would you choose? 👀🧡 #shorts
 0:17:04
The dirty secret of capitalism -- and a new way forward | Nick Hanauer
 0:00:27
Earth's Secret 8th Continent 😱 (EXPLAINED)
 0:04:07
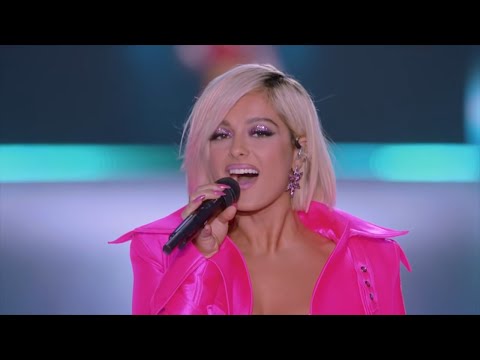
Bebe Rexha - I'm A Mess [Live at Victoria’s Secret Fashion Show]
 0:00:13
I tried the Korean lipstick hack 🤯😍
 0:00:41
10 Crazy Amazon Home Gadgets (Pt. 20) #shorts #productreview #amazonfinds #justicebuys
 0:03:15
David Guetta ft Justin Bieber - 2U (The Victoria’s Secret Angels Lip Sync)
 0:00:31
Transforming My Daughter Into A Doll #shorts
 0:00:15
Secret Storage Solutions
 0:40:57
THE OFFICIAL 2018 VICTORIA’S SECRET FASHION SHOW
 0:00:21
Secret MR BROOKHAVEN in Roblox that no one knows #shorts
 0:00:21
Secret MR BROOKHAVEN in Roblox that no one knows #shorts
 0:00:21
Minecraft Secret Base🤫 #shorts
 0:00:38
Want to know a secret?
 0:00:20
Barbie's Secret Santa! | #BarbieShorts
 0:00:32
Minecraft: Secret Bases at Different AGES 😂
 0:00:22
Torch Key Secret Door in Minecraft! #shorts
 0:00:36
Secret of my half Ponytail🤭 #trending #easyhair #volumehair #hairstyle #hairstyles #easyhair ✨️...
Комментарии