filmov
tv
AutoCAD workspace settings 2025 | AutoCAD classic workspace | Export AutoCAD workspace.

Показать описание
In this video, You will get information About some necessary settings in AutoCAD workspace 2025
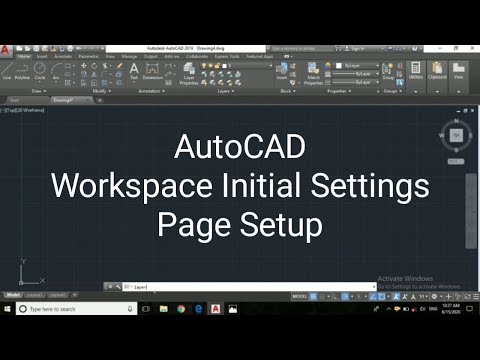
Workspace means the main working screen of AutoCAD. Before starting any drawing, it is mandatory to set some settings to draw any drawing according to our drawing.
I will explain which settings are necessary before starting drawing.
How to set AutoCAD Workspace Settings?
1) How to hide/show panels and tabs in AutoCAD?
* Simply right-click beside the panel’s dropdown menu.
* Hide or show which pan or tabs you want to hide or show by simply clicking on that.
* Also by clicking on this icon as shown, it will minimize panels and will increase the workspace area.
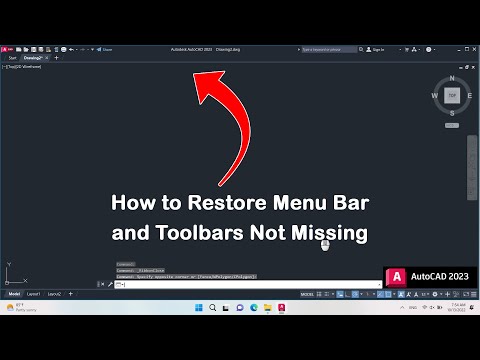
How to Restore all panels and tabs that are not visible?
Two Methods are there:
1) The first method is very simple. Just change the workspace from the ‘Quick access toolbar’ located at the top of the screen or from the ‘Status bar’ located at the bottom right corner of the screen. Select 3D modeling and then again select 2D drafting & annotation.
2) The second method is to type ‘MENU’ in the command bar and press the Enter key.
It will show one dialogue box of templates. Select ‘acad’ by default template. After selecting, it will show all panels and tabs.
Status Bar settings in AutoCAD
The status bar is placed at the lower right corner of the workspace screen.
If some icons are not shown, then we can add them from the customization placed at the last three-line icon as shown.
1) Grid mode:
We can on/off gridlines by the first icon ‘Grid mode’ (the Shortcut key for on/off-grid mode is F7).
2) Orthomode:
Orthomode is useful to draw a straight line horizontally or vertically. The shortcut key for on/off orthomode is F8)
3) Polar Tracking: e Polar tracking is useful to track angles foraging lines at particular angles. The shortcut key for on/off polar tracking is F10)
4) Auto snap (AutoCAD Workspace Settings)
Auto snap is useful to show snapping reference points. By on this icon, we can snap points of the other objects. be The shortcut key for on/off the auto snap is F11)
5) Object Snap
Steps for a set limit of AutoCAD Workspace Settings
1) Type ‘LIMITS’ in the command bar and press Enter key.
2) AutoCAD will ask for a specific lower-left corner. Set a lower-left corner as required.
3) Then AutoCAD will the upper right corner. Specify the upper right corner.
4) Then again type ‘LIMITS’ in the command bar and press Enter and click on ‘on’. By limits, we cannot work outside of the limit set by us.
5) We can also set our limits from the origin point. For that, we have to type (0, 0) to set the lower-left corner. And type upper right corner coordinates as per requirement.
#AutoCADworkspace #autocadclassicworkspace #exportautocadworkspace
#mycadtutorials
Workspace means the main working screen of AutoCAD. Before starting any drawing, it is mandatory to set some settings to draw any drawing according to our drawing.
I will explain which settings are necessary before starting drawing.
How to set AutoCAD Workspace Settings?
1) How to hide/show panels and tabs in AutoCAD?
* Simply right-click beside the panel’s dropdown menu.
* Hide or show which pan or tabs you want to hide or show by simply clicking on that.
* Also by clicking on this icon as shown, it will minimize panels and will increase the workspace area.
How to Restore all panels and tabs that are not visible?
Two Methods are there:
1) The first method is very simple. Just change the workspace from the ‘Quick access toolbar’ located at the top of the screen or from the ‘Status bar’ located at the bottom right corner of the screen. Select 3D modeling and then again select 2D drafting & annotation.
2) The second method is to type ‘MENU’ in the command bar and press the Enter key.
It will show one dialogue box of templates. Select ‘acad’ by default template. After selecting, it will show all panels and tabs.
Status Bar settings in AutoCAD
The status bar is placed at the lower right corner of the workspace screen.
If some icons are not shown, then we can add them from the customization placed at the last three-line icon as shown.
1) Grid mode:
We can on/off gridlines by the first icon ‘Grid mode’ (the Shortcut key for on/off-grid mode is F7).
2) Orthomode:
Orthomode is useful to draw a straight line horizontally or vertically. The shortcut key for on/off orthomode is F8)
3) Polar Tracking: e Polar tracking is useful to track angles foraging lines at particular angles. The shortcut key for on/off polar tracking is F10)
4) Auto snap (AutoCAD Workspace Settings)
Auto snap is useful to show snapping reference points. By on this icon, we can snap points of the other objects. be The shortcut key for on/off the auto snap is F11)
5) Object Snap
Steps for a set limit of AutoCAD Workspace Settings
1) Type ‘LIMITS’ in the command bar and press Enter key.
2) AutoCAD will ask for a specific lower-left corner. Set a lower-left corner as required.
3) Then AutoCAD will the upper right corner. Specify the upper right corner.
4) Then again type ‘LIMITS’ in the command bar and press Enter and click on ‘on’. By limits, we cannot work outside of the limit set by us.
5) We can also set our limits from the origin point. For that, we have to type (0, 0) to set the lower-left corner. And type upper right corner coordinates as per requirement.
#AutoCADworkspace #autocadclassicworkspace #exportautocadworkspace
#mycadtutorials
 0:04:06
 0:03:00
 0:01:03
 0:04:36
 0:22:46
 0:05:59
 0:01:45
 0:40:55
 0:04:27
 0:01:15
 0:00:47
 0:03:07
 0:00:38
 0:01:55
 0:00:39
 0:07:11
 0:02:21
 0:01:29
 0:17:49
 0:09:09
 0:01:34
 0:05:39
 0:01:30
 0:00:32