filmov
tv
Best Wood Filler to Match Wood for Furniture Repair, Hardwood Floors, & New Woodwork - Mohawk How To

Показать описание
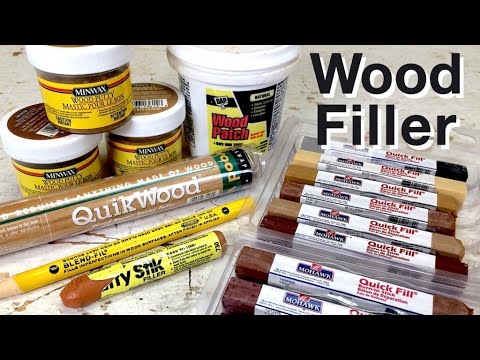
Wood fillers can be confusing to understand. I prefer to use a burn-in wood filler for furniture repairs, hardwood floors, and new woodworking. You use it after the finish goes on, so you know exactly what color you need to match the wood. Thanks to Mohawk for partnering with us to make this video.
The first demonstration of the Mohawk Quick Fill burn-in sticks is on a wooden box I built. I applied the finish, which shows me the final color of the wood. I then chose a wood filler stick that matched the color. I show this on an area where there was some tear out in the walnut that I couldn't work out with a card scraper. Then I show the use of Quick Fill on the corner splines where there were some minor voids. It's a simple process using a battery-powered soldering iron to apply the wood filler, then level it out with a plastic scraper.
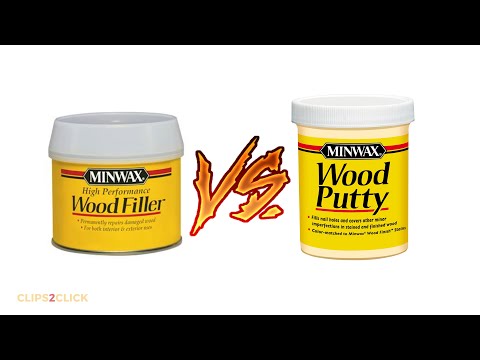
For my woodworking projects, I rarely need wood filler or wood putty, but what I've learned over decades of woodworking experience is that matching wood filler to a project is next to impossible. The reason is that the finish you apply reacts differently to the wood than it does to the wood filler. That's why I like these burn-in wood fillers, because they go on after the finish so you can dial in the perfect match for your project.
The second demonstration of the Quick Fill is on the restoration of a rocking chair. This chair had a split side rail and after I repaired it, there are some pieces missing. I melt Quick Fill into the void with the closest color I have. After scraping it down, I get a sense of how well it matches. I then add different color by melting them into spots where they need to be darker. It's a process that can easily be undone if you make a mistake. Sometimes it takes experimentation to work in color to make the repair disappear.
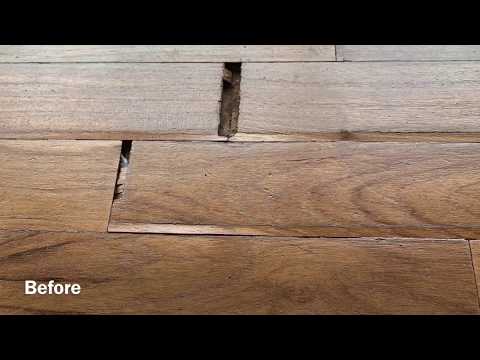
Mohawk provided me with some Hard Fill, which is designed for hardwood floor and table top repairs. This is a harder product that stands up to more abuse. It goes on the same way as the Quick Fill, but because it's hard, there's a special Hard Fill Levelling Tool that's used to flatten out the filler. I used this to repair two dents on my Hickory hardwood floor. By mixing several colours and adding some grain with a graining marker, you can't find the repair unless you know exactly where it is.
I hope you enjoyed this in-depth video about Mohawk's burn-in wood fillers.
RELATED VIDEOS:
LINKS:
For Hardwood Flooring:
Contents:
00:00 Best Wood Filler to Match Wood
00:57 Burn-in wood filler for a new woodworking project
03:33 Furniture restoration with burn-in wood filler
13:12 How to repair hardwood floor damage with Mohawk Hard Fill
14:54 Hard fill levelling tool
17:11 Blending wood filler colors to disguise the hard fill on flooring
#mohawk #woodfiller #woodputty
The first demonstration of the Mohawk Quick Fill burn-in sticks is on a wooden box I built. I applied the finish, which shows me the final color of the wood. I then chose a wood filler stick that matched the color. I show this on an area where there was some tear out in the walnut that I couldn't work out with a card scraper. Then I show the use of Quick Fill on the corner splines where there were some minor voids. It's a simple process using a battery-powered soldering iron to apply the wood filler, then level it out with a plastic scraper.
For my woodworking projects, I rarely need wood filler or wood putty, but what I've learned over decades of woodworking experience is that matching wood filler to a project is next to impossible. The reason is that the finish you apply reacts differently to the wood than it does to the wood filler. That's why I like these burn-in wood fillers, because they go on after the finish so you can dial in the perfect match for your project.
The second demonstration of the Quick Fill is on the restoration of a rocking chair. This chair had a split side rail and after I repaired it, there are some pieces missing. I melt Quick Fill into the void with the closest color I have. After scraping it down, I get a sense of how well it matches. I then add different color by melting them into spots where they need to be darker. It's a process that can easily be undone if you make a mistake. Sometimes it takes experimentation to work in color to make the repair disappear.
Mohawk provided me with some Hard Fill, which is designed for hardwood floor and table top repairs. This is a harder product that stands up to more abuse. It goes on the same way as the Quick Fill, but because it's hard, there's a special Hard Fill Levelling Tool that's used to flatten out the filler. I used this to repair two dents on my Hickory hardwood floor. By mixing several colours and adding some grain with a graining marker, you can't find the repair unless you know exactly where it is.
I hope you enjoyed this in-depth video about Mohawk's burn-in wood fillers.
RELATED VIDEOS:
LINKS:
For Hardwood Flooring:
Contents:
00:00 Best Wood Filler to Match Wood
00:57 Burn-in wood filler for a new woodworking project
03:33 Furniture restoration with burn-in wood filler
13:12 How to repair hardwood floor damage with Mohawk Hard Fill
14:54 Hard fill levelling tool
17:11 Blending wood filler colors to disguise the hard fill on flooring
#mohawk #woodfiller #woodputty
 0:05:21
What is the Best Wood Filler?
 0:00:59
Wood filler you can actually STAIN to match the wood! 🤯 #diy #diytips #homeimprovement #woodworking...
 0:07:30
Top 5 Best Exterior Wood Fillers in 2024
 0:04:14
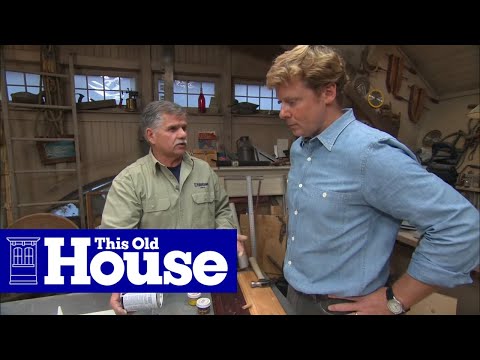
How to Choose and Use Wood Filler | This Old House
 0:21:05
Best Wood Filler to Match Wood for Furniture Repair, Hardwood Floors, & New Woodwork - Mohawk Ho...
 0:00:44
Best Wood Fill - My Favorite Wood Filler for small gaps #shorts
 0:16:10
Putty Wood Filler HEAD-TO-HEAD | Which Is The Best Wood Filler?
 0:04:14
Wood Putty vs. Wood Filler: Which is Best for Your Woodworking?
 0:02:53
How to Make a DIY Wood Filler That Will Perfectly Match Your Project
 0:08:03
Find Out the BEST Filler to Use for Trim Work!
 0:05:53
Best Wood Filler for Staining Over Top Of
 0:01:50
Alcolin Woodfiller - For the best colour match!
 0:15:00
Wood Filler & Putty for Furniture Repair | Woodworking How to
 0:01:39
Colour Coding Your Wood Filler To Match
 0:01:21
Matching Wood Putty Color | Rockler Skill Builders
 0:04:36
DIY Wood Floor Repair Project | Cheap Quick Fix [Wood Filler Putty and Furniture Touch Up Marker]
 0:02:21
Wood Putty vs Wood Filler? What is the Best for your Woodworking Project?
 0:07:17
Wood Filler - Buy it or Make it? / DIY Wood Filler
 0:03:24
Best Wood Products for Small Repairs | Minwax
 0:15:30
Beginner Wood Filling Mistakes | How to Fill Cracks and Gaps
 0:12:23
Best Wood Filler In 2024 - Top 10 New Wood Fillers Review
 0:12:05
Best Stainable Wood Filler Reviews 2022 | Top 7 Stainable Wood Fillers For Your Woodworking Projects
 0:04:59
The Best 2 Part Wood Filler? Video #2
 0:02:48
How to Stain Wood Filler Correcty
Комментарии