filmov
tv
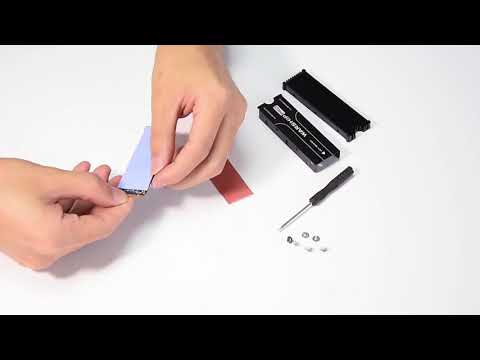
Trying out the Jonsbo M.2 SSD Heatsink

Показать описание
In this video, I unbox the Jonsbo M.2 SSD Heatsink, installing it on an SSD, then doing some simple benchmarks. This is my first unboxing video so apologies for the mistakes.
 0:04:50
Trying out the Jonsbo M.2 SSD Heatsink
 0:06:22
Jonsbo M.2 NVME/Sata Heatsink Review! Just $5!
 0:00:59
Do NVMe heatsinks and stickers make a difference? #NVMe #pcbuild #pcieGen5
 0:04:28
Can a budget M.2 heatsink save a hot SSD? ft. Jonsbo M.2 Heatsink
 0:00:57
💾 How to Install a Heatsink on an M.2 SSD? 💾
 0:00:34
Aluminum Alloy M.2 SSD Heatsink High Heat-dissipation Quick installation
 0:09:18
Jonsbo M.2 Heatsink Temperature
 0:00:22
Review Jonsbo M.2 Color
 0:00:14
M.2 ssd cooler
 0:00:56
M.2 Nvme SSD Overheating?? Use This To Keep Them Cool!
 0:00:25
Sata to M.2 ssd adapter , m.2 ssd adapter
 0:01:00
Does your nvme ssd require a heatsink?
 0:00:42
Jonsbo M 2 SSD NVMe Heat Sink M2 2280 Solid State
 0:01:00
Are M.2 Heatsinks Worth It? #shorts #pc #pcgaming #pcrepair #pcbuilding
 0:00:45
M 2 NVME SSD Heatsink Installation Guide
 0:00:45
JONSBO M.2 Heatsink ARGB & LIQUID JONSBO TW 2-240 RGB
 0:04:07
►Радиатор (кулер ) Радиатор для SSD Jonsbo M.2-3 Red🔴
 0:00:45
How to apply Thermal Paste and Liquid Metal #shorts #howto
 0:00:22
6x M.2 NVMe SSD NAS! The Asustor Flashstor 6 (FS6706T)
 0:00:18
Did someone say storage upgrade? 👀
 0:00:38
You need to install your PC fans like this!
 0:00:17
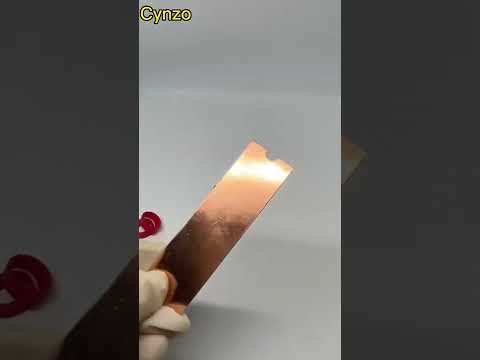
Pure Copper M.2 SSD Heatsink,M2 2280 Solid State Drives Cooler Heat Sink with 6.0W/M K Thermal Pad
 0:01:00
How to Set Up PC Case Fans Correctly
 0:00:26
JONSBO M.2-2 2280 SSD HEATSINK ARGB
Комментарии