filmov
tv
What microscope do I use? Andonstar AD409 Review - LFC#355

Показать описание
This week I'm taking a look at Andonstar's AD409 microscope. This is the big brother to the scope I use for my motherboard repairs - so let's see if the big screen is worth it, and talk about these screen-view scopes in general!
I forgot to add in my 'review/sponsor' information thing at the start, Andonstar sent me a free sample in exchange for a review video.
Looking to buy? Find the Andonstar AD409, as well as their other microscopes at the links below:
I forgot to add in my 'review/sponsor' information thing at the start, Andonstar sent me a free sample in exchange for a review video.
Looking to buy? Find the Andonstar AD409, as well as their other microscopes at the links below:
 0:10:28
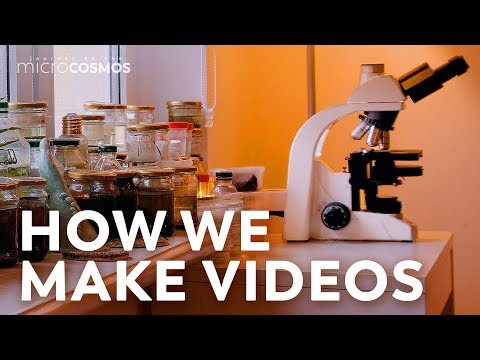
What Microscope Do We Use? (And Other Frequently Asked Questions)
 0:09:16
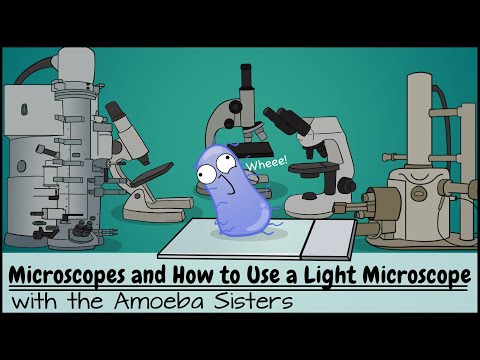
Microscopes and How to Use a Light Microscope
 0:04:24
BIOLOGY 10 - Basic Microscope Setup and Use
 0:32:35
What Microscope to Buy in 2024
 0:03:45
How to use a Microscope | Cells | Biology | FuseSchool
 0:11:30
Microscope Parts and Functions | How to Use a Microscope
 0:30:48
What Microscope to Buy in 2023
 0:14:58
🔬 001 - How do you use a microscope?
 0:31:42
What microscope do I use? Andonstar AD409 Review - LFC#355
 0:00:38
Vinegar VS Bacteria under the microscope!
 0:04:39
GCSE Biology - What is Microscopy? #5
 0:00:38
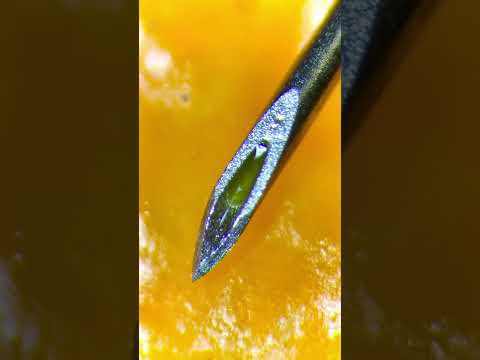
Used syringe under the microscope is insane (real!)
 0:00:55
Cell Explodes Under Microscope (Hydrogen Peroxide vs Germs)
 0:05:28
How do you use a Light Microscope? A step-by-step guide!
 0:08:44
Electron Microscopy (TEM and SEM)
 0:00:35
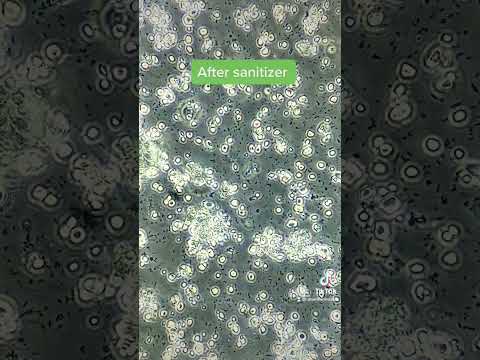
Bacteria VS hand sanitizer under the microscope!
 0:00:39
Tap water under the microscope! (You will be surprised!)
 0:03:49
How Do Microscopes Work? MICROSCOPE Science!
 0:00:16
fingers under the microscope
 0:02:41
Objects Under Electron Microscope (Part 3)
 0:02:45
How to Focus a Microscope & How the Field of View Changes
 0:00:32
WHAT THINGS ACTUALLY LOOK LIKE UNDER A MICROSCOPE
 0:01:00
Lime Juice vs Germs Under Microscope
 0:07:50
Transmission Electron Microscope (TEM)
Комментарии