filmov
tv
How to Export with Cinema 4D and Unreal Engine - Featuring Jonathan Winbush

Показать описание
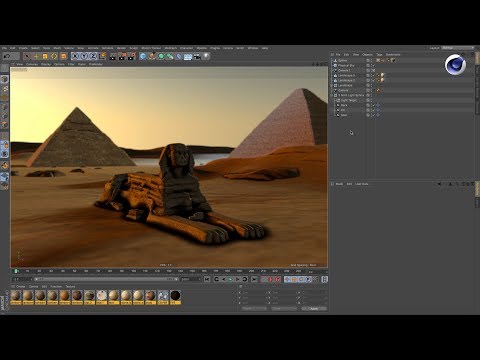
How many times have you been stuck waiting on a render to see if your concept matches the reality of your design? Cinema 4D is a powerhouse, but it requires time and patience to see your work come to life. That's why mixing in the power of Unreal Engine's real-time rendering can be an absolute game changer.
Jonathan Winbush is back with a step-by-step look at how you can take a project from Cinema 4D, easily import it into Unreal Engine, and utilize the incredible tools and speedy workflow to make your project pop.
Special thanks to Pixel Labs for sending us a building to use.
~ - ~ - ~ - ~ - ~ - ~ -
🎓INTERACTIVE ONLINE CLASSES 🎓
🧭FREE 10-DAY INTRO COURSE 🧭
🚴♀️FOLLOW US FOR MORE LEARNZ 🚴🏾♂️
---------------------------------------------------------------------
Auto-Generated Transcript Below 👇
Jonathan Winbush (00:00): Real time. Rendering has the potential to change the landscape of motion design. And this tutorial, I'm going to show you how to export your scene from cinema 40 into unreal engine, so that you could utilize the power of real-time rendering. Let's go Whatever, whatever, when boys here and today, I'm excited to show you guys how to make this
Jonathan Winbush (00:29): In part one of this video series and give you a glimpse into the power of unreal engine's real-time rendering and explain how studios like capacity and Stargate are using it to create incredible content beyond video games. And part two, I'm going to get a little bit more granular and demonstrate how easy it is to get a basic scene, export it out of cinema 40 and brought over into an unreal engine so that we can take care of lighting, texturing and final Polish. In this tutorial, I will be covering the following, how to prep the next port. You're seeing how to cinema 40, how to import your scene into unreal engine, how to start bringing your scene to life by adding lights and volume metrics, how to work with key frames inside of unreal engine. How do you use free SS from the epic games marketplace? And lastly, I will show you how to add that final Polish with Lutsen color correction. Make sure you download the project files in the description below so that you can follow along with me. Now let's get started.
Jonathan Winbush (01:25): As you can see here, I'm starting off as cinema 40 right here, and this is the basic animation that we're going to be going through. So I have this building here, we scaled down it, and then the Scala motion logo locks into place. As we start to pull back here in the scene a little bit, I got inspiration from the teenage mutant ninja turtles. So I used to watch her a lot when I was young. That's kind of where this opening came in from. And then if I pull back in my scene here, I'll just show you a real basic breakdown of what we have going on here. So starting with the Scuola motion logo. So if I look at the fracture here, you can see it. I have extruded each one of these triangles in here. And the reason that I'm using a fracture is because if you come over to a MoGraph, most of the stuff in here, we could use effectors with it.
Jonathan Winbush (02:06): So it's not just cloners. We can actually use effectors, but fractures as well. So if I click on fracture here and I come over to effectors, you can say that I have the random effector in here, and that's how I'm able to get my logo to turn like that. So if I click on my random effector, you can see that I have, my rotation is just two key frames, really simple, and that's going into place. Then the building here, this building was actually donated from pixel labs. So shout out to those guys for allowing us to use this, and actually I'll be able to give it to you guys absolutely free for this project. So you can kind of go around and manipulate it and use them for your own needs. But what I did was I just manipulated the building a little bit, got rid of some stuff that I didn't want in there.
Комментарии


