filmov
tv
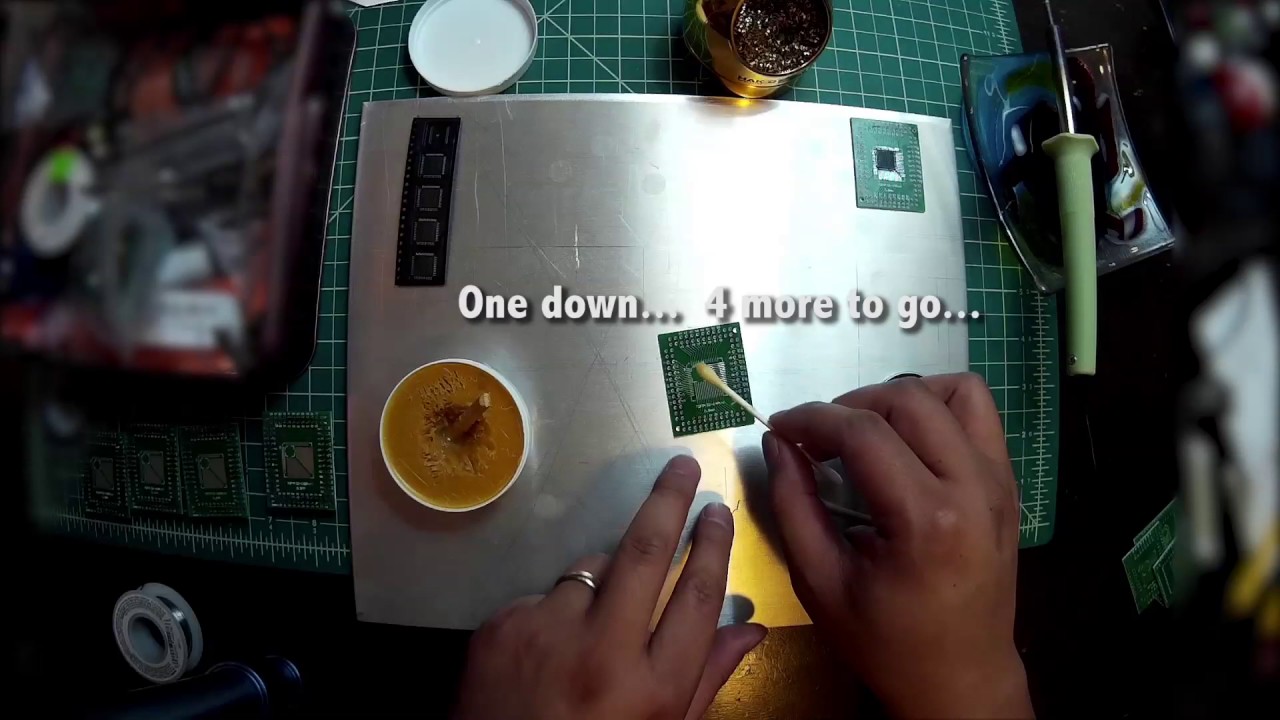
Surface Mount Soldering TQFP-44 0.8mm With Soldering Iron and Flux
Показать описание
I put together a video showing how I hand solder a set of 5 Xilinx XC9536XL CPLD TQFP-44 0.8mm pitch surface mount IC onto a TQFP-44 breakout board.
Tools:
* Soldering iron. Really, any will do. The one I'm using is from Michaels and is normally used for wood burning. The tip is a normal aprox 60° angle tip. It's not a fine tip and for this kind of work, a fine soldering tip isn't strictly necessary. You want an iron that can get hot. You really don't want to use a low power iron to dwell over a spot for too long or else you risk damaging the chip, the lead, or cause lifting of the trace.
* Flux paste. Any rosin flux paste would work. I've partially diluted my paste with some 91% isopropyl to make it easier to apply.
* 91% Isopropyl Alcohol. I use this for cleaning and for diluting the flux paste.
* Q-tips. Cotton q-tips are used for applying the diluted flux paste and for cleaning up.
* Brass tip cleaner. This is used for cleaning the tip of the soldering iron. Removes oxides and excess solder.
* Spool of rosin core solder(lead free). Use just a tiny amount of this to wet the tip of your iron. You don't need much to solder surface mount leads.
* A heat proof surface. I am using an aluminum plate I had from an old project.
Quick description of technique:
1) Flux the board. In the video, I've diluted the flux paste with 91% isopropyl to form a slurry/liquid. This leaves less residue and makes it easier to see the lead/trace alignment.
2) Place the part, making sure that the pins are aligned with the contacts/leads on the board. Take your time. Tiny nudges to get them as close as you can to making sure the leads and pins are aligned.
3) Once the chip is placed, brush on a little more flux on one side.
4) Clean off your iron tip and apply just a VERY tiny bit of solder on the tip.
5) Apply the iron tip to the PCB trace to activate the flux and to get solder to flow towards the location where the lead and the trace contact. Once the pin becomes silvery from the solder, let the tagged/tacked down pin cool.
6) You can now drag your iron tip across the leads to heat and wet them with solder so that they are all shiny.
7) Once whetted, you can brush outward to smooth out the solder and clear up any bridging. If there is some bridging that doesn't go away, apply some more flux, clear off solder from your iron tip in the brass cleaning pad, and apply the tip to the leads, brushing out. This will fix bridges without needing to use copper braid.
8) Once one side is done, rinse and repeat for each side.
9) Once all four sides are done, you can clean the flux residue off with some 91% isopropyl alcohol.
Seriously, flux is your friend. Even if you use flux paste without dilution, you can apply it thinly with a small print brush or a strip of flexible plastic, or even card board. Solder mask on the PCB and flux work together to ensure that solder goes where it's supposed to go. It also GREATLY aids in solder flowing onto/between/under the metal and forming a solid connection mechanically and electrically.
If the tip of your iron is heavily oxidized and won't take solder even with a brass cleaning pad, get yourself a small tin of the re-tinning compound(Sal ammoniac) that's mixed with powdered solder. It can cut through the oxides and re-tin your tip back to a nice silvery heat conductive tip. The iron I used in the video was badly handled and had oxidized to the point where it wouldn't take solder. Using a re-tinning compound allowed me to bring the tip back to life.
 0:11:24
Surface Mount Soldering TQFP-44 0.8mm With Soldering Iron and Flux
 0:01:30
Easy Desoldering TQFP-44 SMD Package With 0,8mm Lead Pitch
 0:02:52
Soldering TQFP44 using the drag method
 0:00:59
Surface Mount Soldering Technique
 0:01:04
QFP64PCB-Q229F2A | IC SMT SMD to DIP adapter converter QFP FQFP TQFP 32 44 64 80 100 LQFP
 0:01:04
QFP32PCB1-C238F2A | QFP FQFP TQFP 32 44 64 80 100 LQFP SMD To DIP Switch
 0:00:39
Soldering an ATmega16-AU (TQFP44 package)
 0:01:24
TQFP44A-J48 | SMT Test Socket TQFP-44 Breakout adapter module
 0:01:50
SMD Breakout board for TQFP32 QFN32 TQFP44 QFN44 and SO08
 0:00:06
Successful TQFP Solder
 0:05:00
Addicore TQFP SMD Breakout Board
 0:05:28
Solder wire - Low vs High Quality
 0:01:03
QFP32PCB2-C241 | TQFP LQFP EQFP QFP32 SMD 0.8mm to DIP32 Adapter PC
 0:05:26
löten smd TQFP
 0:08:12
MUST SEE || How to Desolder SMD Components at Home? EASY and Simple DIY method
 0:02:28
SOIC to DIP Adapter for breadboarding
 0:00:55
SMD Löten mit Heißluft Andreas Boehnke
 0:04:19
Soldering Stubby Rev 2.0 SMD Components
 1:01:38
eapbg #53 Soldering a TQFP and some other components. (with sound)
 0:00:30
Lötstopplack mit LPKF ProMask auftragen
 0:02:40
Fast SMD Soldering / SMD Löten
 0:00:16
Hot Plate soldering #soldering #solder #shortsfeed #shorts#ytshorts
 0:01:01
Desoldering a QFP chip
 0:02:33
SMD reflow solder Löten mit neuem Backofen
Комментарии