filmov
tv
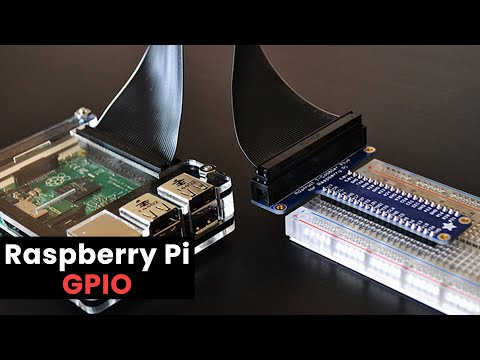
Digital Inputs with the Raspberry Pi Pico and MicroPython

Показать описание
In this video we will will learn how to read digital inputs using the Pi Pico and build a circuit to include push button control.
00:00 Intro
00:19 What is a button
00:59 Circuit Build
01:51 Pullup Resistor
02:09 Floating GPIO
02:28 Code Walk Through
03:42 Internal Pullup Resistor
04:18 Recap
The parts you will need to follow along with this video are:
1x Raspberry Pi Pico
1x Micro USB Cable
1x Breadboard
1x 10k Ohm Resistor
4x Jumper Wires
1x Momentary Push Button
Hardware Links:
Helpful Links:
 0:03:22
How to get digital inputs to Raspberry Pi board
 0:05:30
Analog Inputs with your Raspberry Pi - HOW TO use the MCP3008
 0:10:23
Reading Digital Inputs | Raspberry Pi Pico Workshop: Chapter 2.4
 0:04:40
Digital Inputs with the Raspberry Pi Pico and MicroPython
 0:09:57
Raspberry Pi LESSON 32: Analog Input for the Raspberry Pi
 0:08:57
Raspberry Pi GPIO Tutorial: The Basics Explained
 0:04:19
Analog (ADC) Inputs on the Raspberry Pi Pico with MicroPython
 0:02:53
raspberry Pi Pico digital input, how to use a Push Button with raspberry Pi Pico
 0:35:33
Raspberry Pi - Analog Inputs and PWM
 0:12:06
Raspberry Pi Pico using MicroPython - Tutorial #2: Button Inputs (Digital Inputs and Interrupts)
 0:06:31
Extending the Raspberry PI interfaces for bigger projects. Adding analog inputs and 32 outputs.
 0:01:00
Kitronik Raspberry Pi Pico Inventor's Kit Experiment 1 - Digital Inputs & Outputs
 0:11:45
Reading Digital Inputs Raspberry Pi GPIO Programming for Beginners Tutorials - Full Course Part 2
 0:07:14
HOW TO READ ANALOG INPUTS RASPBERRY PI: MCP3008 Analog to Digital Converter | Raspberry Pi Projects
 0:12:04
PiicoDev Potentiometers | Guide for Raspberry Pi
 0:00:24
A cheap way to get HDMI input to Raspberry Pi
 0:04:35
How to setup a Raspberry pi GPIO extension board
 0:06:48
Analog to Digital Converter [ADS1115] (Raspberry Pi)
 0:12:07
Getting Pushy by adding a Button to the Raspberry Pi Pico (CircuitPython)
 0:08:46
Reading Analog Inputs | Raspberry Pi Pico Workshop: Chapter 2.6
 0:25:27
#112 Analog inputs for your Raspberry Pi 🥧Model 3B+ (easy)
 0:02:49
16 Opto-isolated Universal inputs for Raspberry Pi
 0:01:01
CN0554: 10V Analog Input and 15V Analog Output for Raspberry Pi
 0:21:57
Raspberry Qt QML and GPIO - Inputs Outputs and PWM with WiringPi
Комментарии