filmov
tv
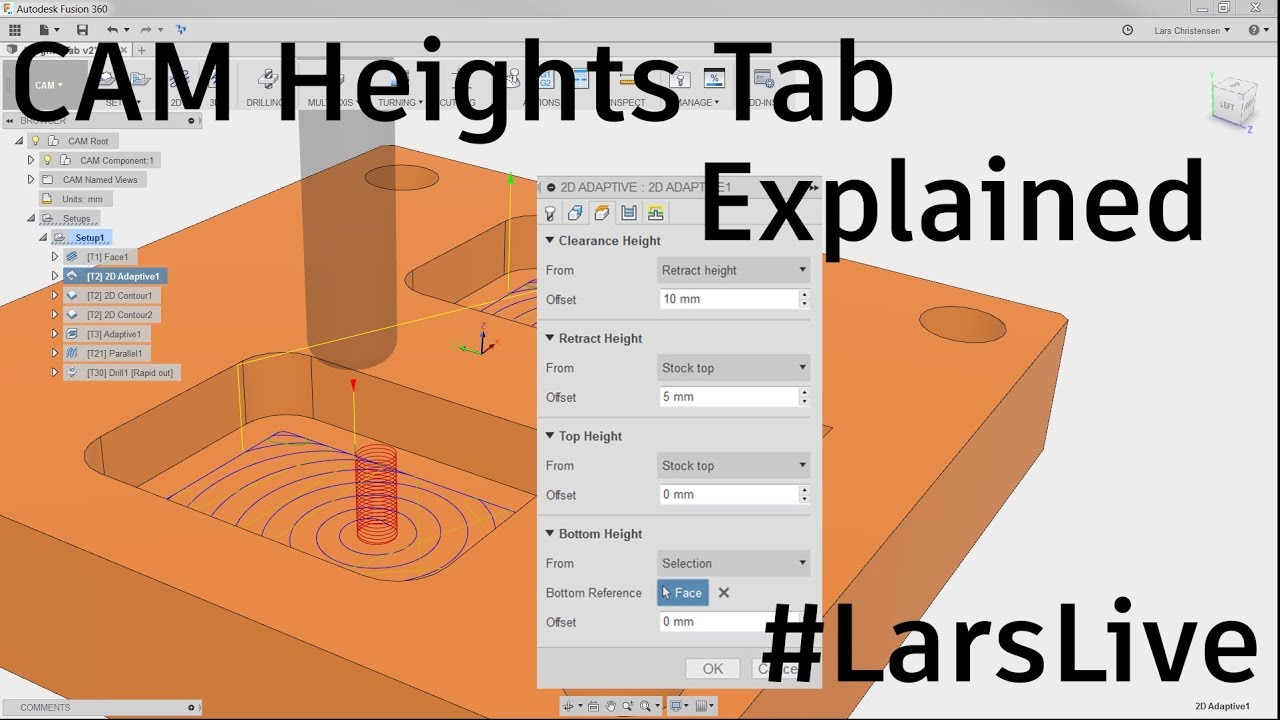
Fusion 360 CAM — Heights Tab Explained — #LarsLive 91
Показать описание
Live Stream — No Mystery Here— Let's take a look at the Heights Tab Within CAM. This is Fusion 360 AND we will chat about your comments and questions.
Style: Casual
Time: About 15-30 minutes (We all have other things to do :-)
My email:
Want to learn more about Fusion 360? Check out this link:
Free CNC Handbook:
SUBSCRIBE!
LET'S CONNECT:
Style: Casual
Time: About 15-30 minutes (We all have other things to do :-)
My email:
Want to learn more about Fusion 360? Check out this link:
Free CNC Handbook:
SUBSCRIBE!
LET'S CONNECT:
 0:10:56
Fusion 360 - CAM Heights Tab Explained
 0:37:03
Fusion 360 CAM — Heights Tab Explained — #LarsLive 91
 0:03:13
CNC | Unit1 fusion 360 CAM | Lesson : Geometry and Heights
 0:06:25
Fusion Update - Manufacturing Heights
 0:04:21
Tool Height Setting Lesson (Fusion 360 animation)
 0:01:42
Quick Tip: Contour Selections in Fusion 360 | Autodesk Fusion 360
 0:03:34
Quick Tip: How to use 'Change Tool' functionality to switch cutters within a single toolpa...
 0:13:31
Fusion 360 CAM Tutorial! Fusion Friday #35
 0:10:52
Undercutting in Fusion 360 CAM! FF119
 0:08:40
How to Reduce CAM Machining Time in Fusion 360! FF93
 0:01:59
Autodesk Fusion 360 | Quick Tip: Bore Toolpath or Circular Toolpath?
 0:01:42
Quick Tip: 2D Toolpath Optimization | Autodesk Fusion 360
 0:22:04
Fusion 360 Basic CAM Tutorial! FF53
 0:01:49
Fusion 360 Measure Tool (5 Tips You Should Know)
 1:10:40
Fusion 360 Tutorial | CAM Basics
 0:16:36
Fusion 360 CAM Tutorial for Beginners! FF102
 0:01:00
How to change the default HOME position? #fusion360
 0:13:20
Better Surface Finishes on Pocket Floors! Testing Different Fusion 360 CAM Toolpaths.
 0:20:12
Fusion 360 - How to Avoid Machining Specific Features - Short Tutorials #2 (2023)
 0:12:58
Fusion 360 3D Contour: Deep Dive into Toolpath & Settings!
 0:05:44
Machining Fundamentals: Tool Length Offset
 0:01:44
Fusion 360: How to make a convex shape
 0:07:30
Fusion 360 - Engraving Text on Signs Tutorial - CNC Router - Short Tutorials #1 - (2023)
 0:29:52
How To Get Started With CAM Within Fusion 360 — Tutorial
Комментарии