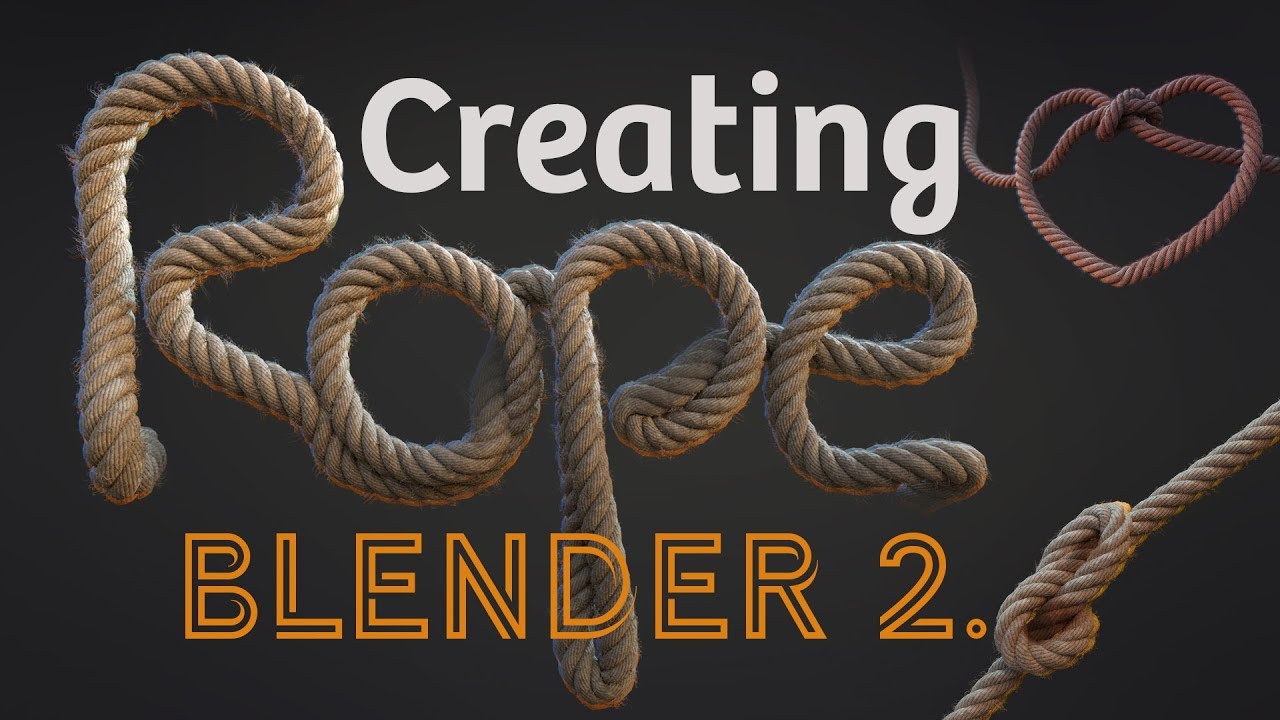
Creating Realistic Rope in Blender 2.8

preview_player
Показать описание
In this Video I demonstrate how to create a realistic hemp rope non-destructively using modifiers in Blender 2.8.

This tutorial assumes you are already familiar with the blender 2.8 User Interface and have a working knowledge of how to add and modify materials and simple particle systems.

Rope is a classic asset in many scenes and it's useful to have a model on hand for when it's needed. You could even create a low-poly tube and array it to the same curve as the rope, baking the high-poly rope to it for use in a game engine!

Common hemp rope is perfect for lassos, ship sails, pulley systems, castle building, and much more.

Music by DARK FANTASY STUDIO - Nicolas Jeudy
Рекомендации по теме
Комментарии
Автор

For those wondering, i found out there is a mistake at 2:02 . Idk if its because of the update, but, You need to select the rope, and Bezier and lastly select the empty. Then ctrl+p and choose object. I know she said to parent to the bezier, but when i looked closer in the video, it seems she parented to the empty. Hope this helps

mr.grenadier
Автор

Hard to follow. I am a beginner so I don't know the shorcuts (can you show them on video or tell them in the next video?)

samwincester
Автор

A bit too fast in places, but that's a great tutorial anyway. I wish you'd taken more time showing your actions during the particule set-up, but I loved you explaining the reasons behind ticking boxes, instead of just brushing it off.

Oveyz
Автор

btw, for those of you getting confused on the "rotate by the x axis for 45 degrees" it's not 45 degrees to the whole number, it's 0.45 degrees, rotating by the whole number will give it a value that is 45 degrees past 180 degrees, which will make the rope look bad

framerate
Автор

The tutorial is spot on...very well explained....the hair particle ...AMAZING trick....perfect.

moegasim
Автор

If you're having troubles whenever you start to modify the curve (like I did, if I moved the first point of the curve everythin just stopped working), parent everything to the null instead of the curve. That way you can freely move each point in the curve and it still works.

Also, I'm just passing by to say that I really like this format for your tutorials, quick and precise. However, as I see in the comments, most people did not like that this wasn't beginner friendly. Maybe just tag the title of the video like "intermediate level tutorial" or something along the lines.

scallopy
Автор

Problem solved at 3:19, if when you move the handle from -1 on the x to 0 and the rope slides up on the y and distorts, go back to the parenting step and instead of parenting the rope and empty too the curve, parent the rope and curve to the empty. I realized this after closly observing that when the cut in the video takes place, the outliner changes dramatically putting the empty as the parent with the curve and circle inside the empties drop box.

jamy
Автор

There are no words to describe just how incredibly awesome this tutorial is, in all aspects! Just perfect - I wish every instruction video was so concise and helpful. Thanks a lot!

Skyletwings
Автор

The particles makes this the best looking rope tutorial on blender. Dare I even say…. Better than Mr. Guru. No shade 💡:)

aaronjohnson
Автор

Great job. Love how you explain why you do things like the gamma curve result on non-color nodes. I don't think I've ever heard a tutorial that explains why they do it. Subbed.

justinoliver
Автор

Quite a brilliant method and interesting video. Thank you for sharing your techniques. The world gets more capable because of people like you!

Tiki_Media
Автор

PLEASE READ this if you are experiencing issues.

Some common hiccups keep coming up in comments so I'll list common solutions here.

Weird Array Results or Crazy Geometry: Modifiers take into account the objects relative scale, location and rotation; if any of these are modified you can get very unpredictable results.
1) Please ensure all objects in your modifier setup have had their scale and rotation applied, you can do this using the shortcut Ctrl+A and selecting both options from the popup menu.
2) The origins of all objects must be aligned, I recommend adding an empty and setting it at the parent to all other objects in the stack. To do this, Shift+Select all objects, with the intended parent being last, it will have a brighter outline to show it is the active object in the selection; Press Ctrl+P to bring up the parenting menu. When you move the parent, all the bits should move with it and remain relative to each other, preserving correct results.
3) If you want to move pieces or all of the curve, do so in edit mode. As I mentioned, moving objects apart applies relative offsets to the modifier calculations and makes things explode.
4) Check that the array axis is correct. This is pretty obvious if looked at in isolation but can be less so if its part of a complex modifier stack.
µ) I recommend breaking things on purpose to learn just how things go wrong for a given offset ;3

Modifying the Taper on the Curve Geometry and Other Issues:
1) Firstly make sure you have sufficient geometry to modify. For a simple tube its under the curve settings tab on the right bar (appears with a curve selected) and increase the 'Depth' value under the 'Bevel' section. You can also increase the 'Resolution Preview' at the very top of the menus to change the divisions per curve segments along the length, and increase the 'Resolution' under the 'Bevel' section to increase radial divisions.
2) if your curve is square between segments, try changing the spline type (right click with point selected in edit mode). The default is Bezier but it can get changed by accident.
3) To set the taper (works only with curves), select point/s in edit mode and press Alt+S; Click to confirm. You can also enter numerical values, for example .5 for 50% scale and 2 for 200% scale.

Happy Blendering.

SaschaUncia
Автор

Started learning Blender a few weeks ago and need to do a rope. Thank for making a tutorial that can be used for most use cases! Amazing!

FesNaqvi
Автор

Is there a way to make the whole rope bigger/smaller? Scaling the vertices with Alt+S doesn't do that. What I mean is to scale it wholly, like you do a regular model. When you scale it with S it does something strange: it makes the Array modifier that fits to the curve not "fill" the length of the curve properly.

sebas_
Автор

If your circles are different sizes and/or in a strange pattern, you may need to apply loc/rot/scale in object mode to fix it--> Ctrl+A, all transformations.

online
Автор

incredible. its good see someone is really teaching something to others

erfanebrahimzadeh
Автор

i loved the tutorial, i must say, you are so underrated, you need more recognition!

opiumonion
Автор

Your tutorial is just WOW. And your voice is so relaxing that makes everything look easy

pfrarredamentisrl
Автор

Thank you Sasuke Uchiha who knew you would be such a good modeler!

CJ-fbni
Автор

It was my pleasure. Thank you for the tutorial

arturkolesnyk