filmov
tv
Arduino programming: Arduino with other electronics. Coding in 3 steps only!

Показать описание
How to write a code for any connected pin in your Arduino in only 3 steps ?
00:00 - Introduction to the Arduino Programming tutorial
01:05- Revision of digital pins including PWM pins & analog pins.
01:43 - First Step || Declare the pinName & initializing it by checking in what pin is connected!
* 02:48- The difference between analog & digital signals / pins.
* 4:55 - PWM pins and how they can be used ( pulse width modulation).
6:05 -Second Step || Define the pinMode for each connected pin using pinMode(,) whether its OUTPUT or INPUT.
* 07:03 - The difference between OUTPUT & INPUT to be able to identify the pinMode.
* 08:16- Writing the second step of the code in the given example.
08:59- Third & Final Step || when to use Write & Read syntax?
* 09:51- Writing the final step of the code in the given example.
11:11- Writing a simple code to turn on an LED using Tinkercad.
Resources :
 0:00:21
learn Arduino programming in 20 seconds!! (Arduino projects)
 0:10:23
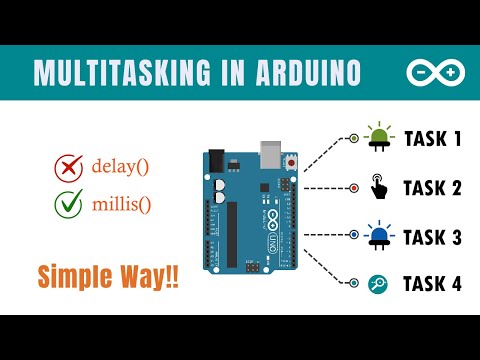
How to do multiple tasks in Arduino | Beginners | millis() function
 0:02:22
Arduino in 100 Seconds
 0:37:17
Arduino Uno to ATmega328 - Shrinking your Arduino Projects
 0:05:35
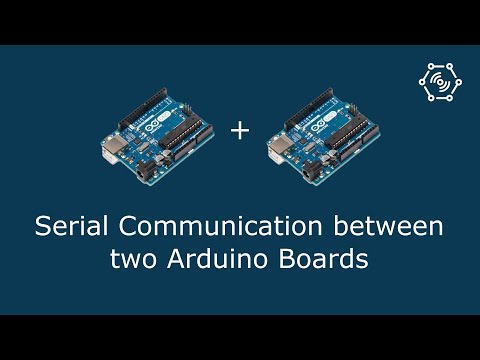
Serial Communication between two Arduino Boards
 0:25:51
I2C Part 1 - Using 2 Arduinos
 0:12:18
Using tabs to organize code with the Arduino IDE
 0:06:50
Arduino - How to Split a Program Into Different Files
 0:08:14
SmartBot Car || Full Assembly & Programming Tutorial ||| Arduino DIY Project
 0:09:15
Arduino Programming Syntax
 0:05:27
Arduino 2 Arduino Communication VIA Serial Tutorial
 0:00:59
Arduino vs. Wires! And the winner is?
 0:07:31
Arduino Wireless Communication – NRF24L01 Tutorial
 0:16:34
You can learn Arduino in 15 minutes.
 0:06:33
Arduino Coding for Beginners | How to Program an Arduino?
 0:12:36
Whaaat?? How To Extract HEX Code from Arduino
 0:00:16
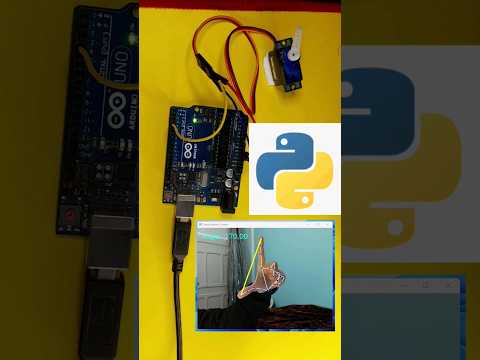
Gesture-Controlled Servo with Python and Arduino #electronics #arduinotraining
 0:03:53
Arduino Tutorial: LED Sequential Control- Beginner Project
 0:07:58
Arduino Combining Sketches
 0:08:02
Arduino Basics 101: Hardware Overview, Fundamental Code Commands
 0:14:26
Arduino MASTERCLASS | How to Use Arduino Libraries PART 7
 0:05:10
How to Use an Arduino (Lesson #1)
 0:06:00
Easiest way to Program Different ICs with Arduino, Such as #Attiny85, #Atmega 8 So on.
 0:00:16
Amazing arduino project | Check description to get free money.
Комментарии