filmov
tv
Stop Re-Tracking Magic Masks in Davinci Resolve!

Показать описание
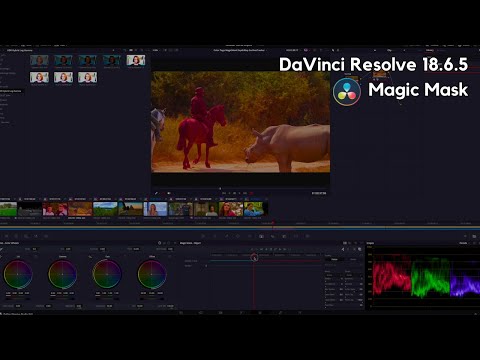
Discover an essential DaVinci Resolve Studio workflow to keep your Magic Masks tracked!
Magic masks are perfect and easy to use for selective color grades, text behind subject and background replacements, etc. However, their track data is EASILY lost.
This tutorial will show you how to prevent tracking data loss and speed up your workflow. Learn step-by-step how to lock in your magic mask, create external matte, and make sure that mask's timing aligns perfectly with the initial clip.
This game-changing tip will save you time, disk space, and frustration. Never re-track again!
Timestamps:
00:00 Intro
00:19 Major Flaw of Magic Mask
01:19 Setting Up Your Magic Mask
01:38 Rendering Out the Magic Mask
02:39 Important Step to Align Mask and Clip Properly
03:11 Connecting the Rendered Mask
03:42 Using mask for Color Grading
04:05 Outputting the Mask with Transparency
04:44 Benefits
Stop Re-Tracking Magic Masks in Davinci Resolve!
Magic Mask in Davinci Resolve is FLAWED - and how to fix it!
How To Fix DaVinci Resolve Magic Mask
Magic Mask tip that may just save your sanity! - DaVinci Resolve 18 Studio
Quick Tip - Using the Magic Mask with the Planar Tracker in DaVinci Resolve Fusion
Davinci Resolve 18 Magic Mask | Prevent Black Glitch
How to improve Magic Mask tool in DaVinci Resolve [in TWO MINUTES!]
Magic Mask DaVinci 18.1.1
How to use Magic Mask in DaVinci Resolve in Less Than 10 Minutes
Magic Mask | Rotoscope, Color | Davinci Resolve
FREE Magic Mask AI | Davinci Resolve 19 Tutorial
How to Use Magic Mask in Davinci Resolve
DaVinci Resolve Magic Mask
Magic Mask in Final Cut Pro | mRotoAI Review
Magic Mask In Davinci Resolve 17 New Feature | Rotobrush Tool
Best Tracker Tips in DaVinci Resolve - HOW TO FIX BAD TRACKING!
How To Use The Magic Mask Tool In Davinci Resolve #davinciresolve #davinciresolve18
Create Amazing Effects with MAGIC MASKS in DaVinci Resolve Studio 18 | Tutorial
DaVinci Resolve 18.5 Fun with the Magic Mask.
MINDBLOWING NEW FEATURE - The Object Selection Tool in Davinci Resolve 18
This Magic Trick Explained 😯
Magic Mask Tips & Best way to use | DaVinci Resolve 17 Tutorial
How to get Creative with Magic Mask in DaVinci Resolve
How to find Magic Mask on older iPads
Комментарии
 0:05:15
 0:06:31
 0:01:35
 0:06:27
 0:06:02
 0:05:53
 0:02:45
 0:02:01
 0:08:58
 0:06:11
 0:08:06
 0:07:22
 0:03:02
 0:10:17
 0:12:04
 0:16:20
 0:01:00
 0:09:25
 0:15:33
 0:04:38
 0:00:28
 0:08:26
 0:11:10
 0:02:02