filmov
tv
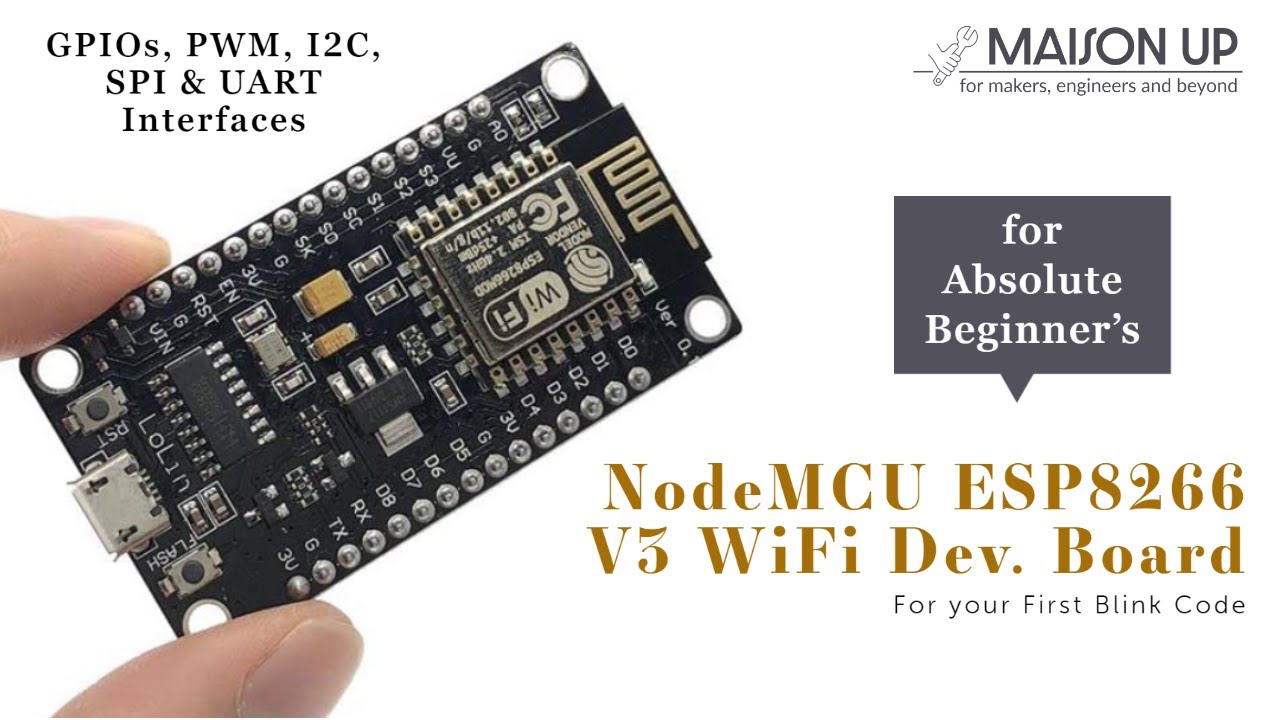
Beginner's Guide NodeMCU ESP8266 V3 on Arduino IDE | Step-by-Step Tutorial for Your First Blink Code
Показать описание
@maisonupstore
📎 Links:
Welcome to our beginner's guide on using the NodeMCU ESP8266 with CH340! In this step-by-step tutorial, we will walk you through the process of setting up your NodeMCU board on the Arduino IDE and uploading your first "Blink" code.
🔧 Components You'll Need:
NodeMCU ESP8266 board with CH340
Micro USB cable
[INTRODUCTION TO ARDUINO IDE INSTALLATION]
To get started, you'll need the Arduino IDE, which is the software used for writing and uploading code to your board. If you don't have it installed yet, head over to the Arduino website and download the IDE for your operating system.
[ADDING ESP8266 BOARD TO ARDUINO IDE]
Once you have the Arduino IDE installed, the next step is to add support for the ESP8266 board. It's a simple process, and we'll guide you through it:
Step 1: Click on "File" and then "Preferences," scroll to "Additional Board Manager URL’s" and Paste the following Link (Also available in Description).
Step 2: Go to the "Tools" menu, click on "Board," and then select "Boards Manager."
In the Boards Manager, type "ESP8266" into the search bar. When you see "esp8266 by ESP8266 Community," click on the "Install" button.
[SELECTING THE CORRECT BOARD AND PORT]
With the ESP8266 boards installed, let's select the right board for our NodeMCU. Connect your NodeMCU board to your computer with the USB cable.
Now, go to the "Tools" menu again, click on "Board," and choose "Generic ESP8266" from the list.
Next, let's select the correct communication port. Go to the "Tools" menu once more, click on "Port," and here you should see your NodeMCU board listed. Select the appropriate port.
You may need to disconnect and connect again to identify a disappearing Port or to identify the correct Port.
If your board is not reflecting, you may need to install CH340 Drivers. Follow these quick steps.
[UPLOADING THE FIRST BLINK CODE]
Fantastic! We are now all set up and ready to upload our first code. We'll use a simple "Blink" code that will make an LED connected to our board blink.
From "Files," go to "Examples," then "ESP8266," and then "Blink." This will open the "Blink" code on a new window.
Let's scroll through the code and hit the "Upload" button to compile and upload the code to your NodeMCU.
Congratulations! You've just uploaded your first code to the NodeMCU board. You should see the onboard LED blinking.
[CONCLUSION]
And there you have it - a complete beginner's guide on using the NodeMCU ESP8266 CH340! You've learned how to set up the board on the Arduino IDE, select the correct board, upload your first blink code, and troubleshoot common issues. With the NodeMCU ESP8266 board, your possibilities are endless; use the board to make creative projects.
We hope this tutorial has been helpful to you! If you enjoyed it, please give this video a thumbs up and consider subscribing to our channel for more exciting content. Don't forget to share this video with your friends who might find it useful. Happy tinkering! 🛠️🚀
 0:03:26
Beginner's Guide NodeMCU ESP8266 V3 on Arduino IDE | Step-by-Step Tutorial for Your First Blink...
 0:08:10
How to Setup and Program NodeMCU ESP8266–Complete Guide
 0:33:46
Beginner's Guide to ESPHome ESP8266, ESP32, Beken Devices and more
 0:04:16
NodeMCU ESP8266 Tutorial for Beginners - The Complete Step-by-Step Guide
 0:05:50
ESP8266 in 5 minutes
 0:09:06
How To Setup And Connect The NodeMCU ESP8266 12-E Development Board To Your Computer and Wifi
 0:05:01
NodeMCU ESP8266 Factory Reset, Erase EEPROM and Bootloader Repair- All in one in a Single Click
 0:35:09
ESPNOW for beginners! #ESP32 #ESP8266
 0:01:24
Install the ESP8266 Board in Arduino IDE in less than 1 minute (Windows, Mac OS X, and Linux)
 0:03:12
#30 Node MCU LED Blink - ESP8266-12E, IOT Board - Beginners Guide
 0:06:37
TUTORIAL DASAR NodeMCU LOLIN ESP8266 V3 CH340 (Menambahkan Board ESP8266 & Setting IDE Arduino)
 0:06:26
Getting Started with NodeMCU using Arduino || Beginners guide for NodeMCU
 0:05:55
ESP8266 with Arduino IDE: Beginner's Guide to IoT Development
 0:09:09
A beginner’s guide to ESP32 | Hardware & coding basics + Wi-Fi server demo
 0:05:11
Get Started With A D1 Mini (ESP8266) In Under 5 Minutes!
 0:10:56
PlatformIO: All you need to know in 10 Minutes!
 0:49:29
Beginner's Guide to ESP8266 NodeMCU for IoT Projects: Live Class Recording | Class 04
 0:17:50
TUTORIAL: Absolute Beginner's Guide to Getting Started with Arduino! (How To)
 0:05:22
How to set up the new Blynk app step by step | Nodemcu ESP8266 with Blynk app
 0:22:52
YOU can Learn the ESP32 in 15 Minutes: Hello World!
 0:00:45
Remote LED Control Using a Web Server: A Beginner's Guide
 0:09:27
Getting Started with NodeMCU V3
 0:12:13
Connect ESP32 to WiFi - ESP32 Beginner's Guide
 0:05:37
Quickly getting started with NodeMCU/ ESP8266 12E - In 5 minutes ! Beginner Guide! Arduino in Bangla
Комментарии