filmov
tv
How To Repair Damaged Pads ,Traces and IC Pins #soldering

Показать описание
How to repair damaged Pads ,Traces + IC pins on your circuit boards is all shown in this very clear and well thought out tutorial.
All stages of these surface mount soldering repairs are shown in detail with photographs accompanying every stage of the operation.
You can rescue lots of situations if you follow these instructions and be left with a perfect working board that will look great.
If you want to see more on repairing Pads ,Traces and IC pins , please see my other videos which also cover various situations regarding these subjects.
Remember it CAN be fixed.
Please see my other YouTube postings that will also help you with your repairs.
Finally good luck with your projects and thank you for your time and if you would like to be notified of all of my future releases then please hit the subscribe link on screen and click the notification bell.
Mr SolderFix
#pcbpadrepair #icpinrepair #pcbtracerepair
 0:10:17
How To Repair Damaged /Missing PCB Pads - INVISIBLE Fix #soldering
 0:06:02
How to Bypass Missing & Broken Solder Pads
 0:03:58
How to fix lifted solder pads, broken vias and traces on circuit boards.
 0:27:27
How To Repair Damaged PCB Pads / Traces || SMD Soldering
 0:11:54
How To Repair Damaged / Missing PCB Pads || 4 Great Methods
 0:15:03
How To Repair Damaged Pads ,Traces and IC Pins #soldering
 0:13:09
How To Quickly Fix Broken Pads w/ The Refox Soldering Lug. Premade Jumpers & Pads for Microsolde...
 0:04:38
How To Repair Damaged /Missing PCB Pads
 0:05:41
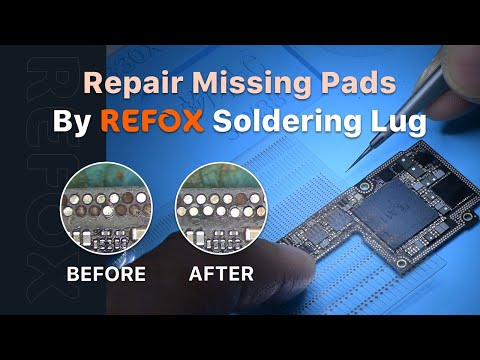
Innovative Way to Repair Motherboard Missing Pads - REFOX Soldering Lug
 0:01:34
What to do if you pull a solder pad off a circuit board or flight controller
 0:20:10
Techniques to repair PADS on Electronic Motherboards ✅
 0:15:10
XRT Pro Ugly HDMI Repair using Grinding Pen and Pads strips - Mini Maxx Tuner
 0:05:39
How To Repair IC Chips Damage/Missing Pads On PCB
 0:00:49
Repair iPhone 12 Broken Solder Pads by Soldering Lugs #Shorts
 0:06:13
Easy and Safe Method of Making Broken Pads. By PGT.
 0:05:11
The 101: How to Fix a Sleeping Pad
 0:08:13
Repairing damaged or burned pads on a circuit board
 0:08:10
Samsung Galaxy A51 USB Charging Port / Missing Pads Repair Tutorial | Tech Tomer
 0:13:18
Replacing a jack on a circuit board when the copper pads are missing Repair Fix
 0:08:30
Missing Fpc Connector Pads Repair/Water damage Fpc connector repair
 0:00:55
use copper wire for BGA pad repair
 0:08:01
how to fix broken pads on chip / WI-FI repair on i7
 0:09:43
How To Repair Motherboard Missing/Damage Pads
 0:09:15
Easily fix lifted pads from your FFC of your PlayStation or laptop without cutting it
Комментарии