filmov
tv
Parametric Brick Wall in 3Ds Max #shorts #3dsmax

Показать описание
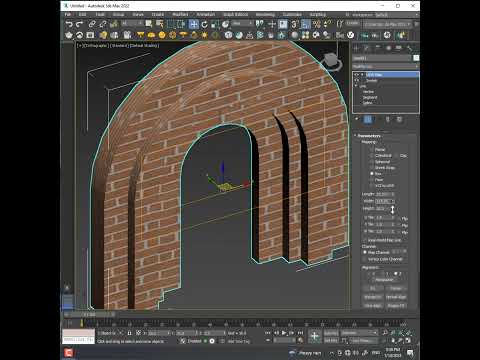
Parametric Brick Wall in 3Ds Max !!
Did you use Data Channel modifier in 3Ds Max before?
Not lot of people use it but, you should start learning this intuitive modifier it will help you create a huge number of procedural models and animations. You can watch a full tutorial covering the data channel on our YouTube channel, link in the bio.
The Data channel works by processing mesh data through a series of operations to achieve various results. You can use it to create parametric transforms, procedural masking, procedural selection and much more!
In this short tutorial you’ll learn how to create this parametric Brick wall model in a very simple way.
Follow these steps :
* create your base brick model from a box with simple edit poly operations.
* Apply array modifier and increase X count to 50, Offset to 1,2 and Y count to 30.
* Navigate to Transform rollout change its mode to Alternating and set X to half size of your original model to make a stretcher bond bricks (in this case set it to 25).
* Navigate to UV rollout and change mode to Clone XYZ and disable Additive option.
* Apply Data channel modifier, click on add operator and drag a Distort to the stack.
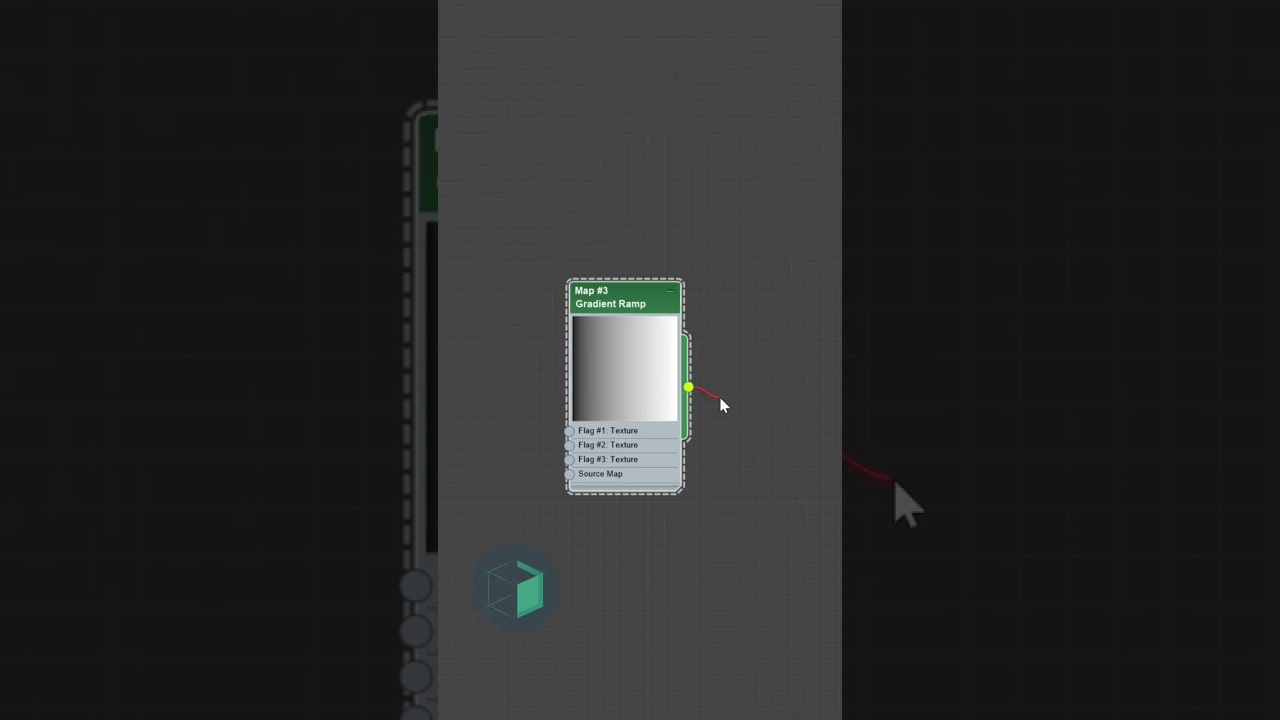
* Open material editor, create Gradient ramp and connect it to the Distort input.
* Now add Transform elements operator to the Data channel stack and change the operation to Replace.
* Scroll down and change Transform to Rotation, Disable X and Y and set Z max value to 180.
* Add Vertex output and set it to Position.
* Adjust the Gradient tiling to what you like to have a repeated wave (in this case set it to 5).
Subscribe to learn 3Ds Max in simple tutorials : @BoundlessBox
 0:00:49
 0:04:54
 0:00:38
 0:02:55
 0:02:53
 0:08:47
 0:28:02
 0:09:31
 0:01:00
 0:00:50
 0:00:51
 0:00:11
 0:06:25
 0:04:49
 0:04:59
 0:02:18
 0:03:09
 0:00:26
 0:15:18
 0:00:09
 0:07:36
 0:00:48
 0:00:40
 0:03:45