filmov
tv
Plug BLOCKING wires? No problem! How to run speaker wire through door plugs!

Показать описание
So you need to run larger speaker wire into your doors for your aftermarket speakers, but there is a problem, there is a plug in the way! How do we bypass the plug and get our large wire ran through the boot and connected to the speaker? Here is how! THIS MODIFICATION IS AT YOUR OWN RISK!
🔨 See what gear is compatible with your vehicle with show sponsor Crutchfield!
🔊 Want more? Check out these links:
🔊🔊🔊 FULL VIDEO SERIES PLAYLISTS:🔊🔊🔊
Here at Car Audio Fabrication I teach you how to Master Car Audio in an effort to Design, Build, and Install your ideal car audio system. Whether you are a hardcore basshead or a HiFi focused audiophile I would love to have you subscribe and join our community!
--SUBSCRIBE--
--LET”S CONNECT!—
Instagram: @caraudiofab
Snapchat: @caraudiofab
Music:
YouTube Audio Library
Licensed under Creative Commons: By Attribution 3.0
Car Audio Fabrication – Master Car Audio – Design, Build, Install
 0:11:37
Plug BLOCKING wires? No problem! How to run speaker wire through door plugs!
 0:01:13
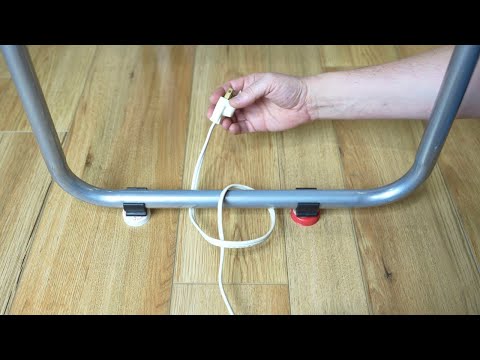
How to Free a Trapped Electrical Plug
 0:01:00
Plug is used to open car door #shorts
 0:00:12
Engine block transformation after chemical dipping
 0:06:08
How to Wire a Plug
 0:02:42
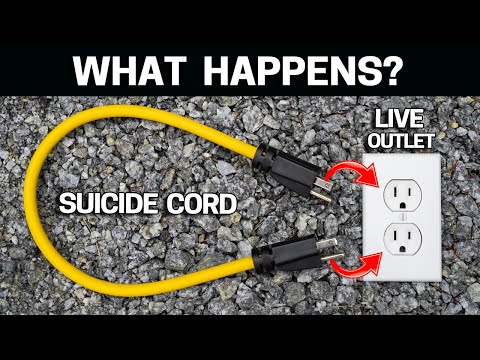
What Happens When You Plug a SUICIDE CORD in a LIVE OUTLET? Do Not Try This Ever
 0:01:08
How to free trapped plug cable
 0:00:11
Police watching sign change in HORROR
 0:55:09
What gauge wire do I use? | Golf Cart Garage I Episode # 213
 0:01:25
Tamper Resistant Receptacles, how to plug something in.
 0:01:53
What to never plug into a power strip
 0:04:35
4 Minute Fix for Damaged Power Cord / Plug Replacement
 0:16:35
STOP DOING THIS!!!!!!!
 0:18:13
How to Install a Hidden Kill Switch in your Car or Truck (Cheap Anti Theft System)
 0:15:03
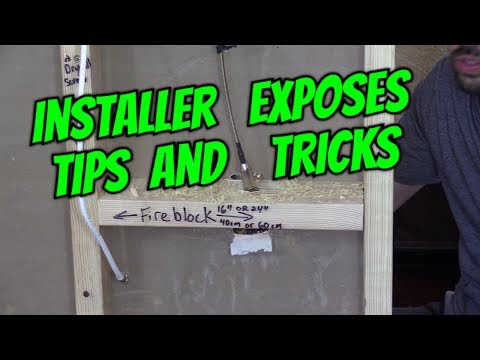
Wall Fishing Tools & How To Use Them When Dealing With Fire Stops and Insulation
 0:14:49
STOP Drilling And Nailing Blindly In Drywall And Studs! - Learn A Better And SAFER Way As A DIYer!
 0:14:48
3 EASY WAYS TO HIDE WIRES CABLES IN WALL & FIND STUDS
 0:01:34
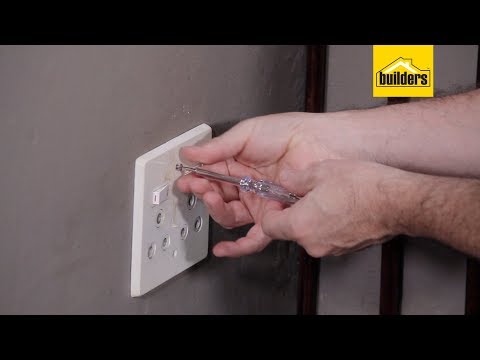
How To Change a Wall Plug/Socket
 0:10:58
Uncommon Tricks to Fish Wire Through Walls and Ceilings Quickly | How To
 0:05:16
Power Windows Not Working? Check for Broken Wires!
 0:07:29
Repair Hack - How To Fix Broken Wiring Sensor / Connector Plug Clip To Make A Factory Looking Repair
 0:05:00
How to Fix a Wall Extension Plug Socket | T-Way Adaport Adaptor Switch Button Stuck DIY Repair
 0:03:12
Life Hack That Will Make a Dead Car Start Every Time
 0:08:43
Faster Internet for FREE in 30 seconds - No... Seriously
Комментарии